


Classic Car Blasting – Blast cleaning body shells
If you’re interested in blast cleaning your car bodyshell, there are several options for media materials. Each material has advantages and disadvantages, so it’s essential to consider them before deciding.
We avoid using certain media products prone to corrosion or damage to bodyshells or other blasting work. For example, we usually avoid chilled iron grit or coarse media, which can damage bodywork and embed into the panels.
Fine steel grit is a fast option but is very reactive and will rust quickly. Should any media get lodged between panels, it will cause corrosion problems; we remove as much trapped media as possible using suction and high-pressure airlines.
Inert natural materials such as fine garnet and natural non-silica sand won’t cause corrosion problems if trapped when dry. However, using such media is a drawback as they are less effective; therefore, more materials are consumed and take longer to complete.

best option
The fine glass bead is the best option for classic car body blasting as it gives a very smooth and refined finish, but it does carry a significant cost. It will also struggle to remove heavy corrosion; therefore, we will use fine Sharpe steel grit to remove unwanted corrosion.
Best to Avoid
Soda blasting can be very time-consuming and does not offer any advantages over other media; it can also affect the paintwork finish if not carefully removed. Acid dipping can also have extreme and devastating effects on car bodies; therefore, we do not recommend this service.
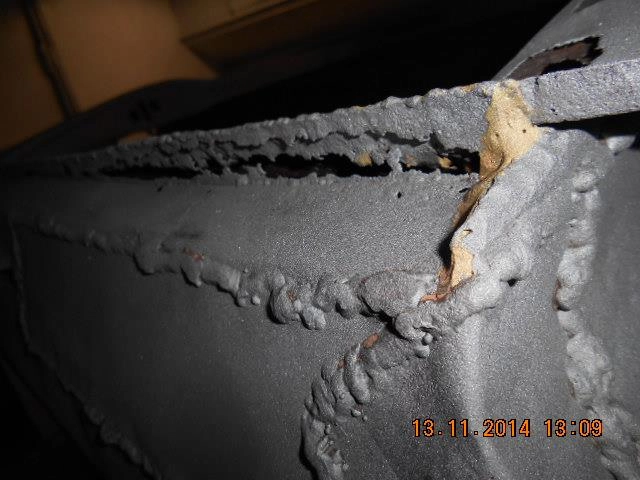
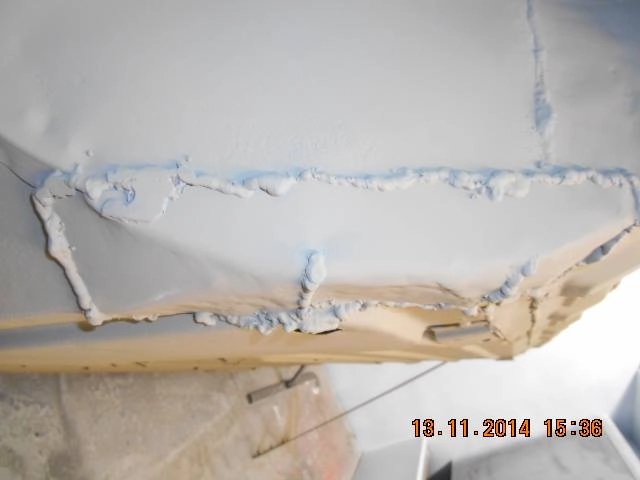
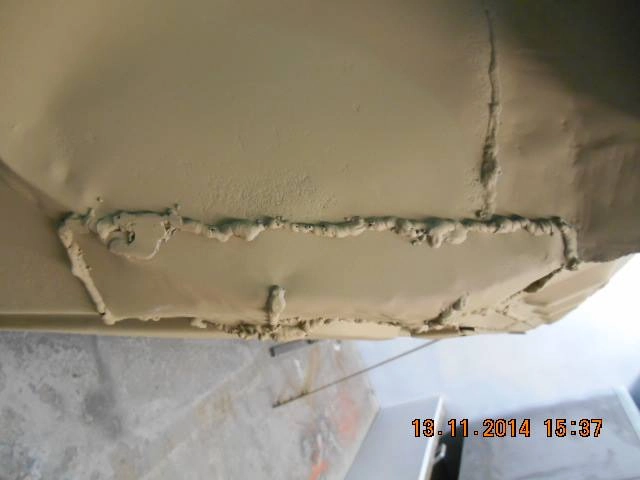
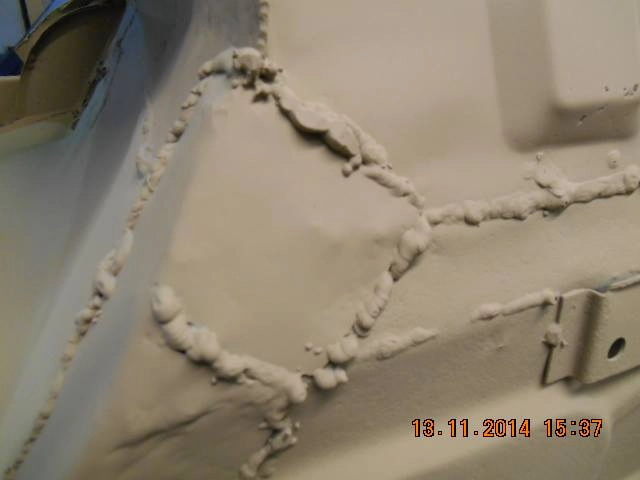
Removing underseal or rubber sealants can be time-consuming. If the underseal is old and flaking, it’s relatively easy to remove. However, some car manufacturers use a rugged and robust sealer that is almost impossible to remove altogether and can add significant time to the blasting work; in our experience, if the sealer is sound and not coming away, it’s still doing its job and best left in place.
We understand that clients may have concerns about damage caused by blast cleaning.
Every precaution is taken to avoid such damage. We have the skills and know-how to finish the work to a good and acceptable standard. Photos of the work at each stage and keep you updated if any issues arise.
What we recommend
Remove all moving parts, including glass, chrome work wire looms, fuel tanks, and headlining.
Blasting bodies with the rolling gear in place is possible. However, we do not recommend this as blast media can and will get into moving joints/parts and, therefore, cannot accept any liability for loss or damage to affected parts.
Doors, Boot lids, Bonnets and body panels have weak areas and or of thin gauge material; these areas, if blasted, may distort; we take great care in avoiding regions like these, and further hand or mechanical work may be required, we will seek your permission to carry out this extra work, around door jams/ bonnet and boot lids and all awkward areas can be blasted it’s typically the centre of panels are the weakest.
During the blasting work, we will inform you if we find anything we consider dangerous or any unknown damage by email & photos; we may also invite you along for an inspection.
The shell should be mounted and bolted to a strong metal or reasonable hardwood frame fitted with large swivel castors for transport and handling; if not, we can help.
Once the work has been finished and you have opted for no primer protection, you will need to be able to collect the shell within 24 hours from our call and prime it to stop any gingering.
If you have any questions or concerns or need a guide to pricing, please feel free to contact us.
We have many years experince in car body shell blasting.
If you would like advice or discuss options for your car body blasting project, please do not hesitate to get in touch.


Before handing over your car
Please remove all moving parts, including glass, chrome work, wire looms, fuel tanks, and headlining. We prefer not to blast bodies with rolling gear in place, as blast media can get into moving joints and cause damage.
Great care is taken to avoid blasting weak areas or thin gauge material, but we may need to carry out additional hand or mechanical work if required. We will obtain your permission before proceeding.
There are several options for the type of media materials to employ for car bodyshell blast cleaning, and each has its advantages & disadvantages.
Chilled iron grit, copper slag, and harsh materials are avoided whenever possible, as some media products are prone to corrosion or damage to body shells.
Fine steel grit is usually the fastest option; the advantage is that it is quicker, saving time & material. The disadvantage is that it is very active and will rust very quickly if any media gets trapped between panels. We do our utmost to remove this, but we cannot guarantee its removal. This leaves a clean finish and is very effective for removing corrosion. Note that ferrous metals are very active and prone to rust if left unprotected.
Fine garnet, natural non-silica sand, has the advantage that the material is inert and will not give rise to any corrosion problems if trapped when dry. However, the disadvantage is that the media usage is high.
Fine glass beads are ideal for a smoother finish, but their high usage rate contributes to the final costs. The advantage is that the first-class finish will not cause problems if it becomes trapped when dry; the disadvantage is the difficulty in removing heavy corrosion.
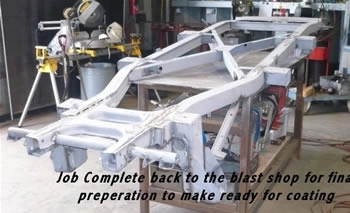
Typically, we recommend using steel grit for the initial work to remove paint, corrosion, and fillers, then finishing with a glass bead to aid in the body prep work.
Once blast cleaned, the steel will become very active, and within a day or so, even if kept dry, rust (gingering) will form on the surface. We highly recommend applying a primer coat within 12 hours after the blast work has been completed.
We recommend using steel grit for the initial work to remove paint & corrosion (not for aluminium bodies) and any fillers, then finishing with a glass bead to aid in the body preparation work.
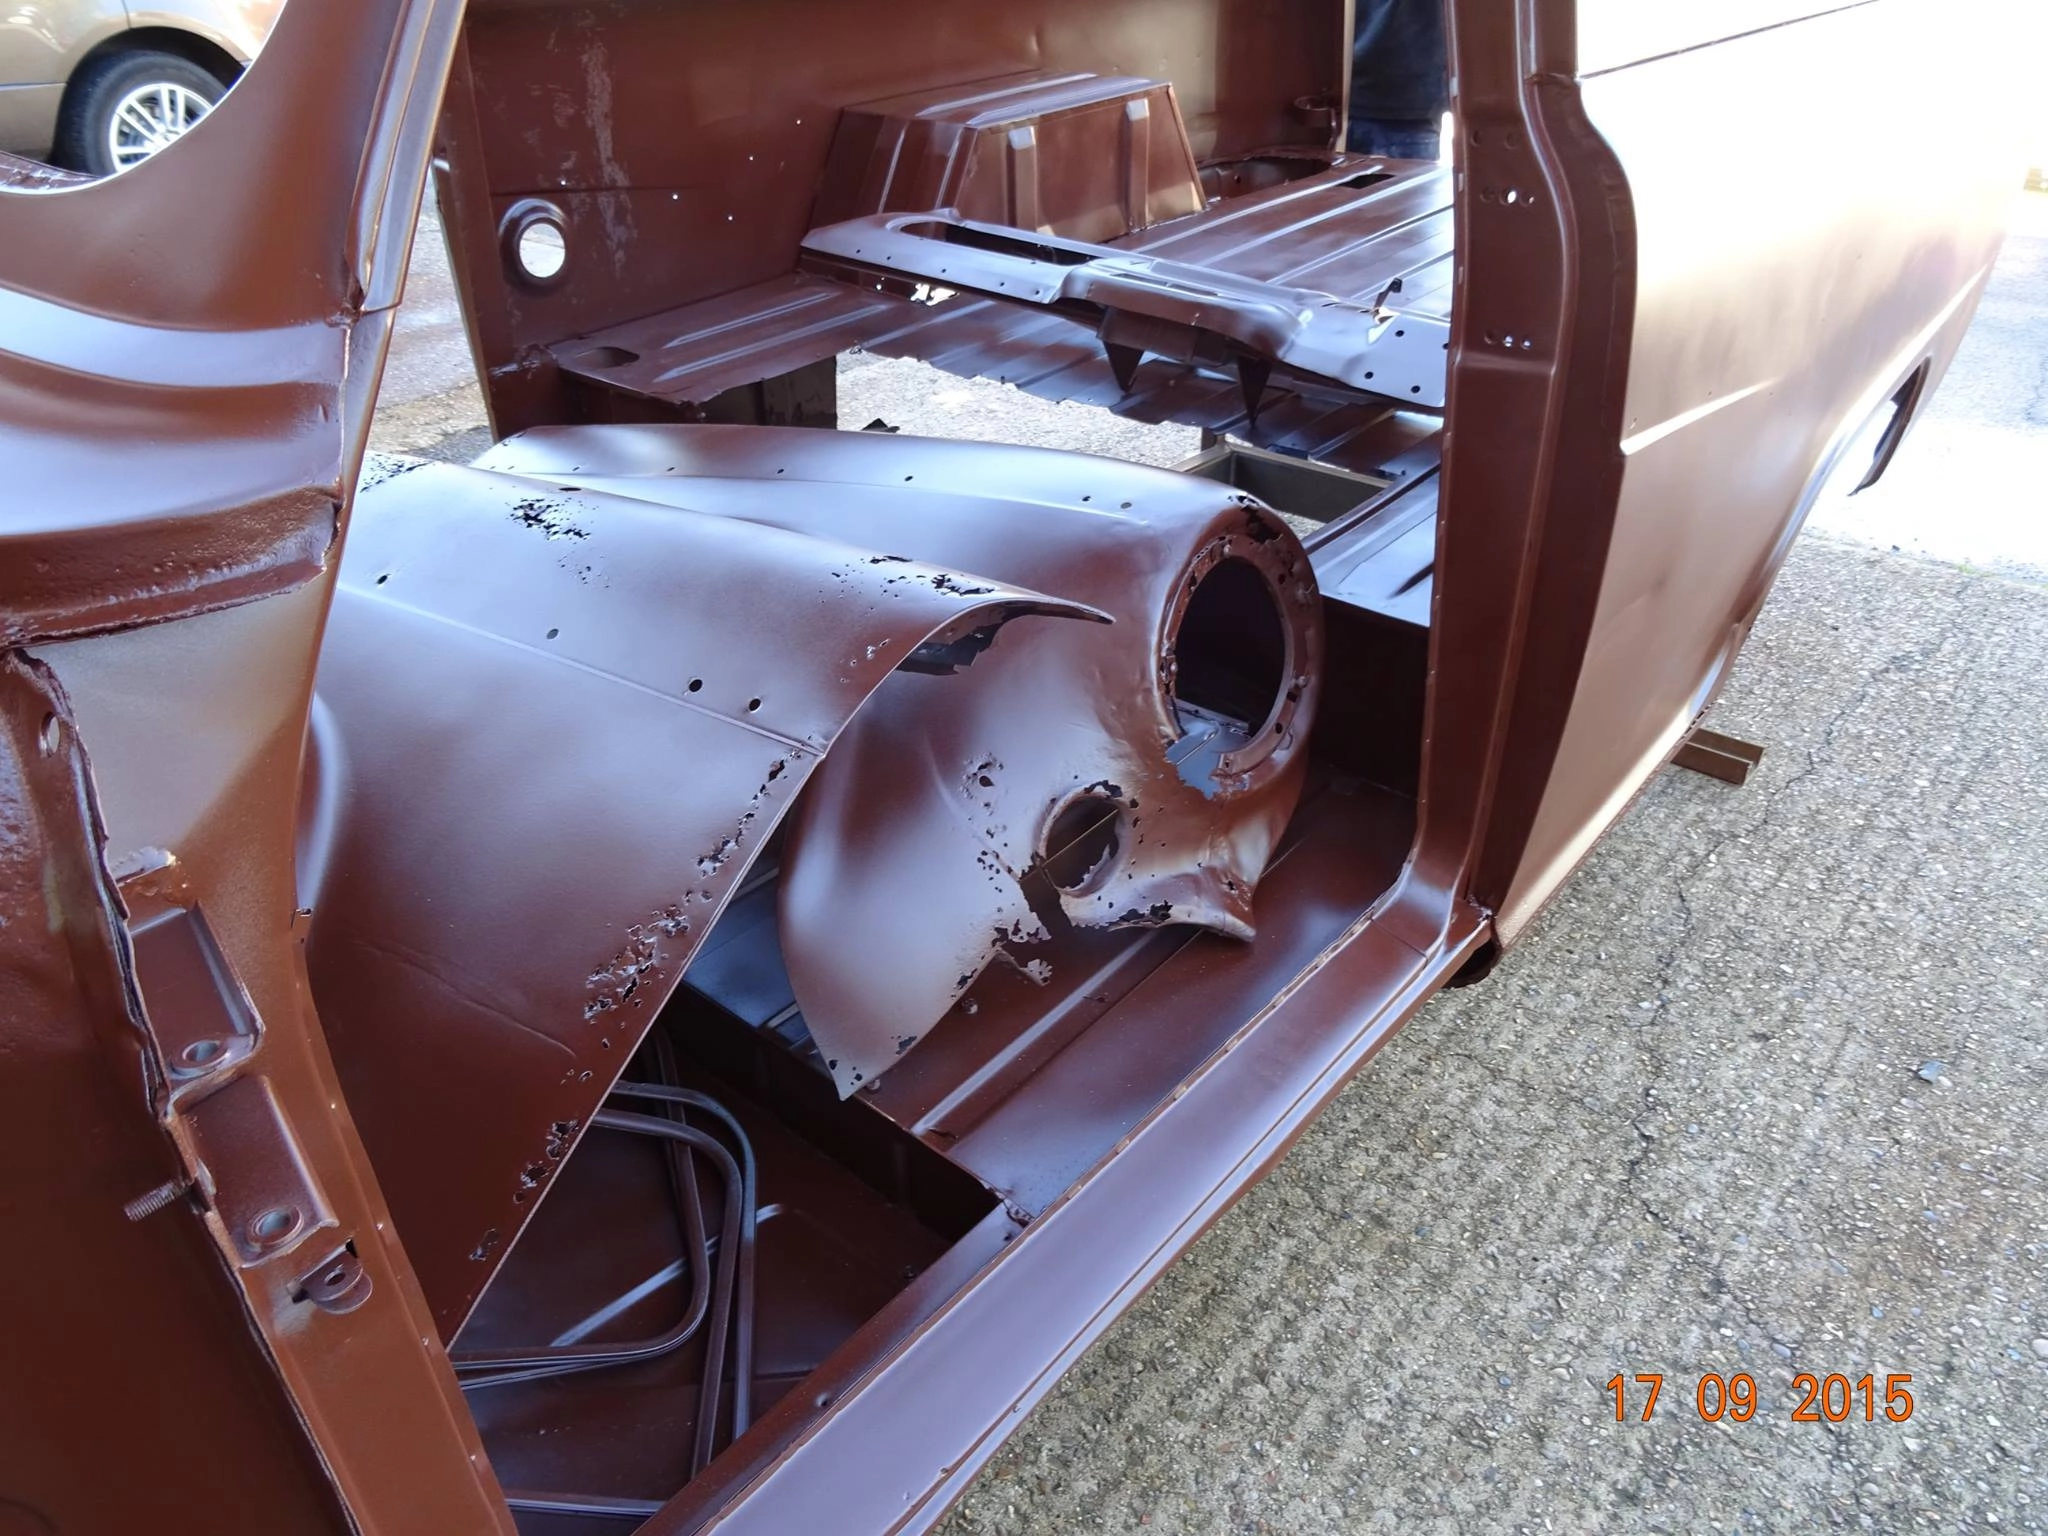
Removing underseal or rubber sealants can be a time-consuming process, depending on the material’s quality and age. Older and flaking underseal is easier to remove, keeping in mind that some car manufacturers, such as VW/ BMW, tend to use a sealer that is very hard and robust and will be, in most cases, impossible to remove altogether.
Clients often ask about damage caused by blast cleaning, and rightly so; as mentioned above, the following simple steps are taken.
We know careless actions can be expensive; some classic car owners have had the unfortunate experience of choosing the wrong blasters to carry out such delicate work and paid the price. MSB has the skills and expertise to complete the job to a high standard.
Upon your request, we will be happy to provide photos of the work at each stage and keep you updated if any issues arise.
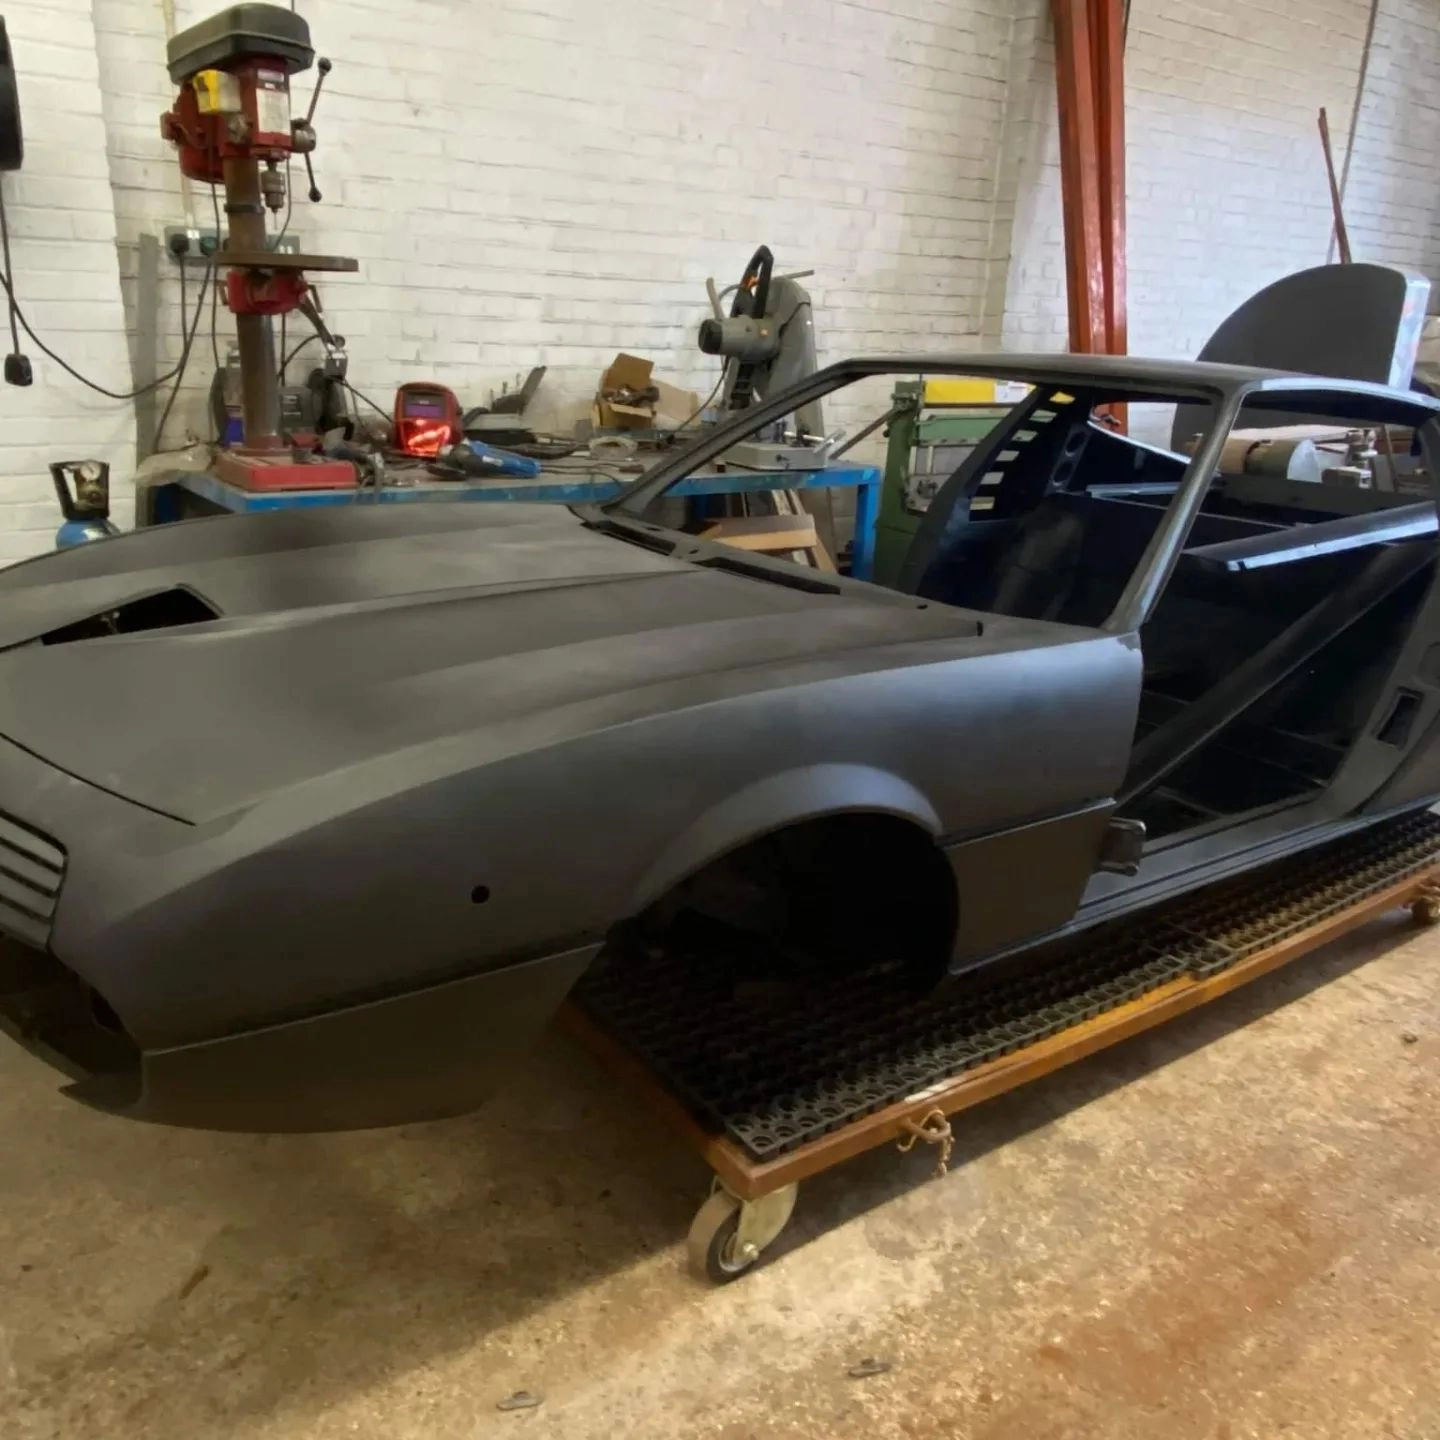
Alfa
Bead blast cleaned and protected with Trimagard 19
Nissan Skyliner
Blast cleaned, applied pure zinc metallization & sealed with an epoxy primer coat.

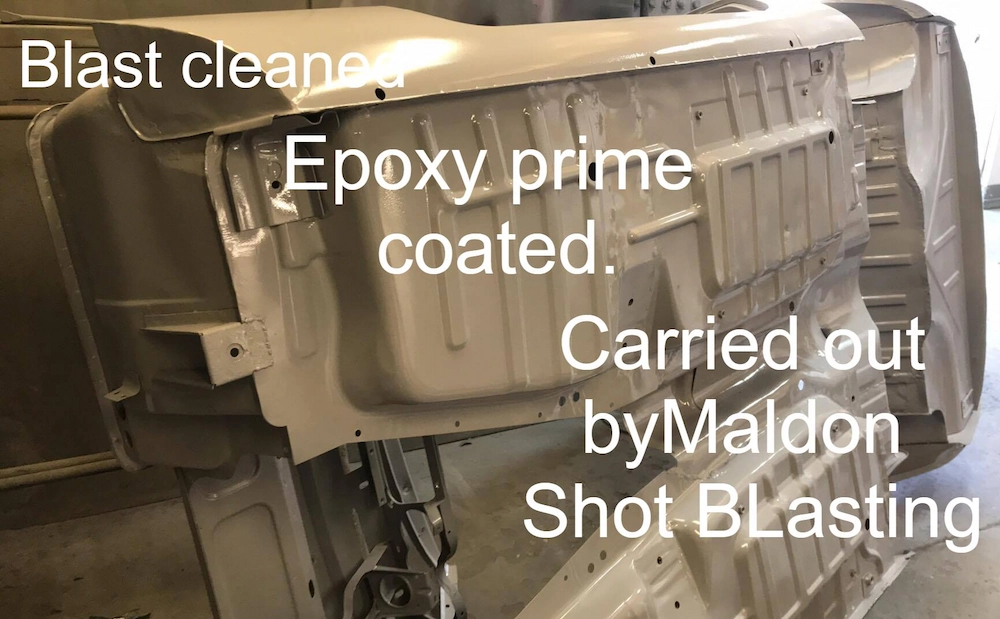
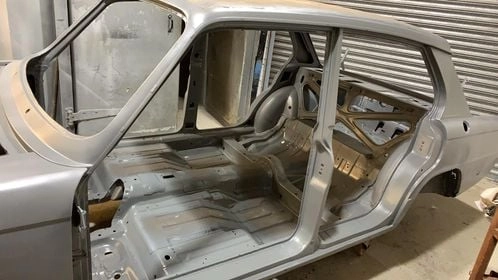
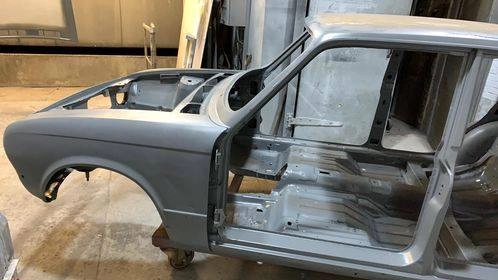
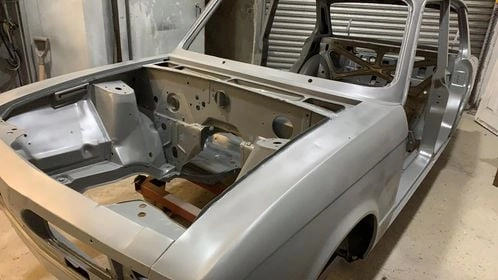
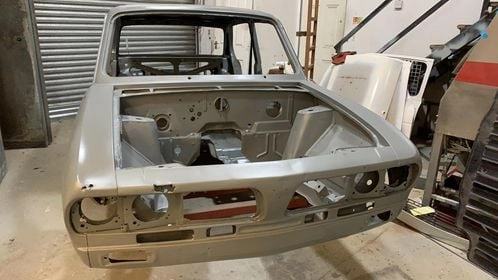
Triumph Dolomite back on the recovery route. Blast cleaned & epoxy primed.
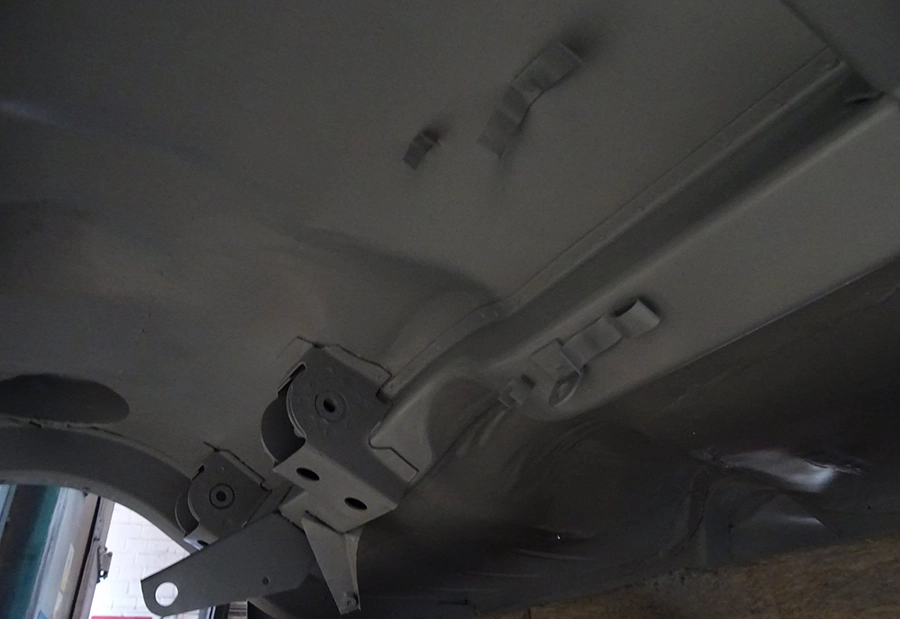
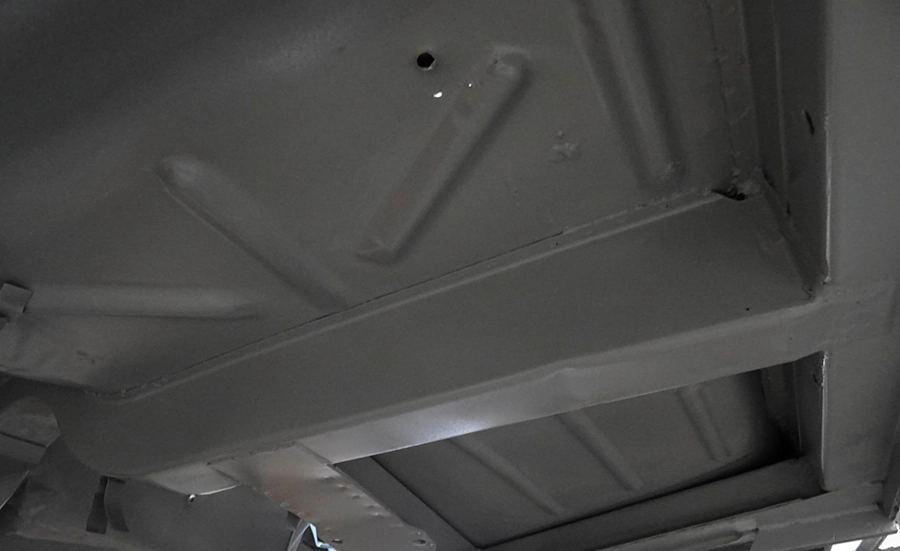
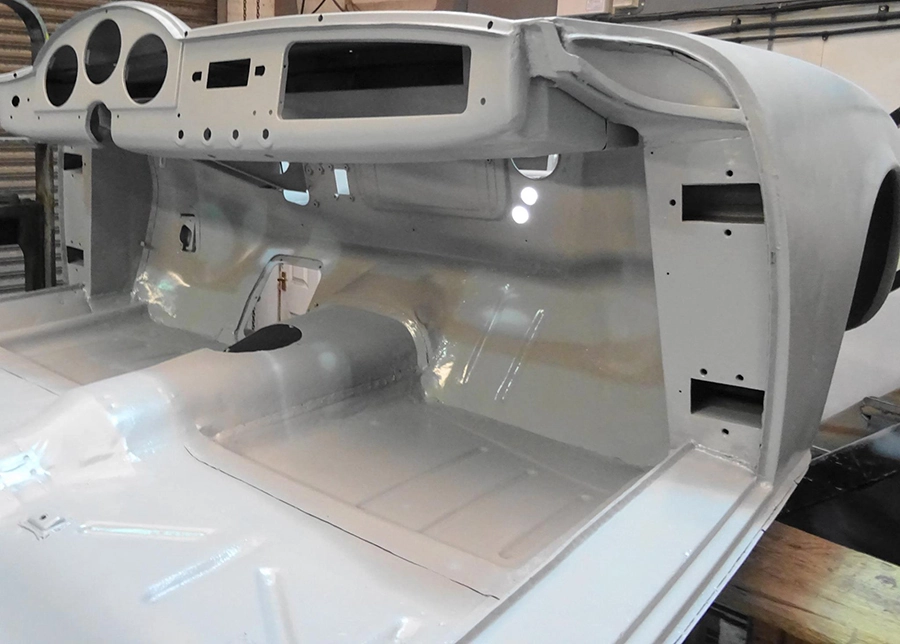
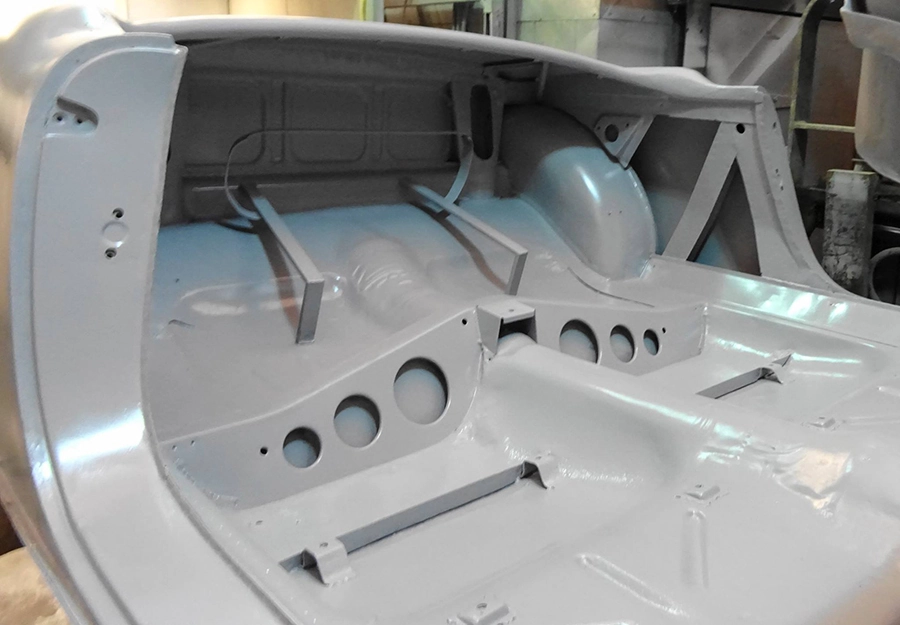
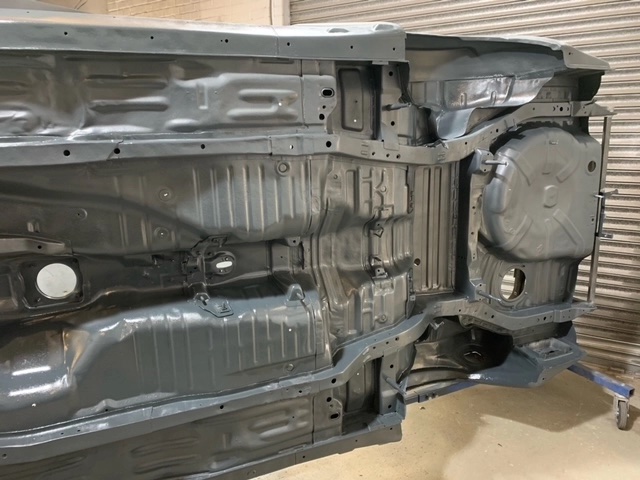
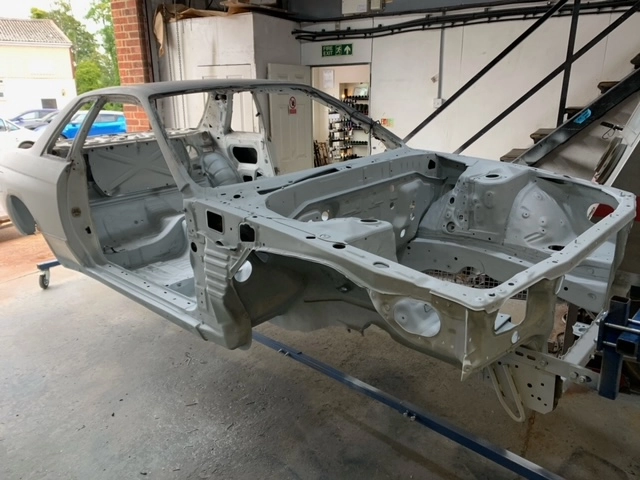
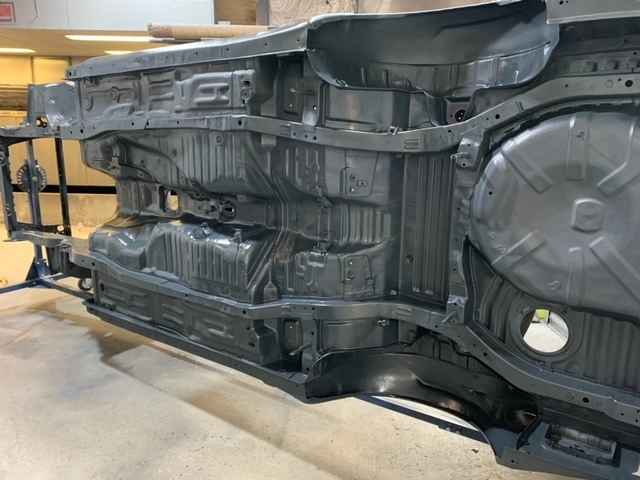
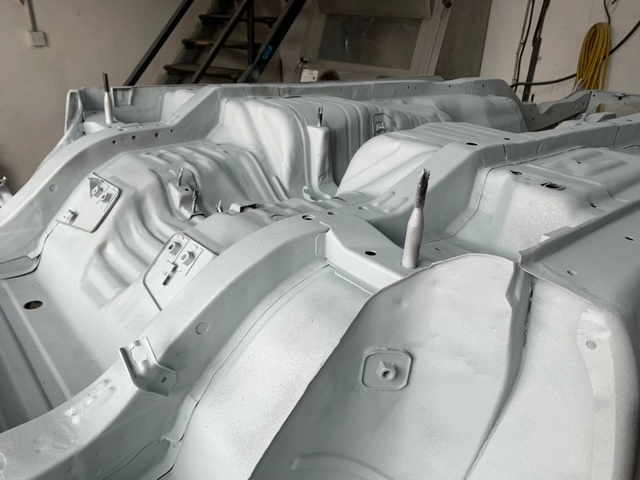
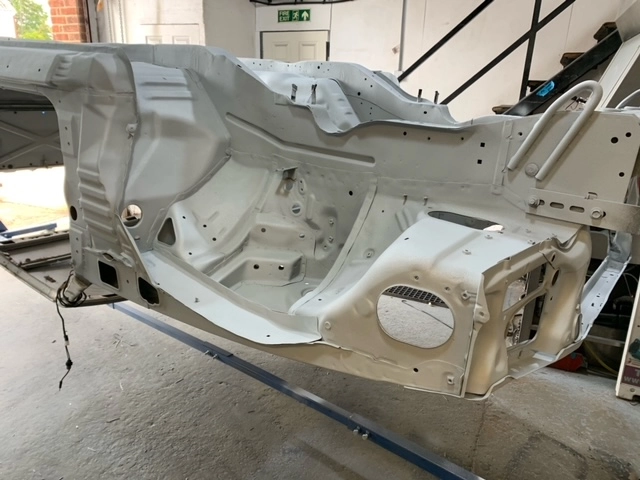
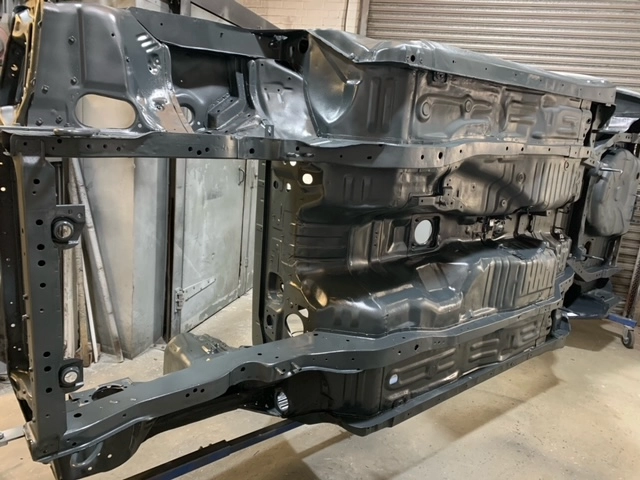
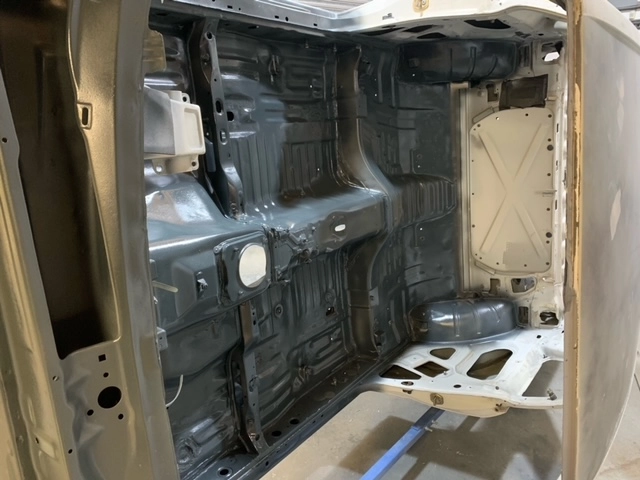
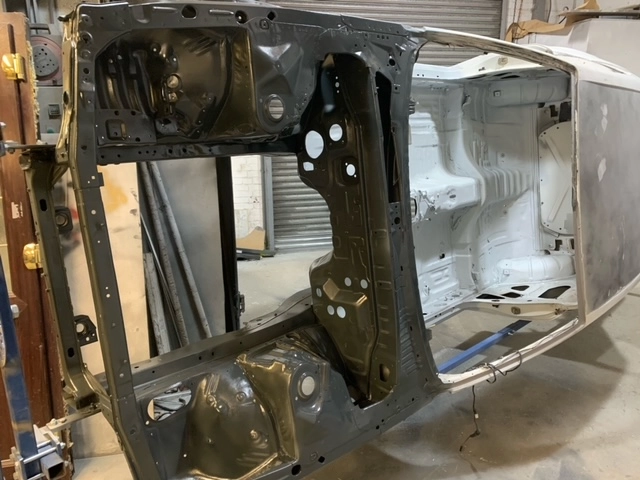
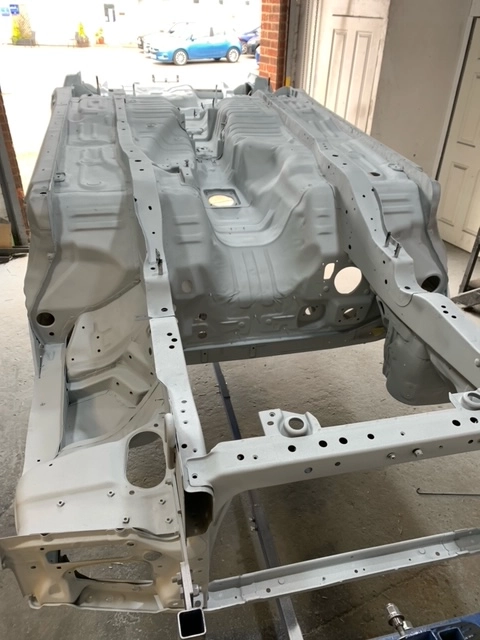
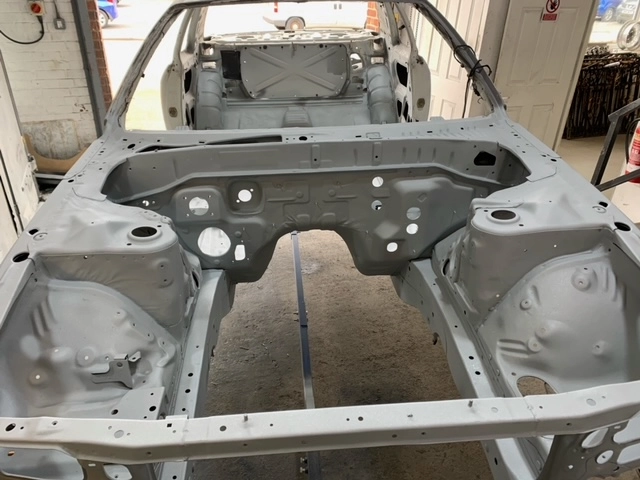
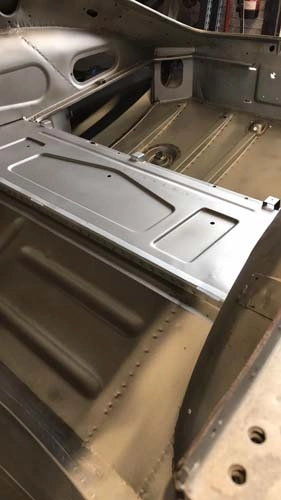
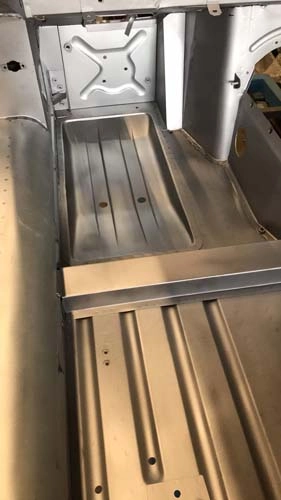
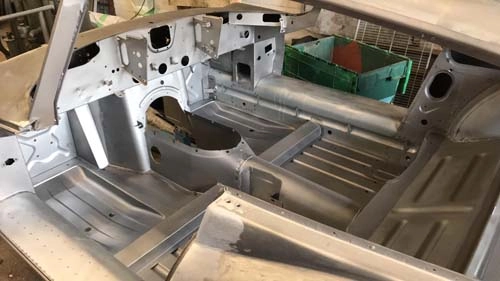
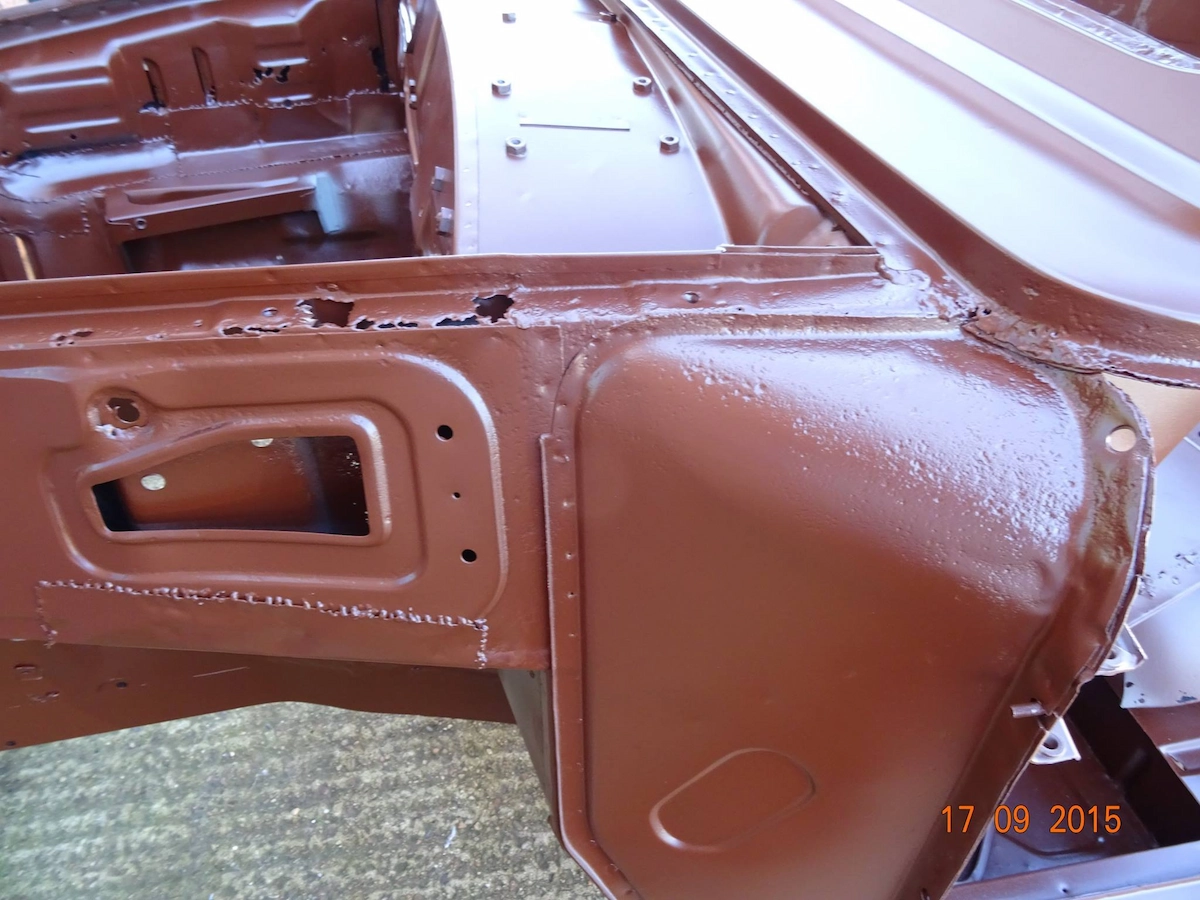
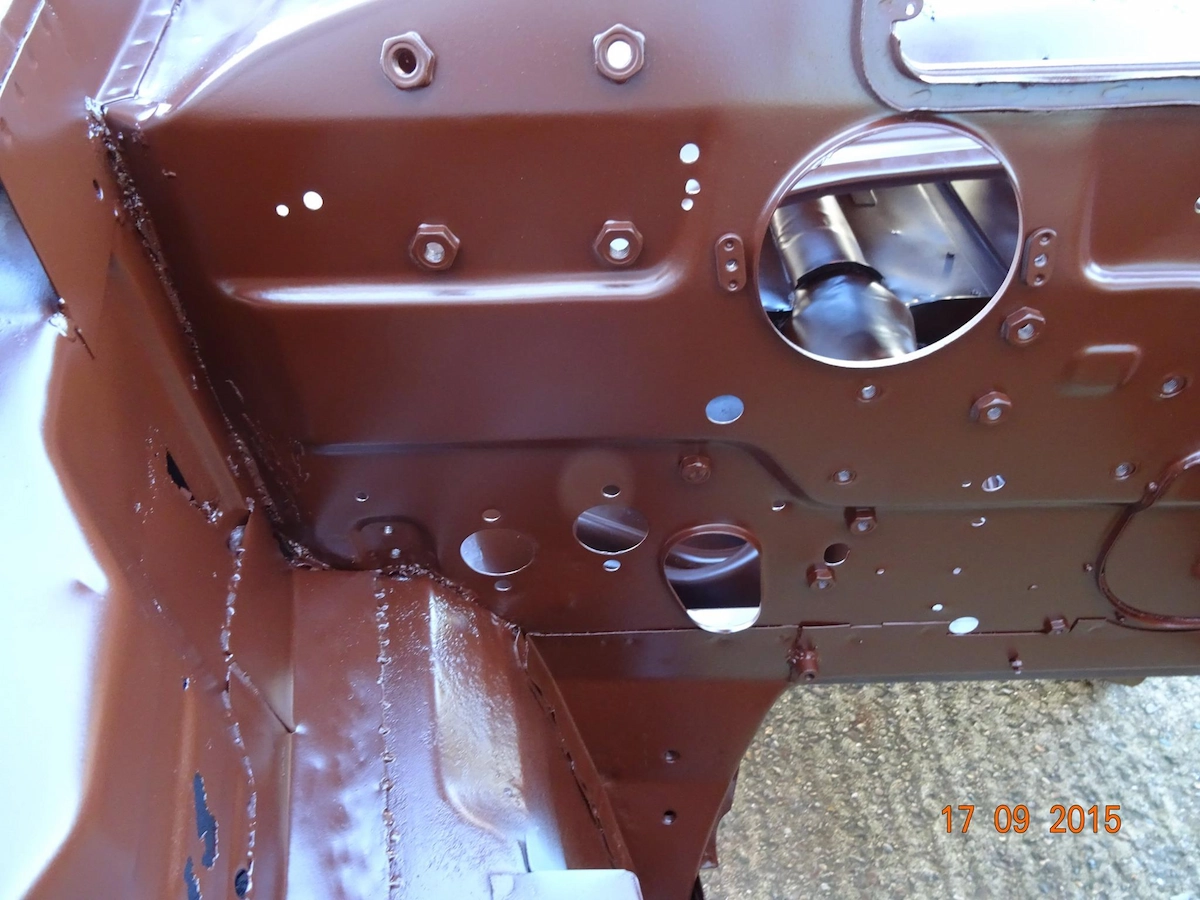
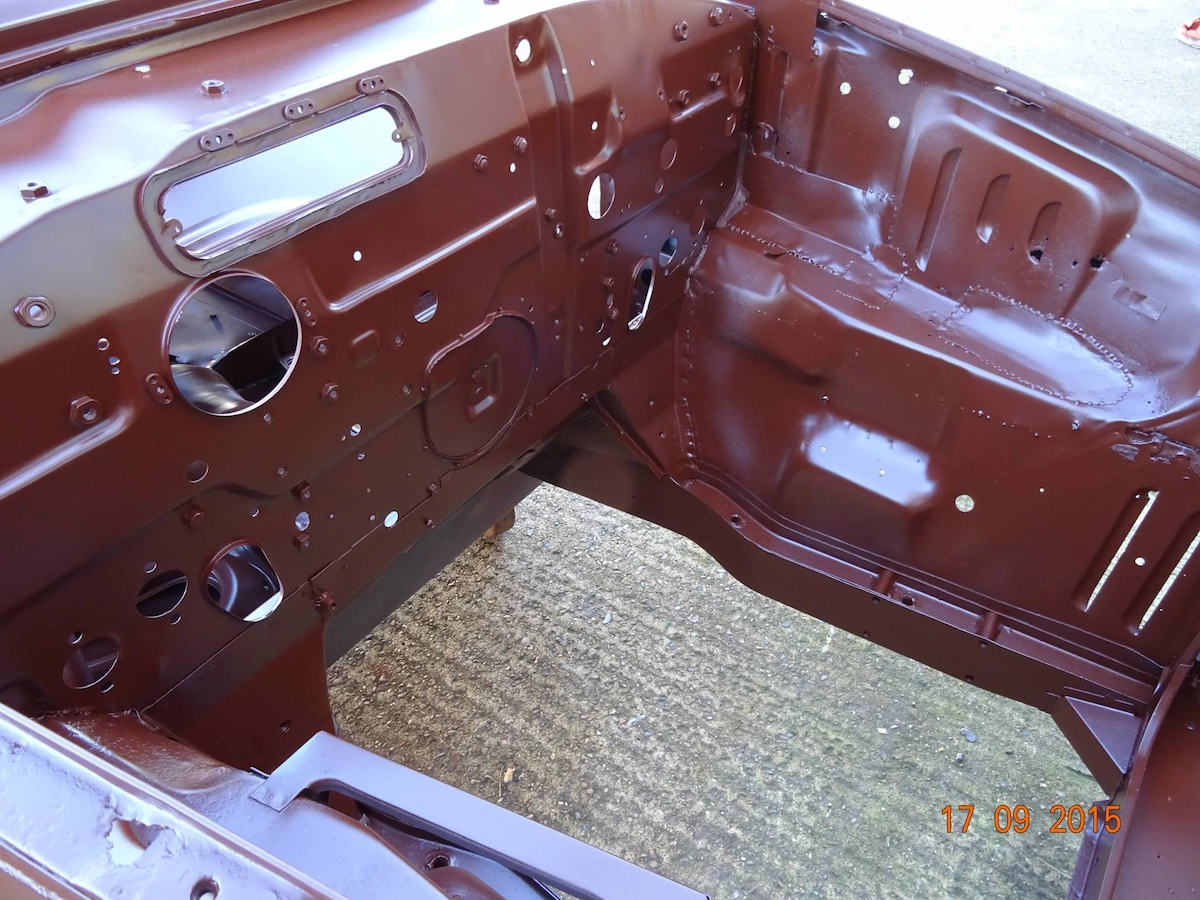
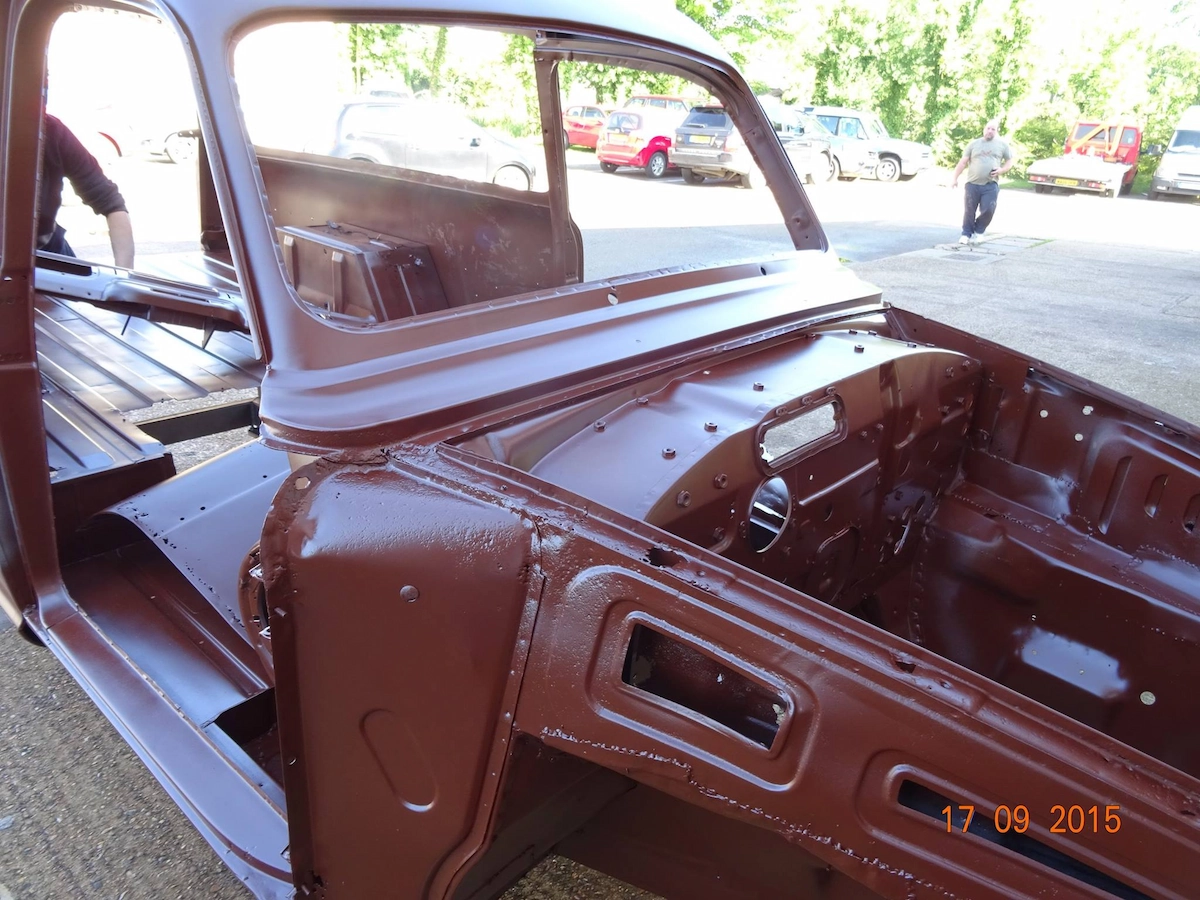
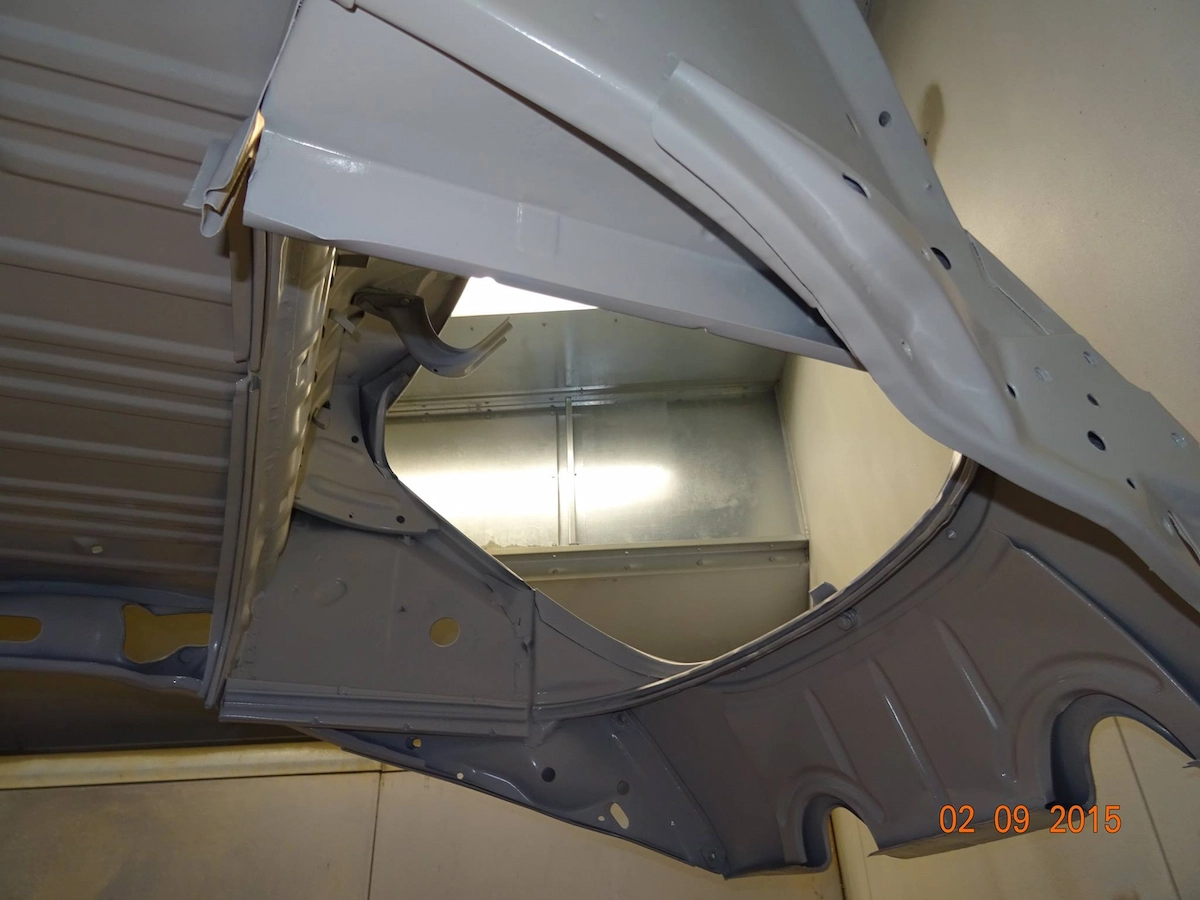
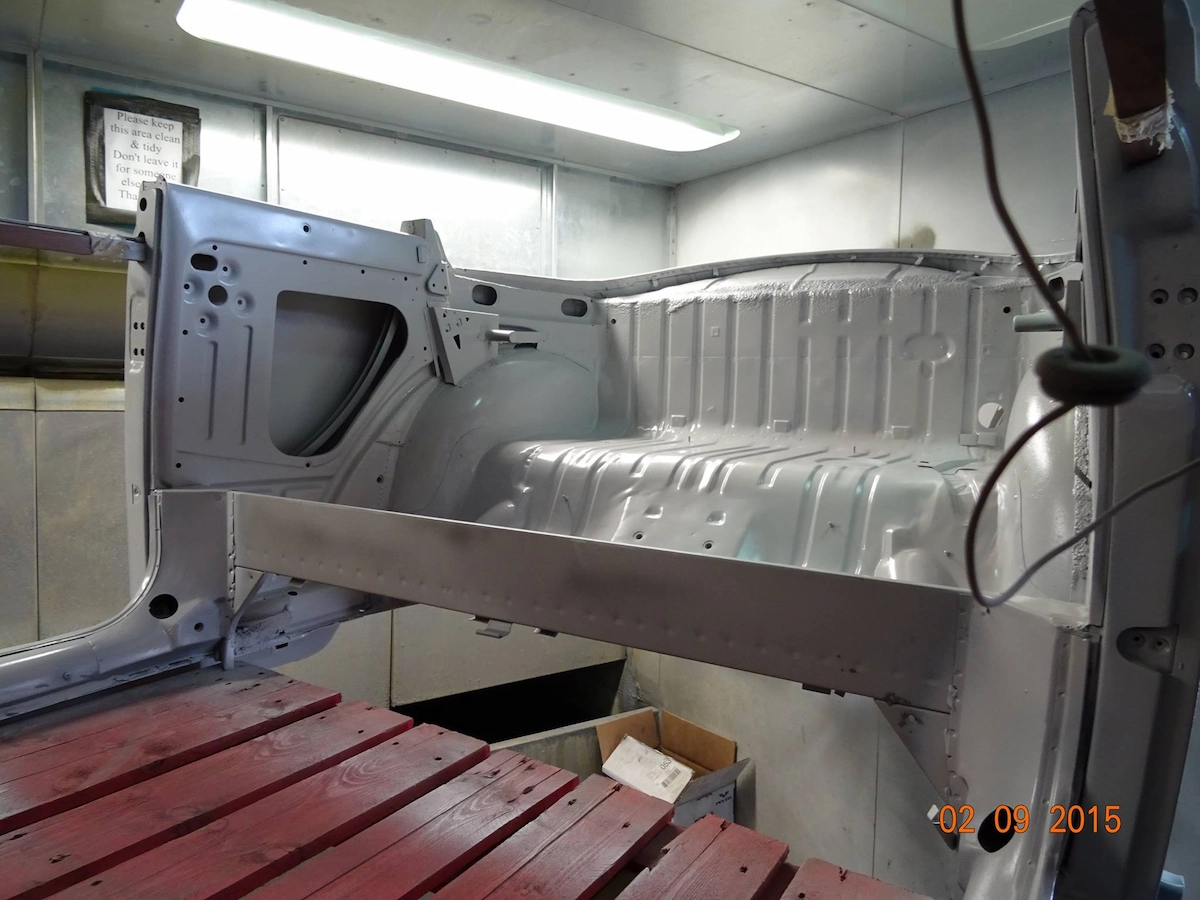
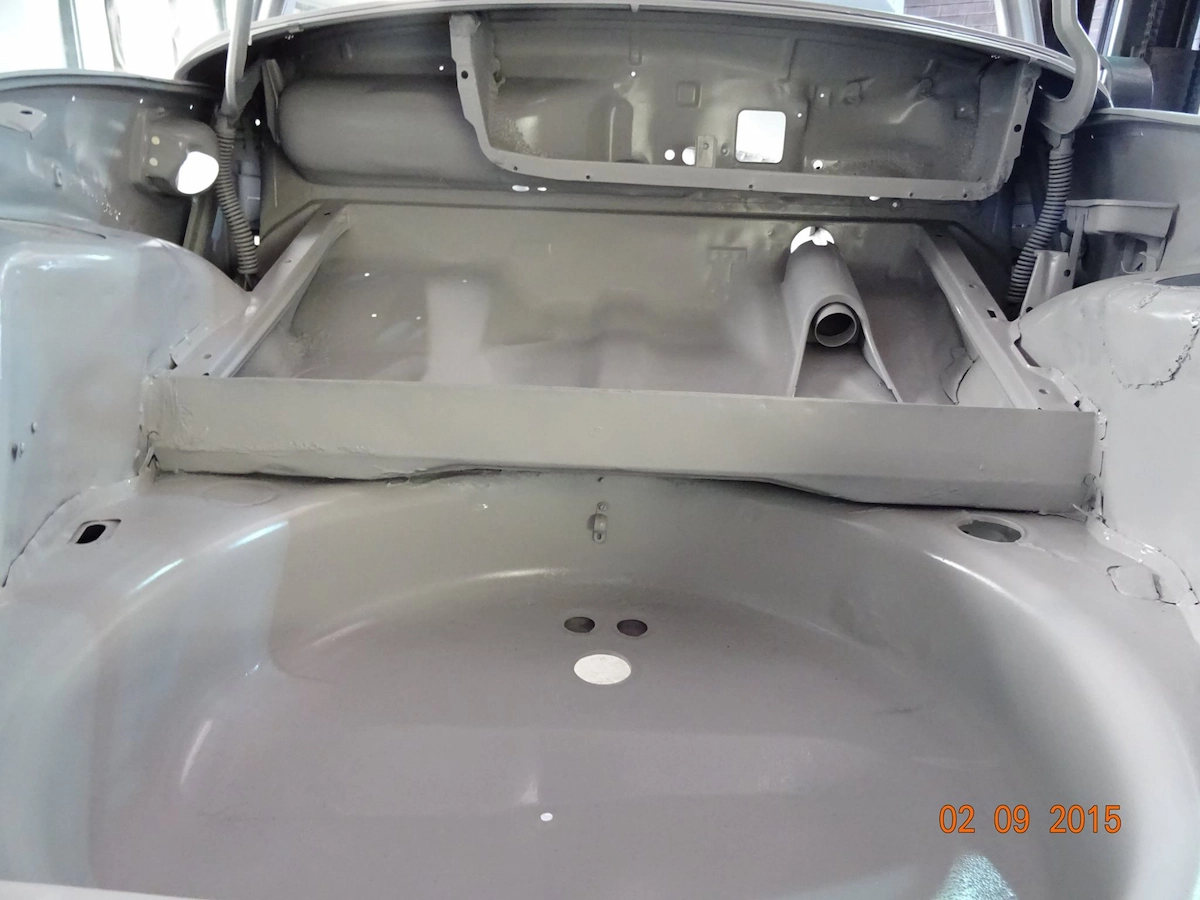
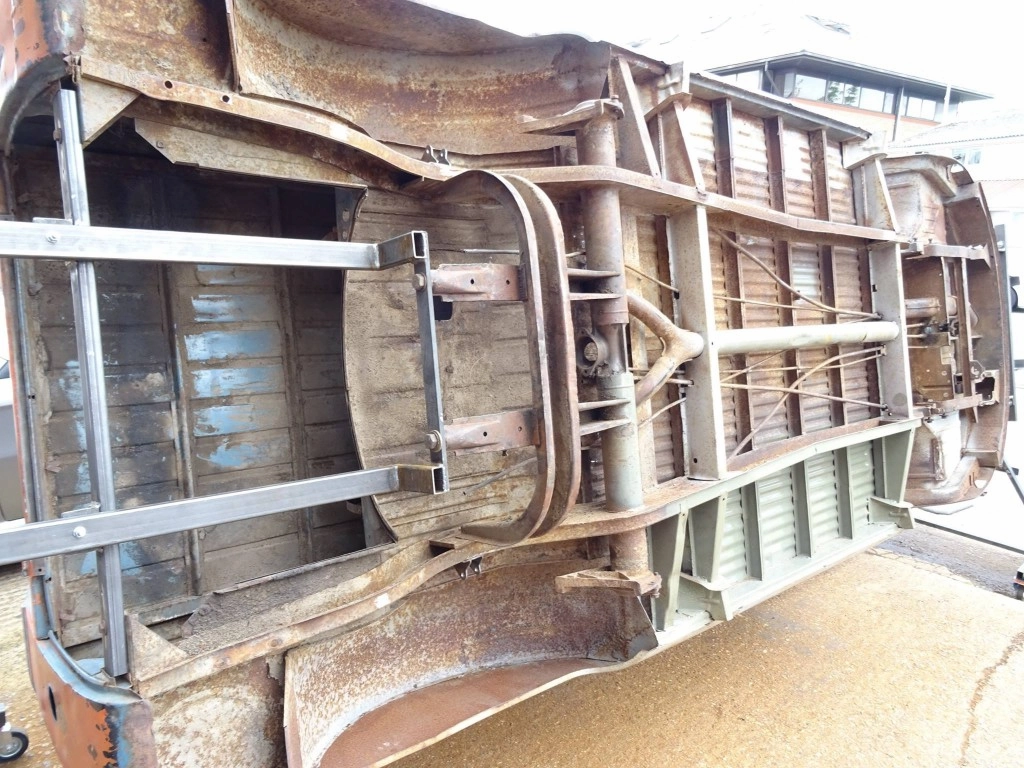
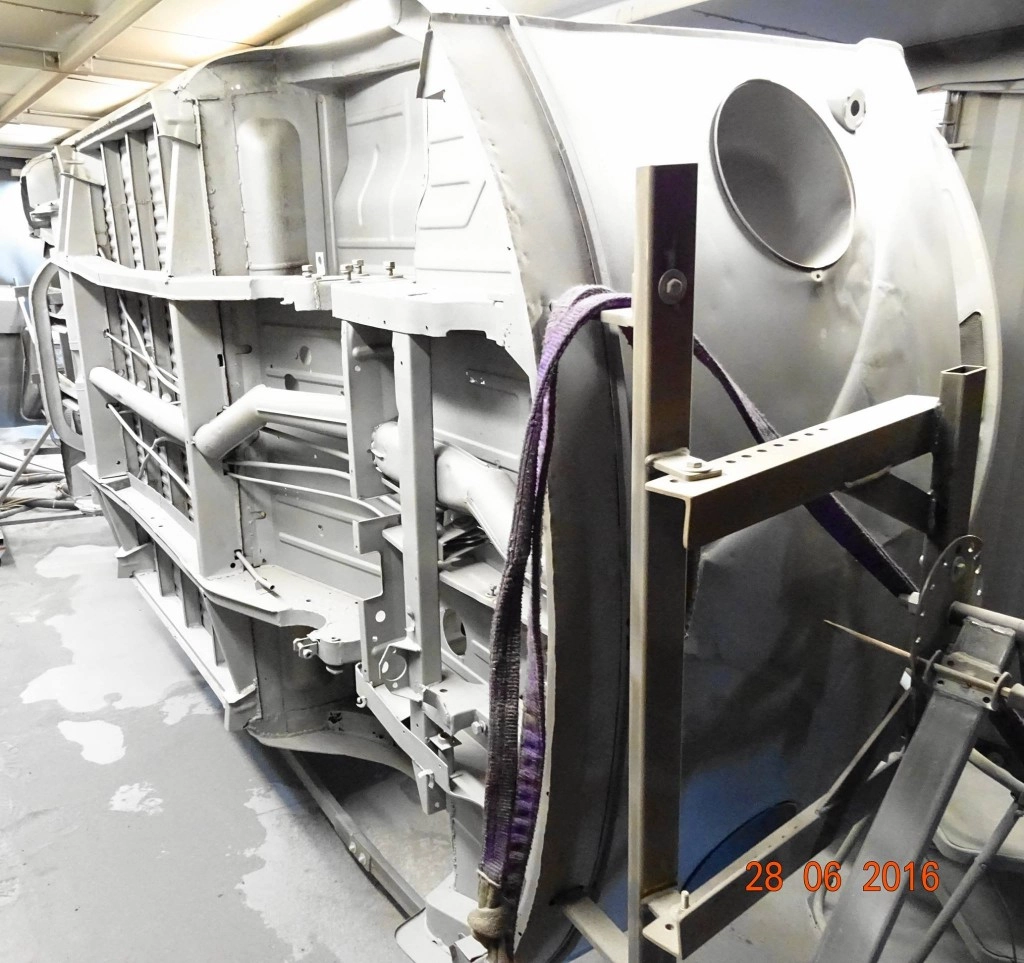
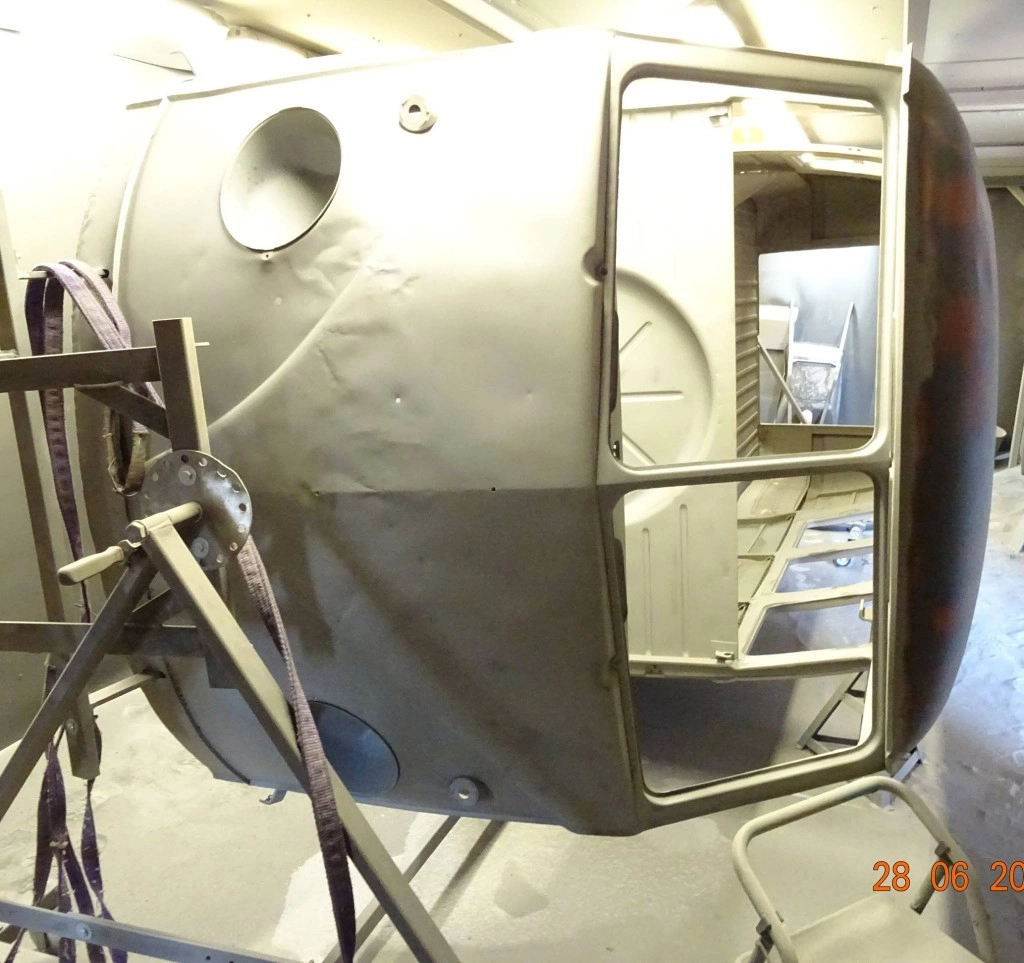
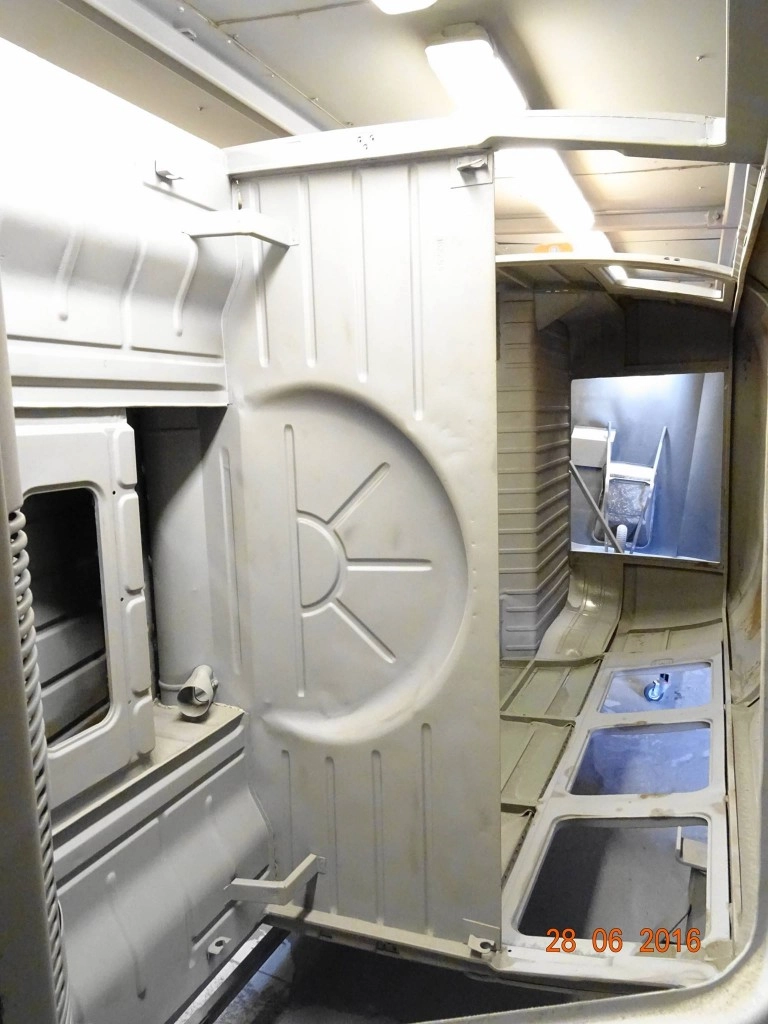
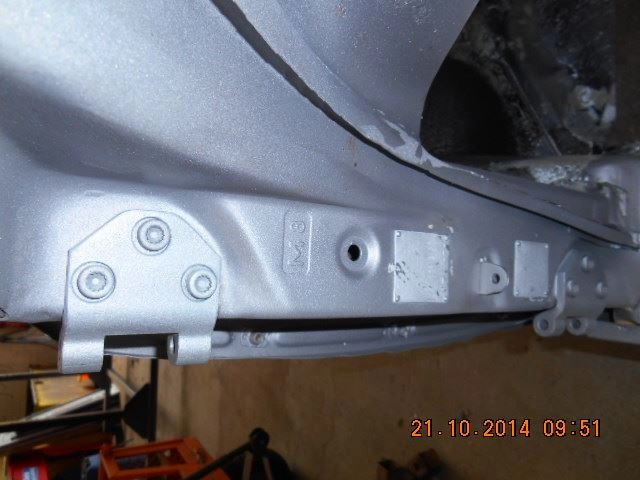
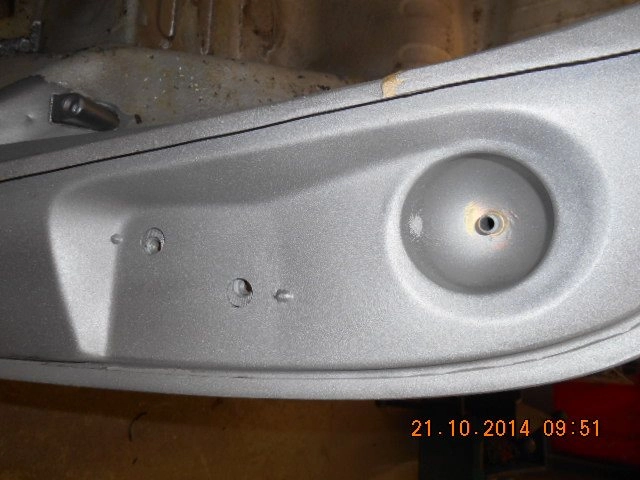
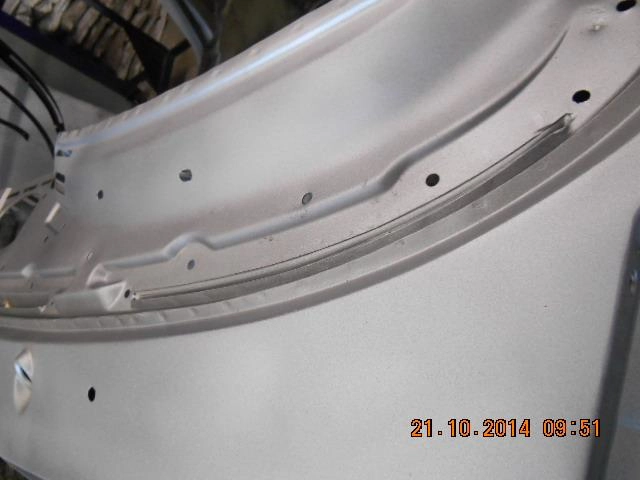
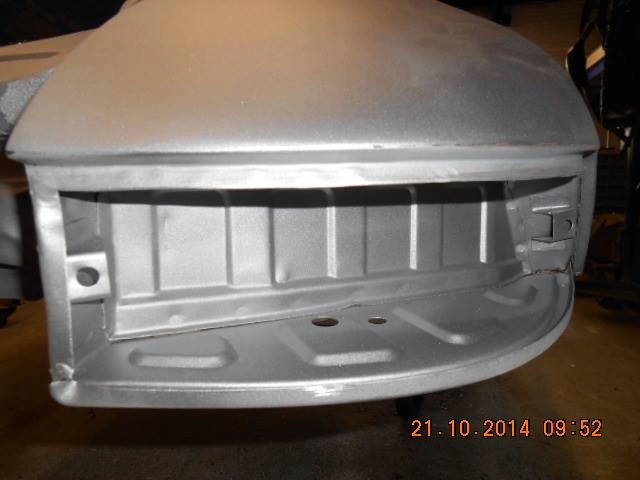
Below are photos showing an E-type having been blast cleaned from start to finish.
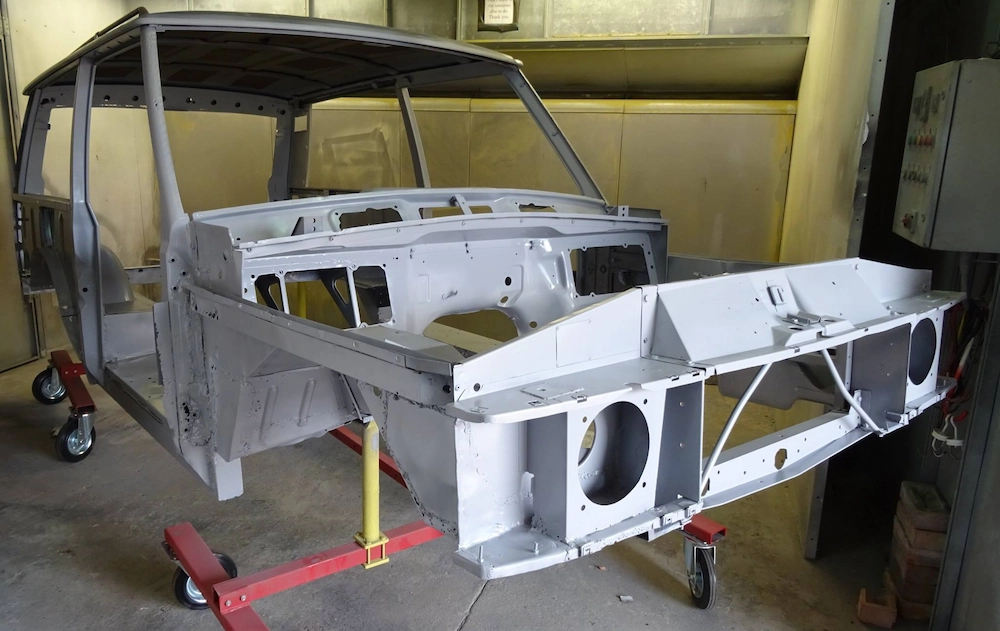
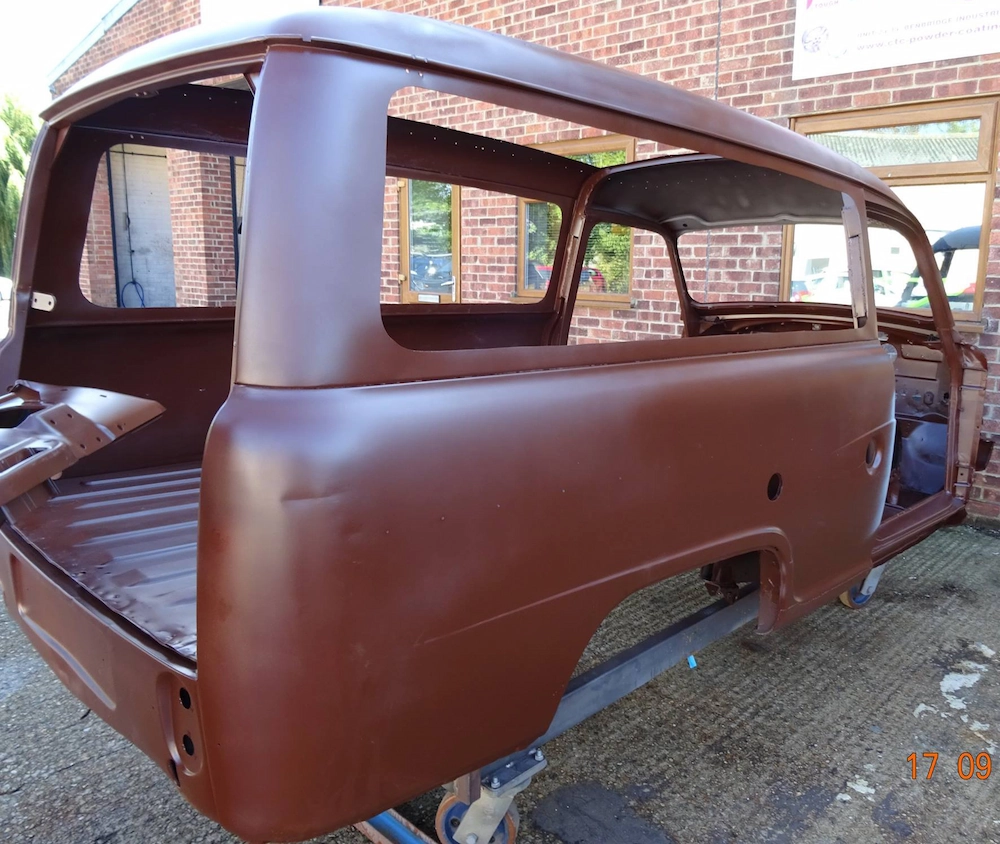
Austin A60 van blasted & primed off to the custom shop.

Triumph Spitfire blasted & primed…


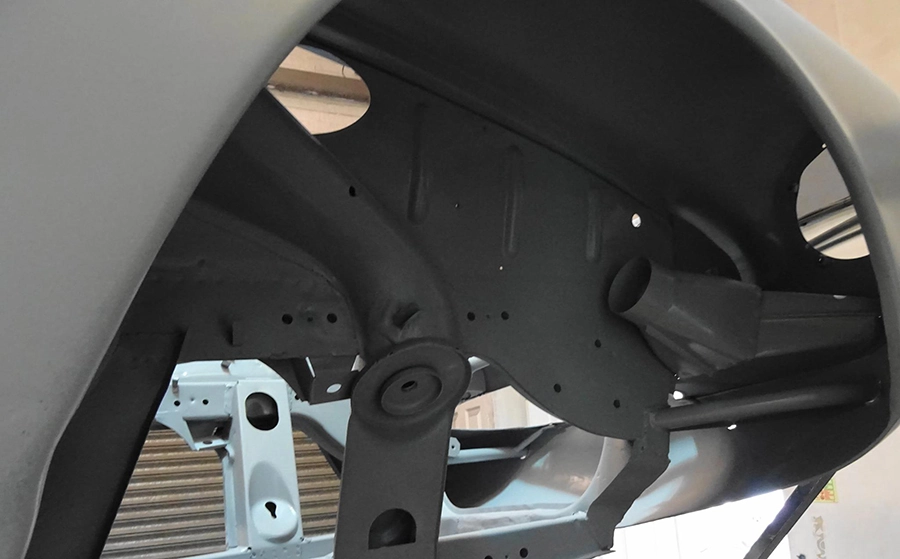
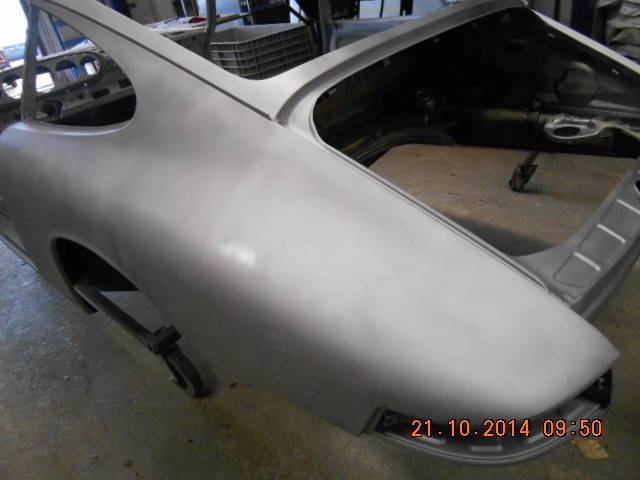
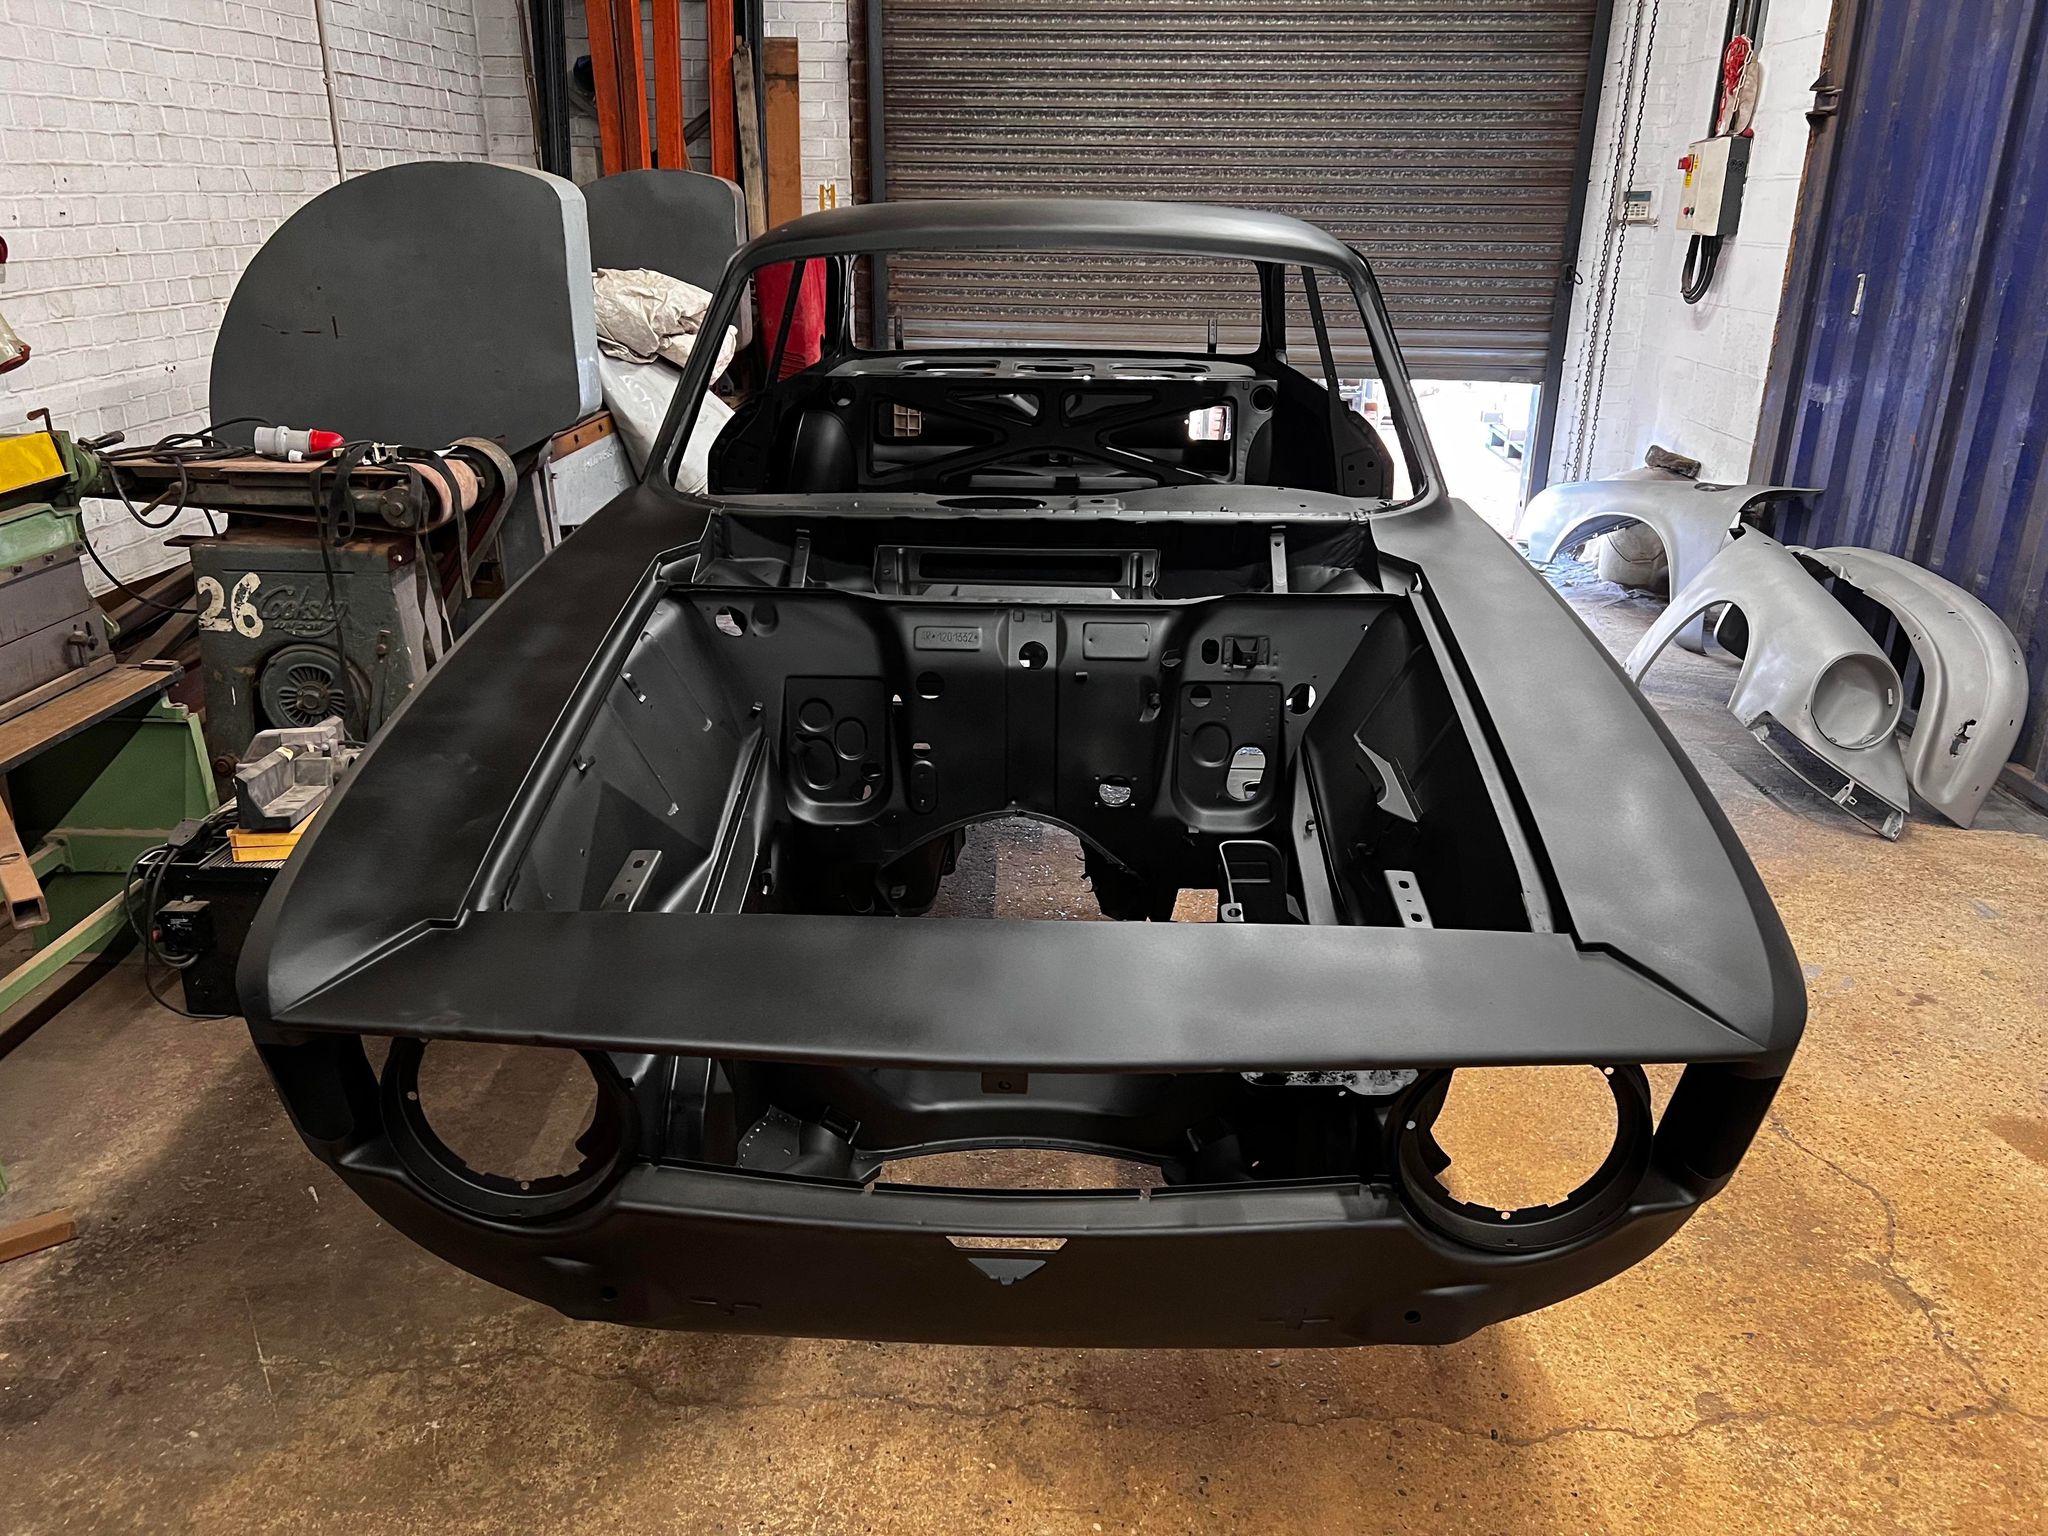
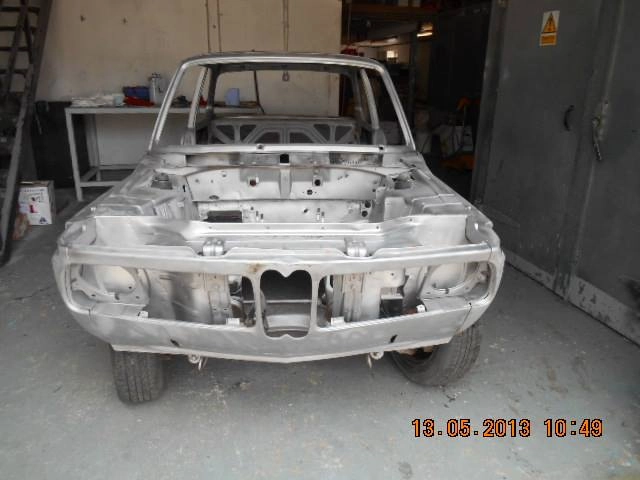
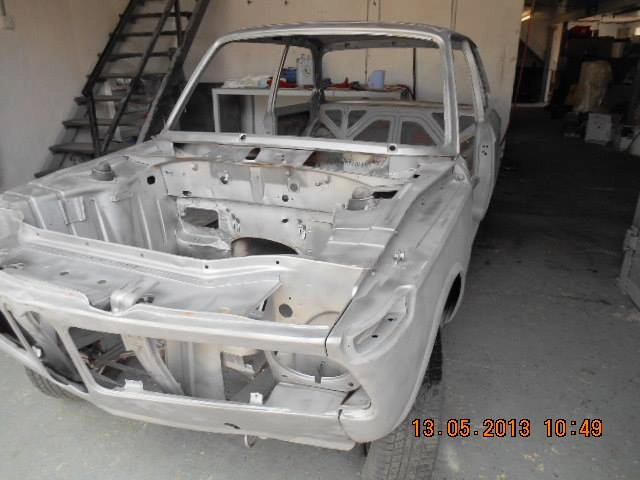
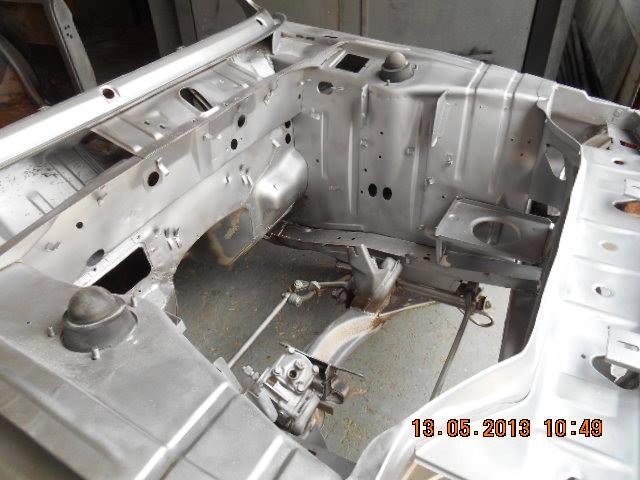
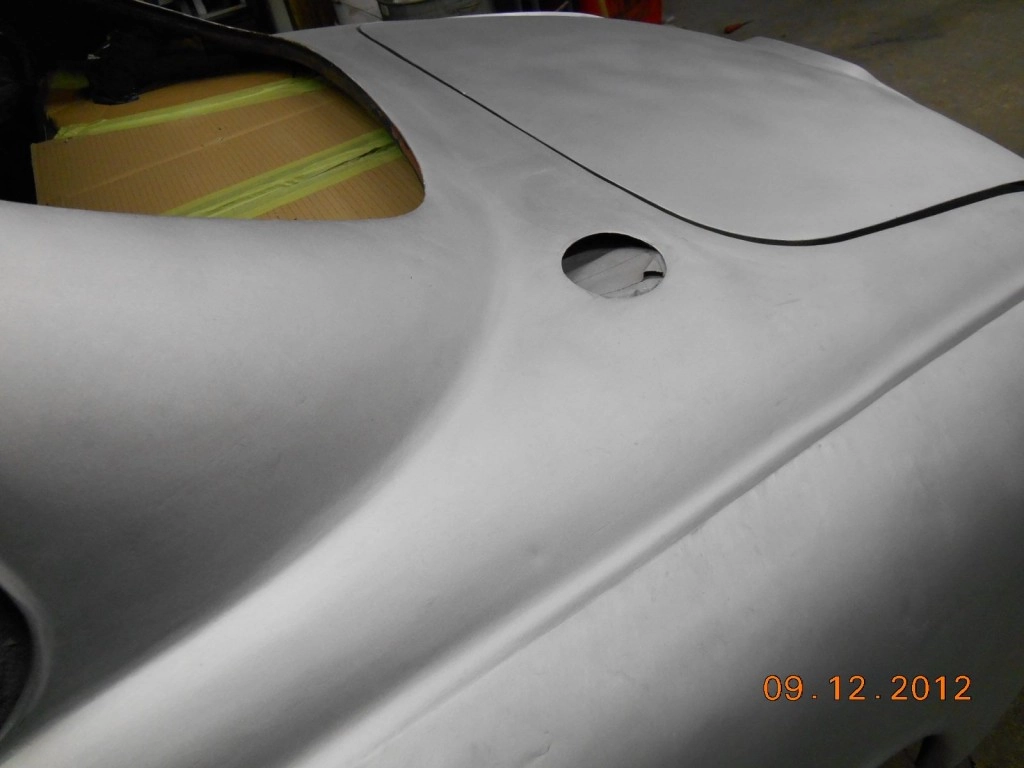
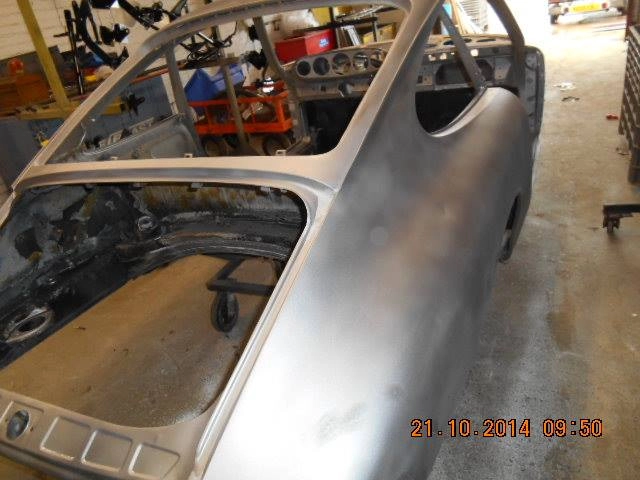
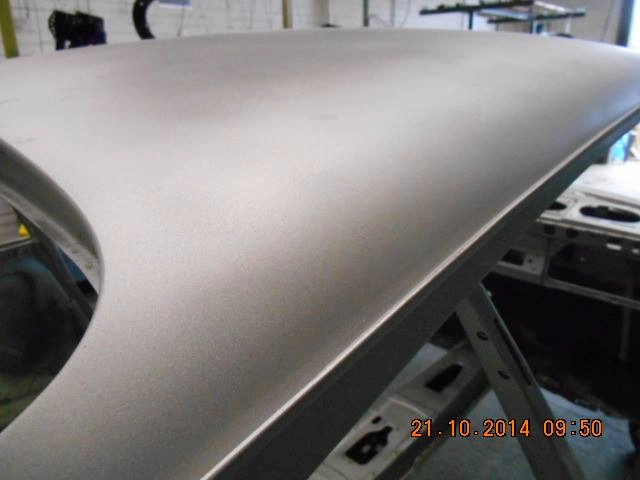
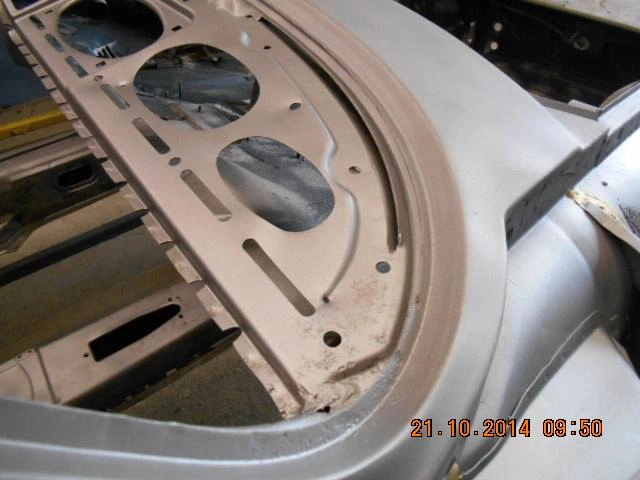
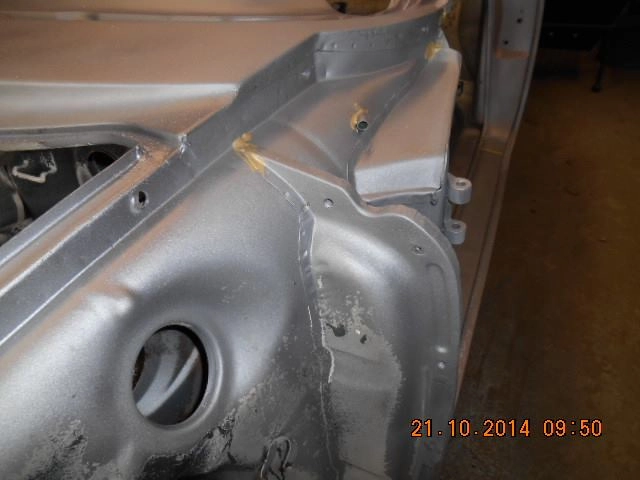
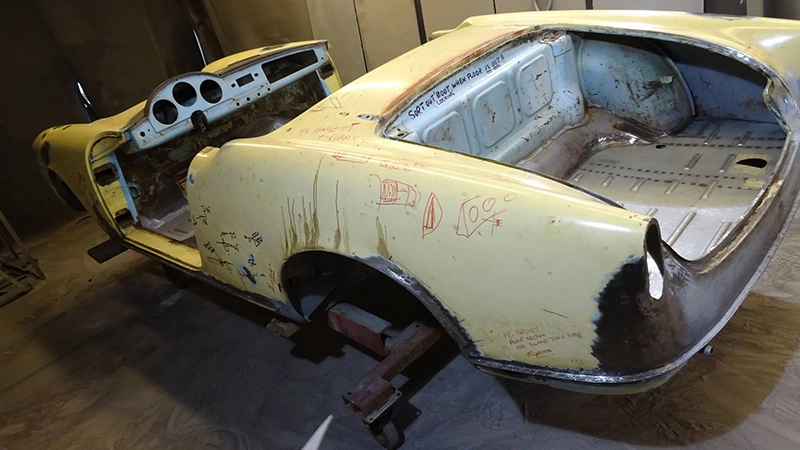
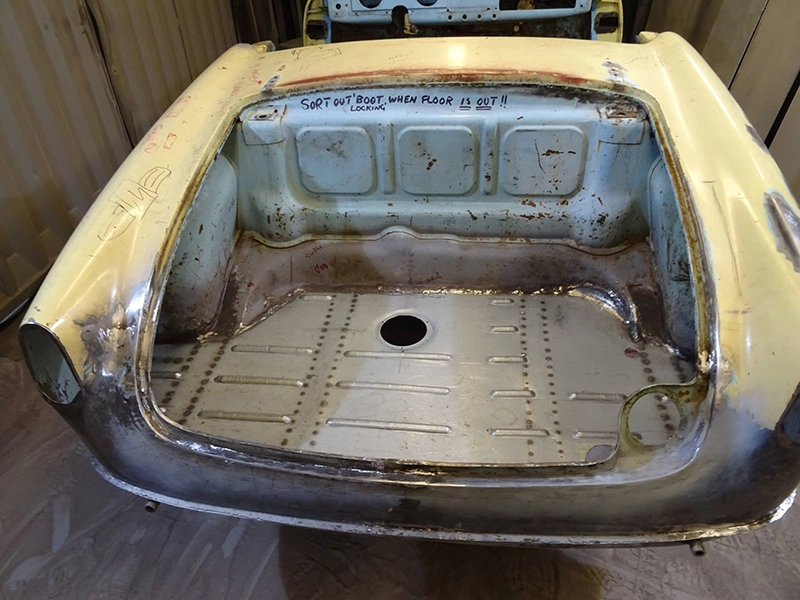
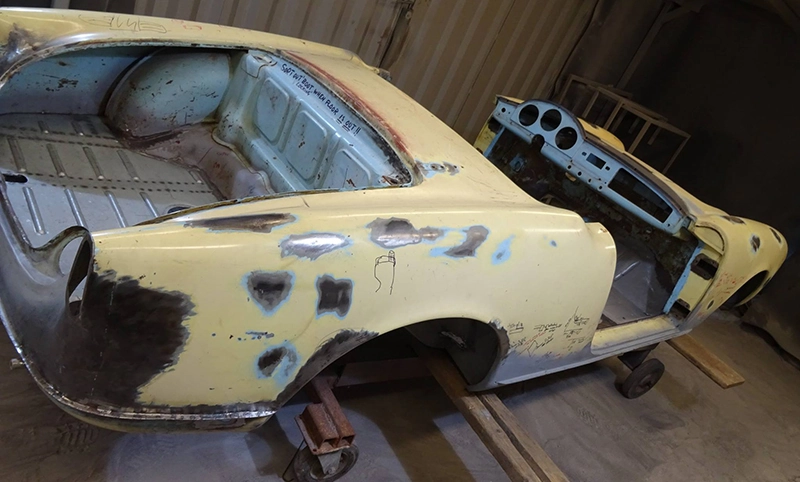
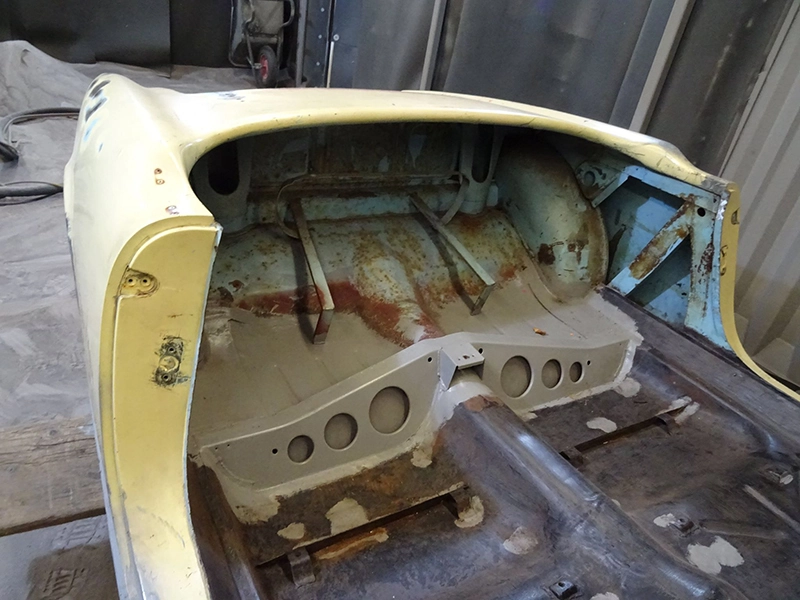
Porsche Body Shell… UNCOVERED!
This according to the body shop had been rebuilt and fully repaired by another resto company, however after blast cleaning the bodge work was only to apparent. It pays to do your homework when choosing the right company to carry out this sort of work.

BMW fine bead blasted…
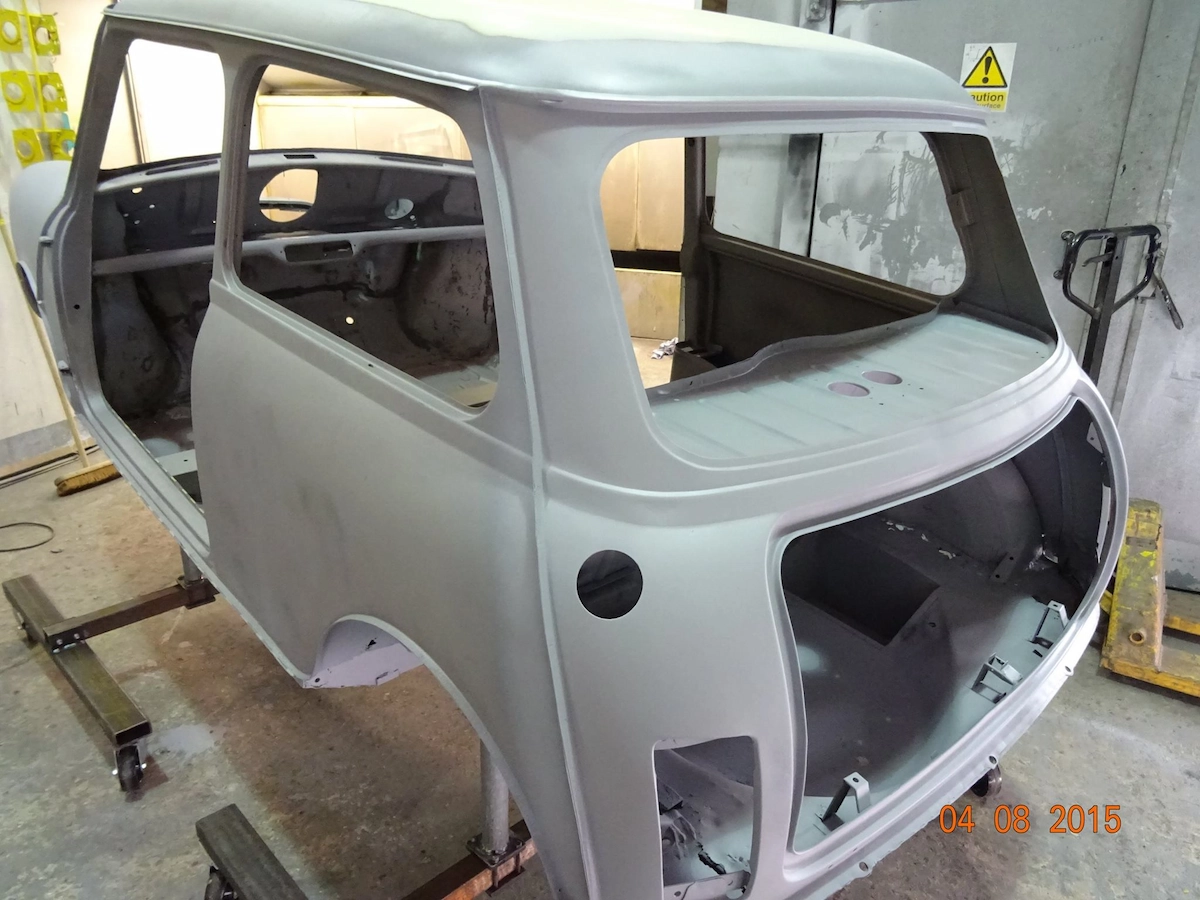
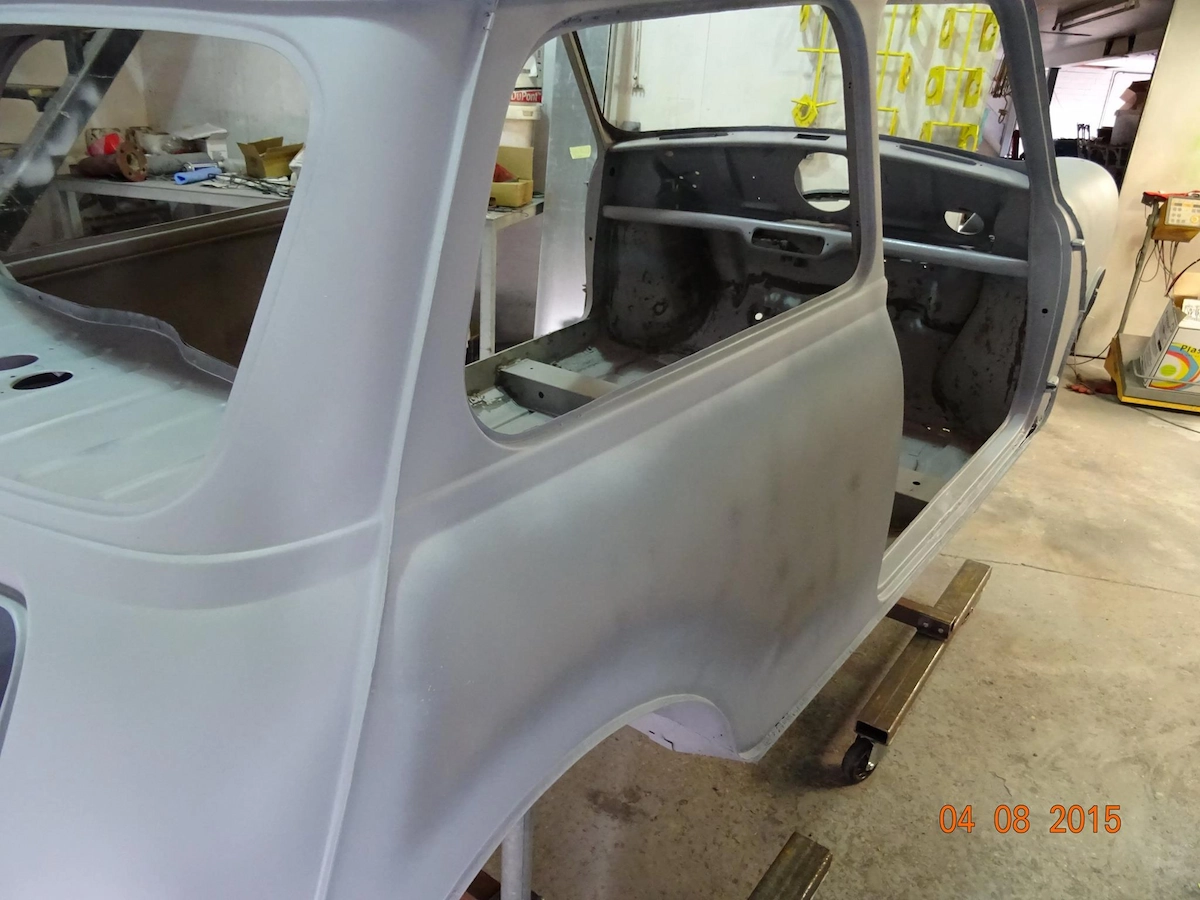
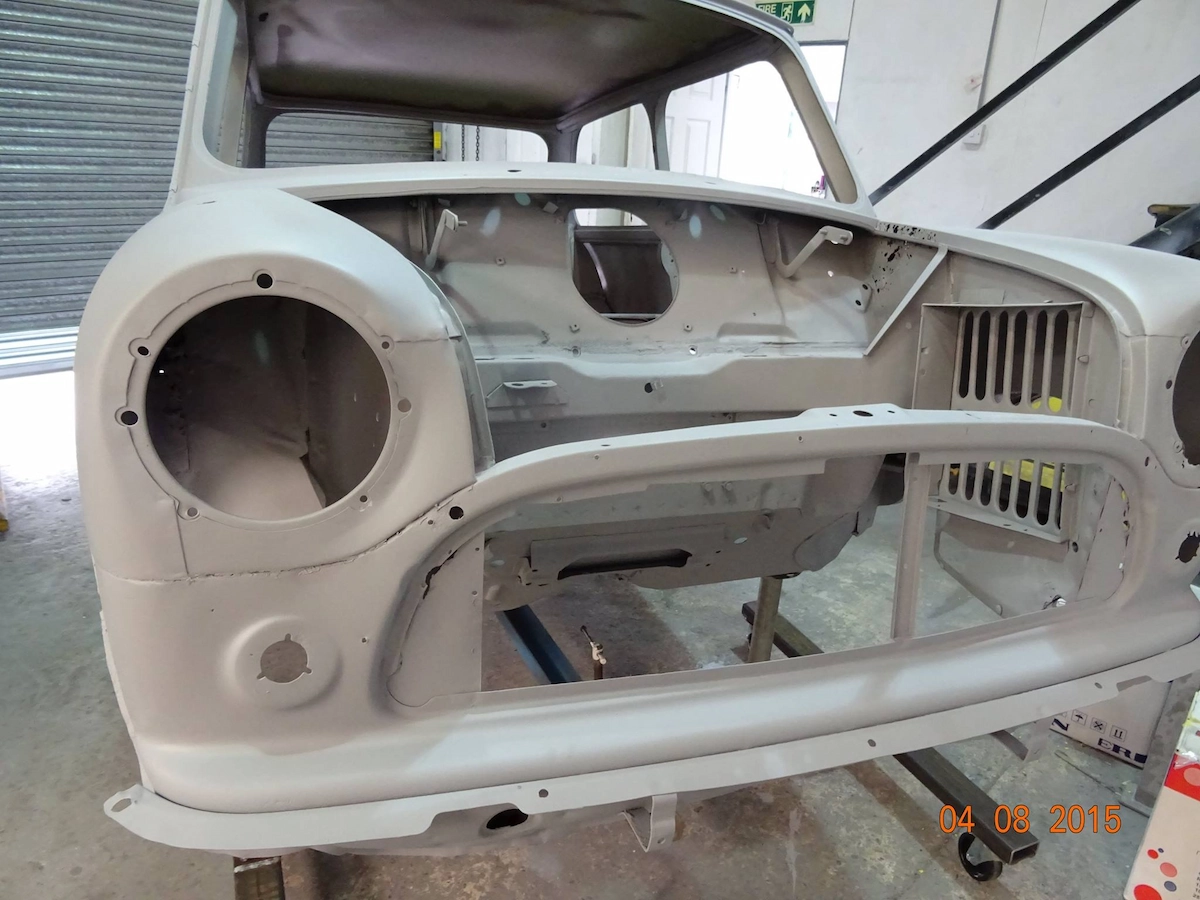
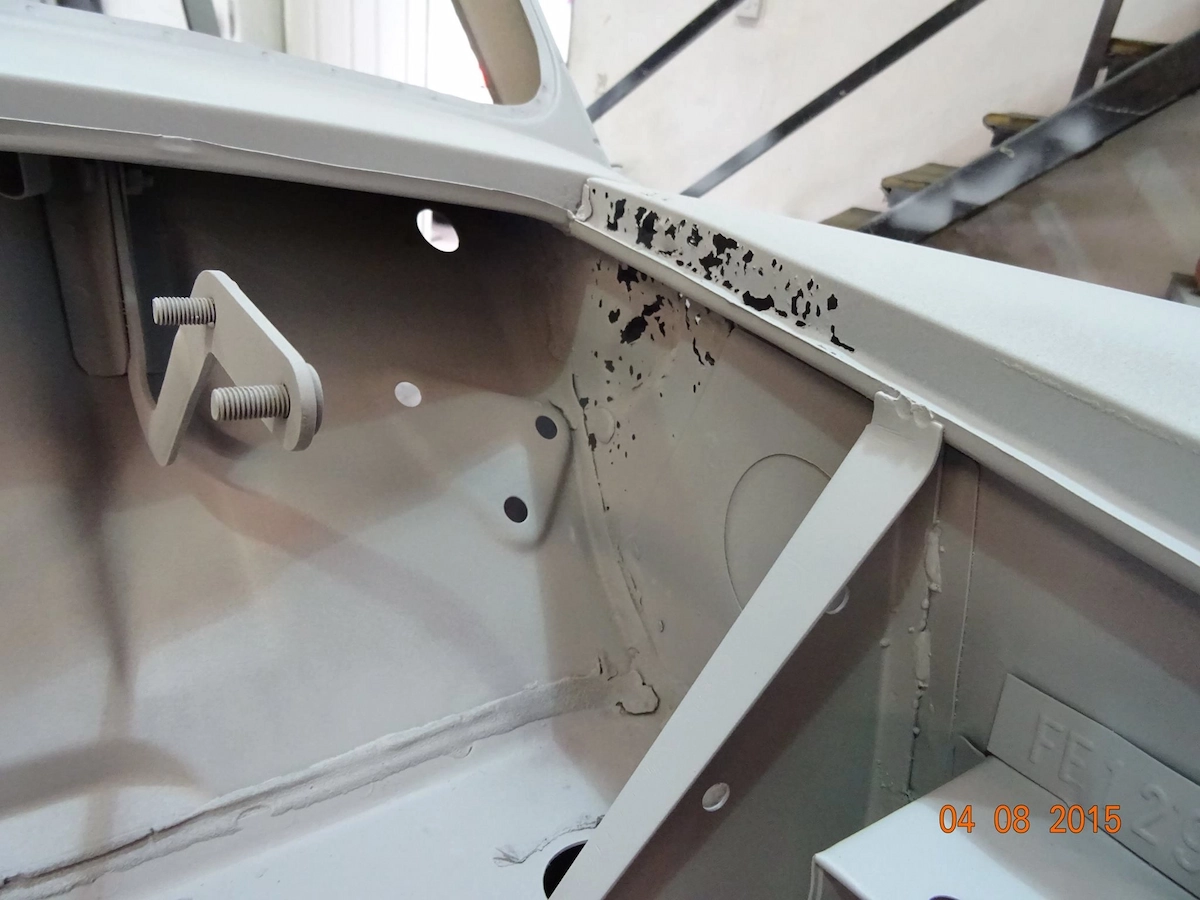
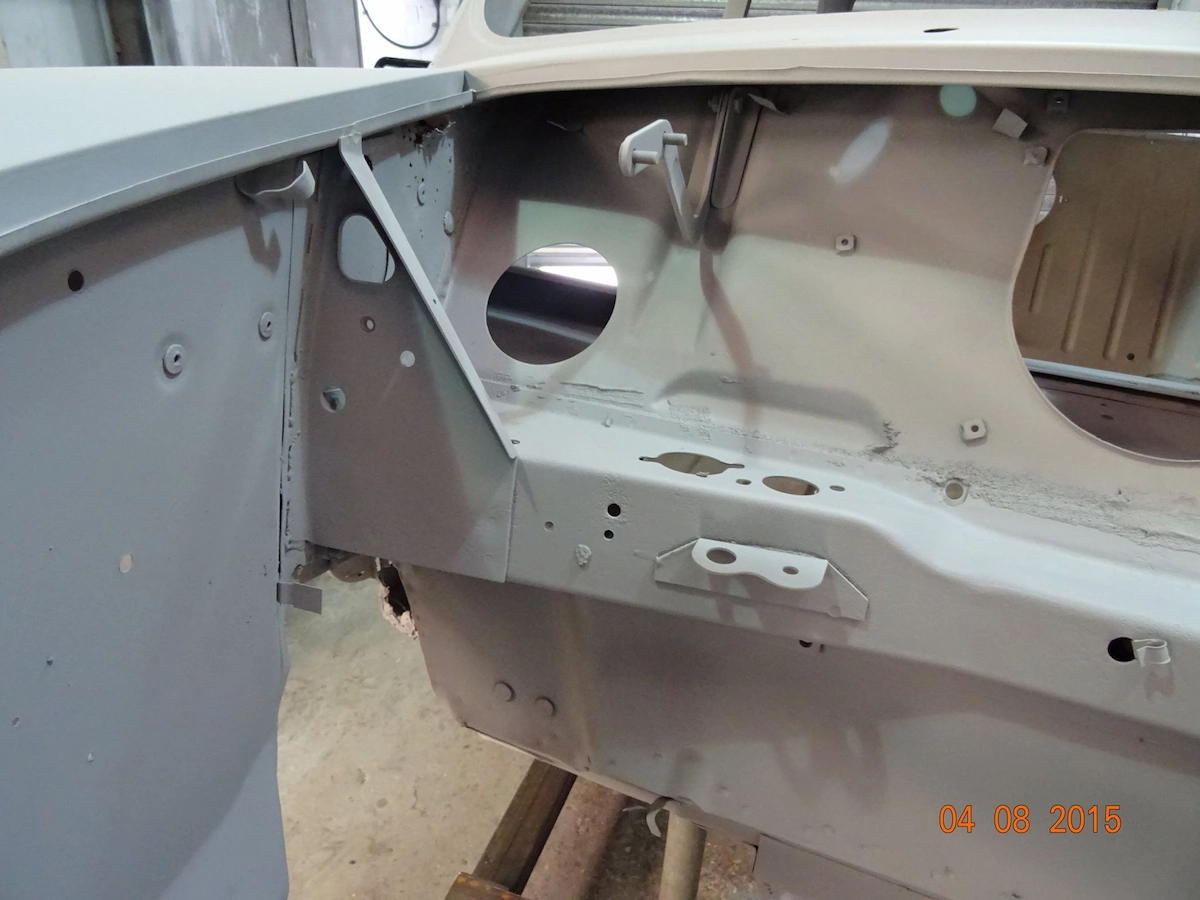
This Mini Clubman in need of some serious restoration & TLC…

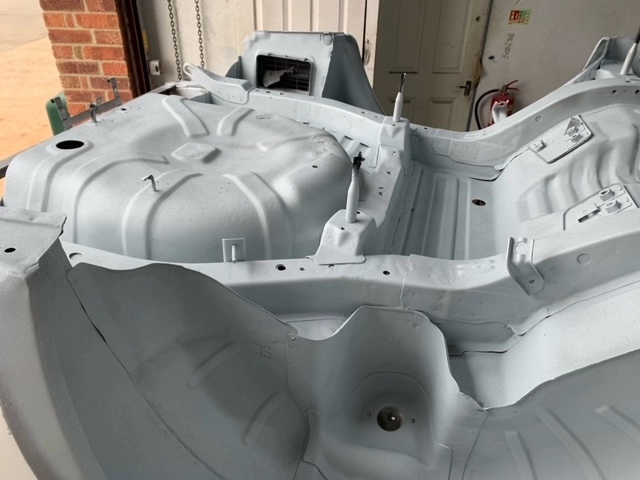
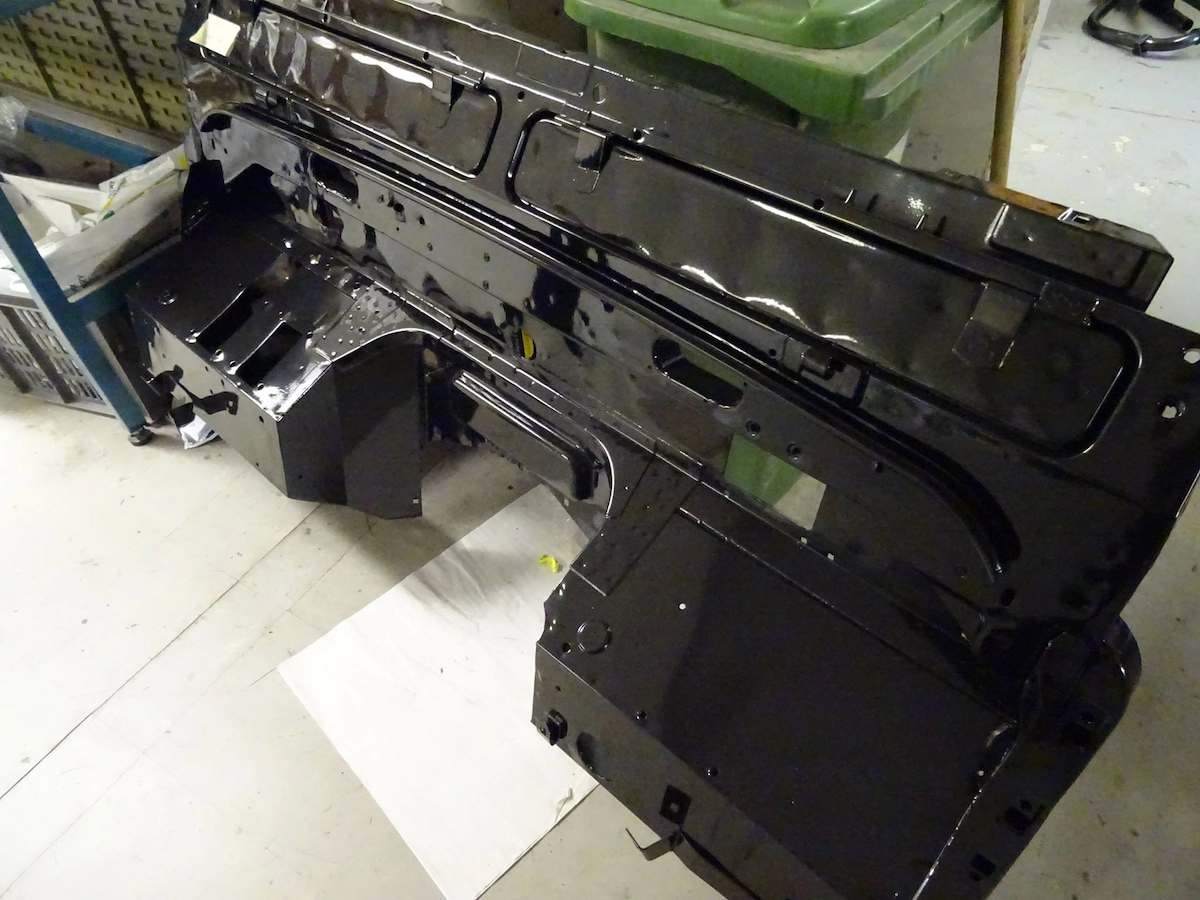
Land Rover Bulk head. Ultimate protection system used.
Black phosphate, hot metal zinc coat & plascoat PPA . Sorted for life.


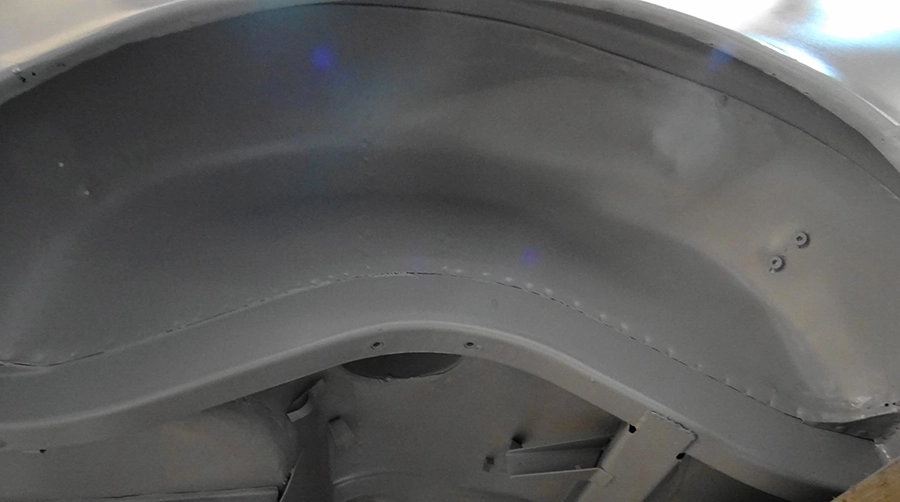
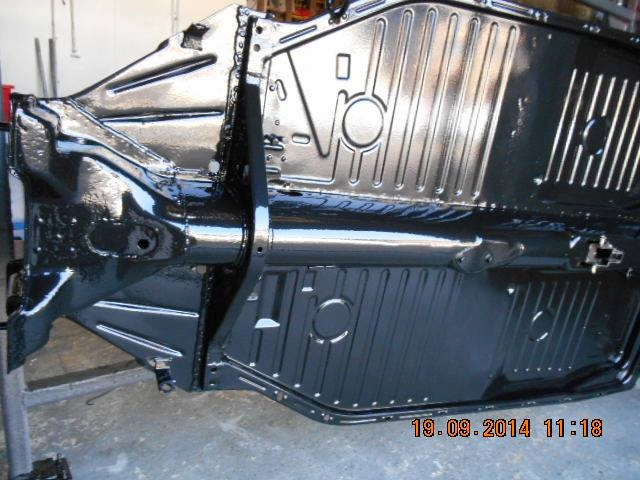
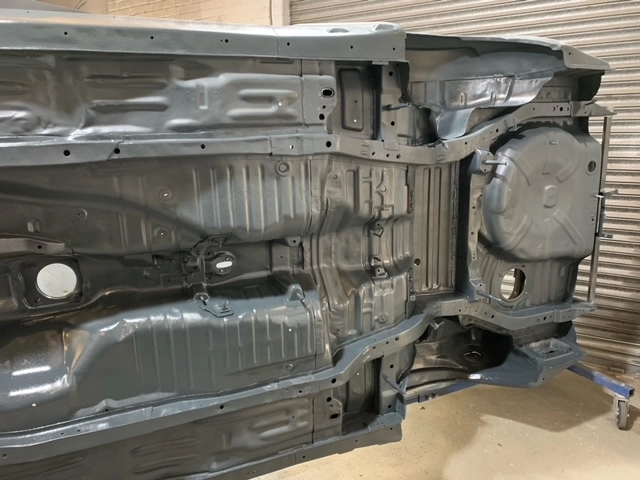
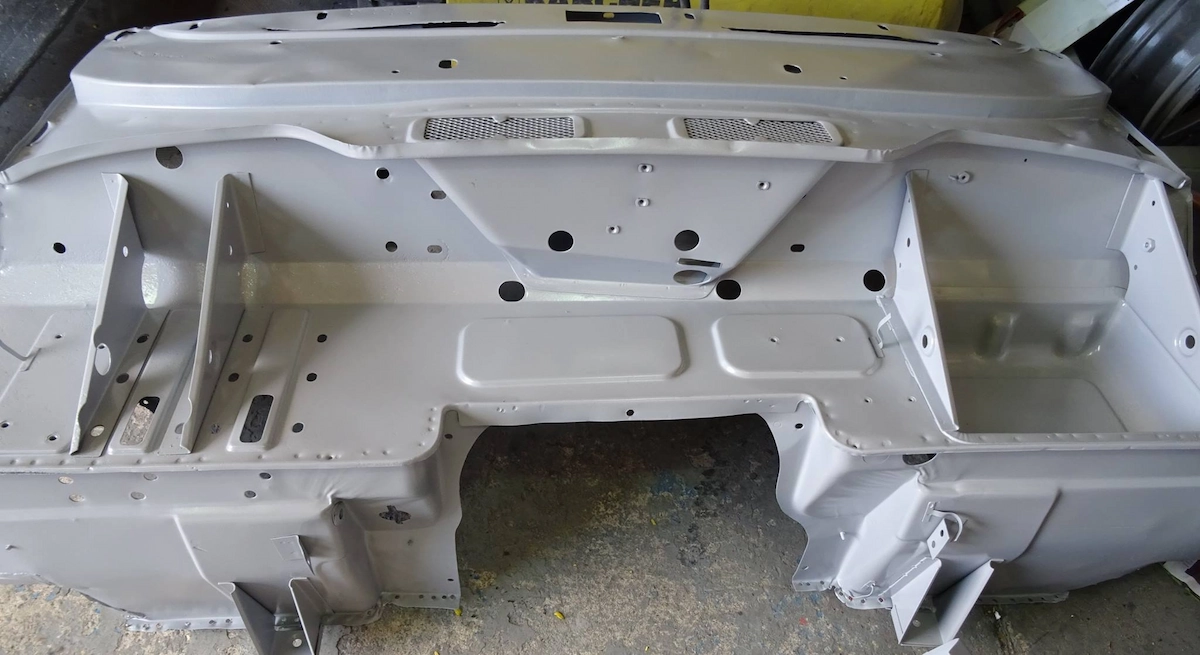
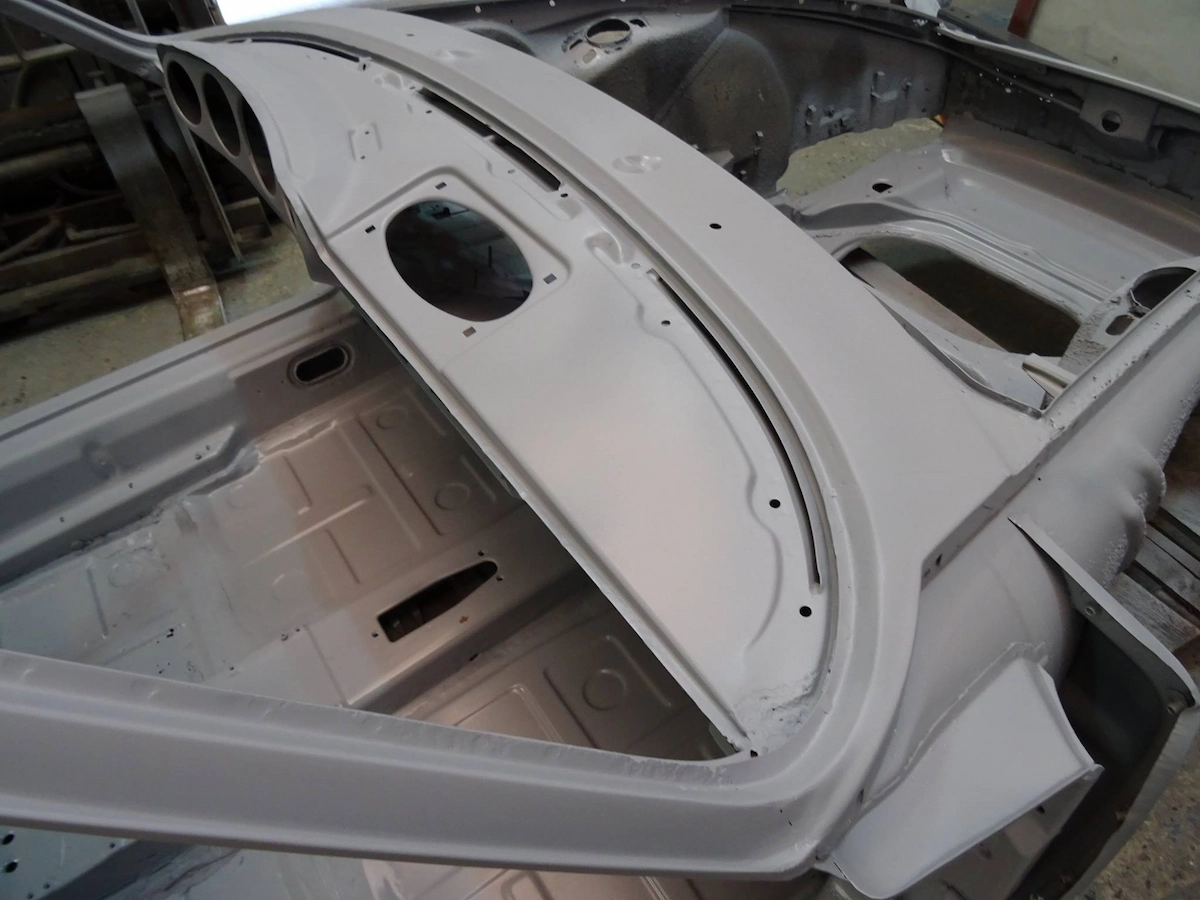
Another example of a blasted & primed finish…
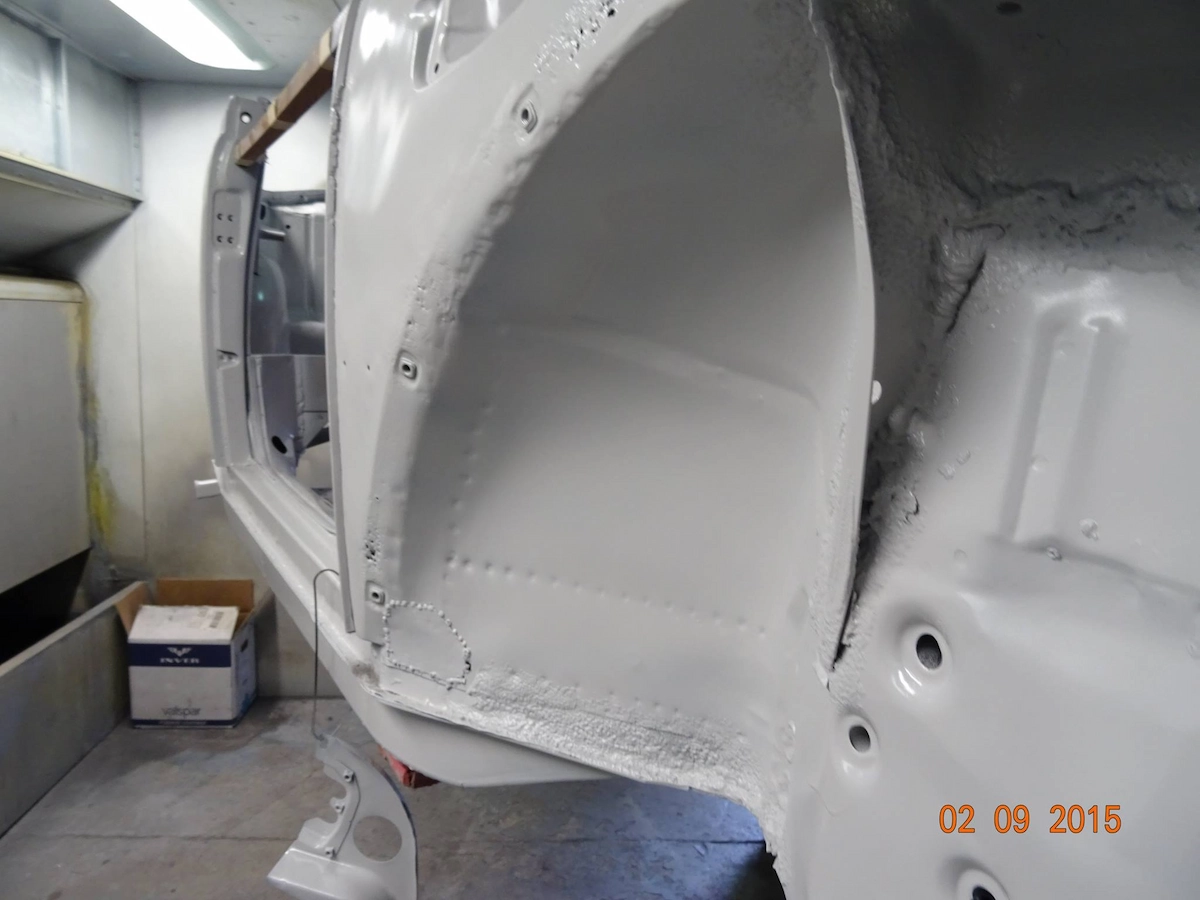
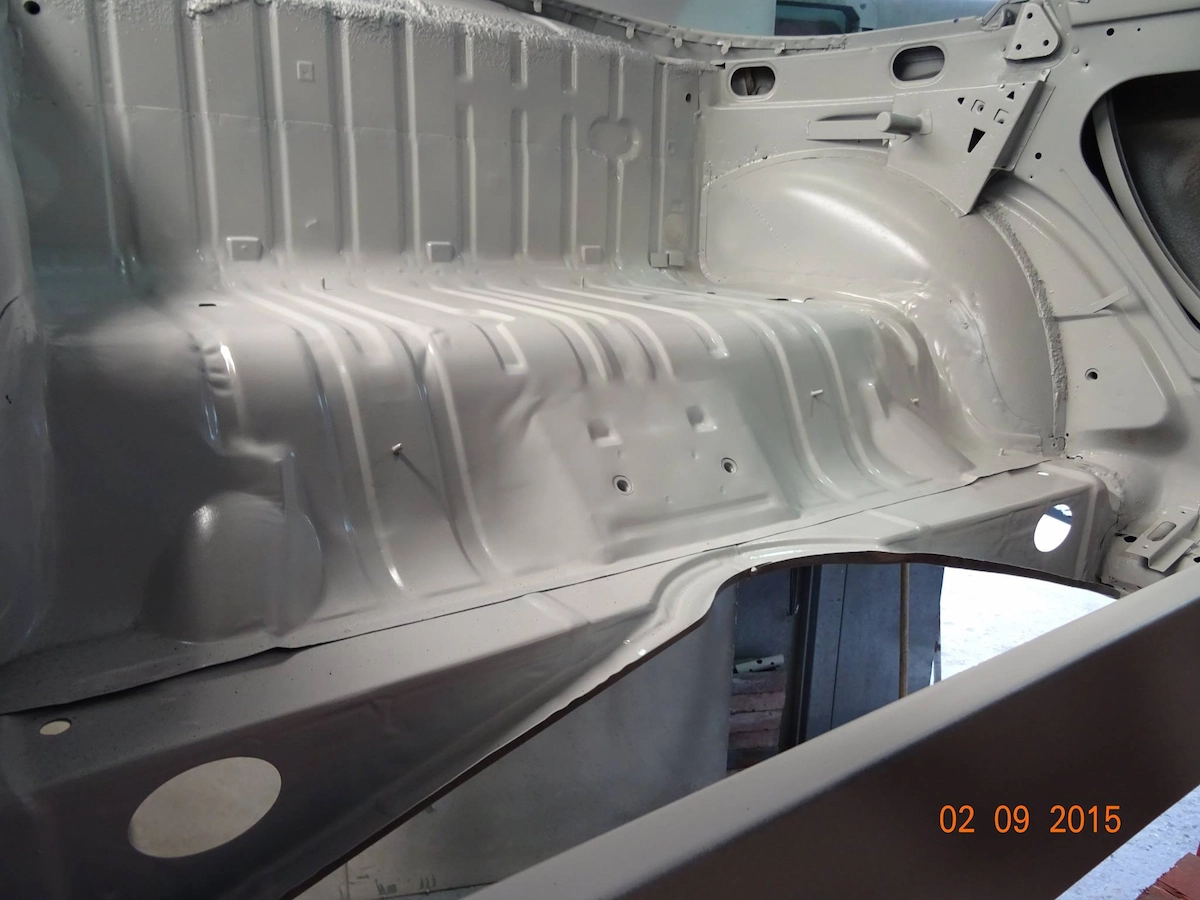
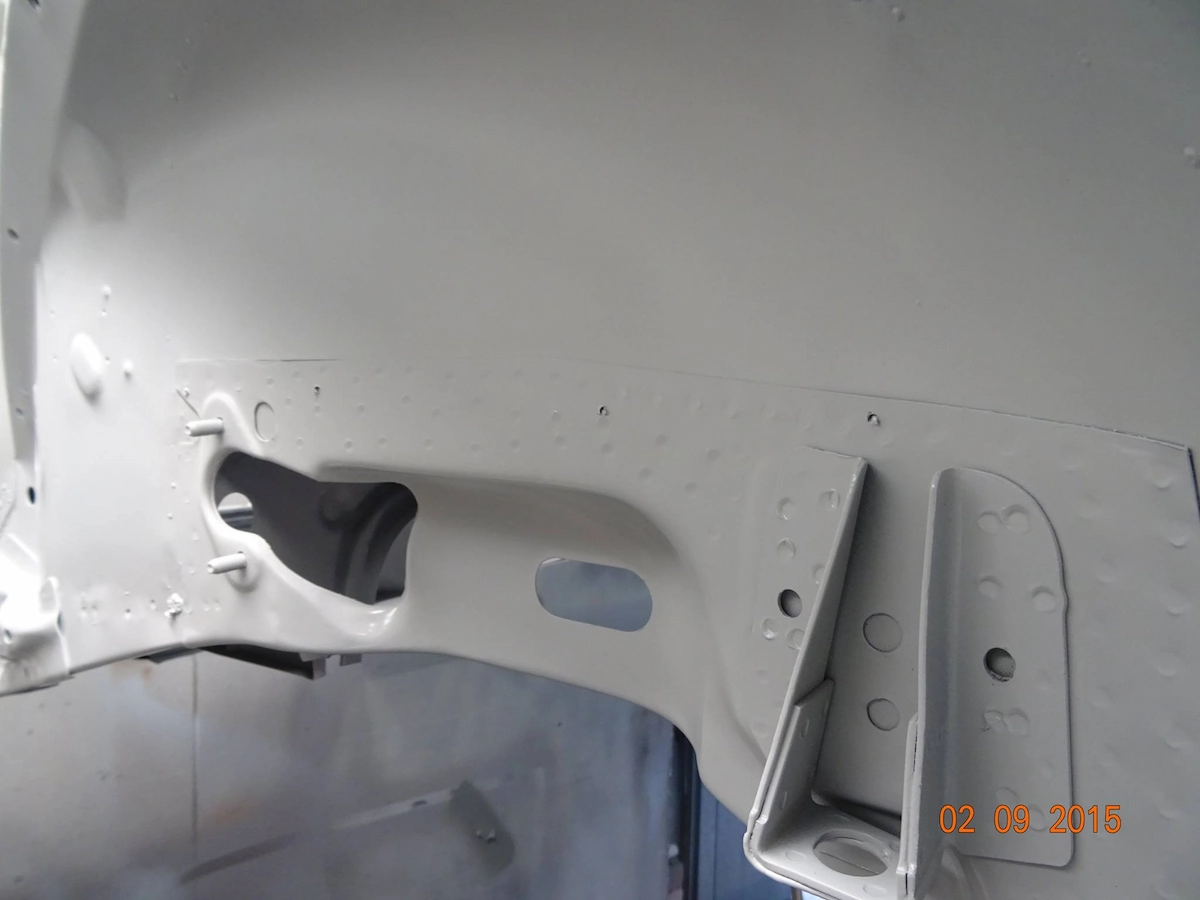
Mini body shell bead blasted & primed…

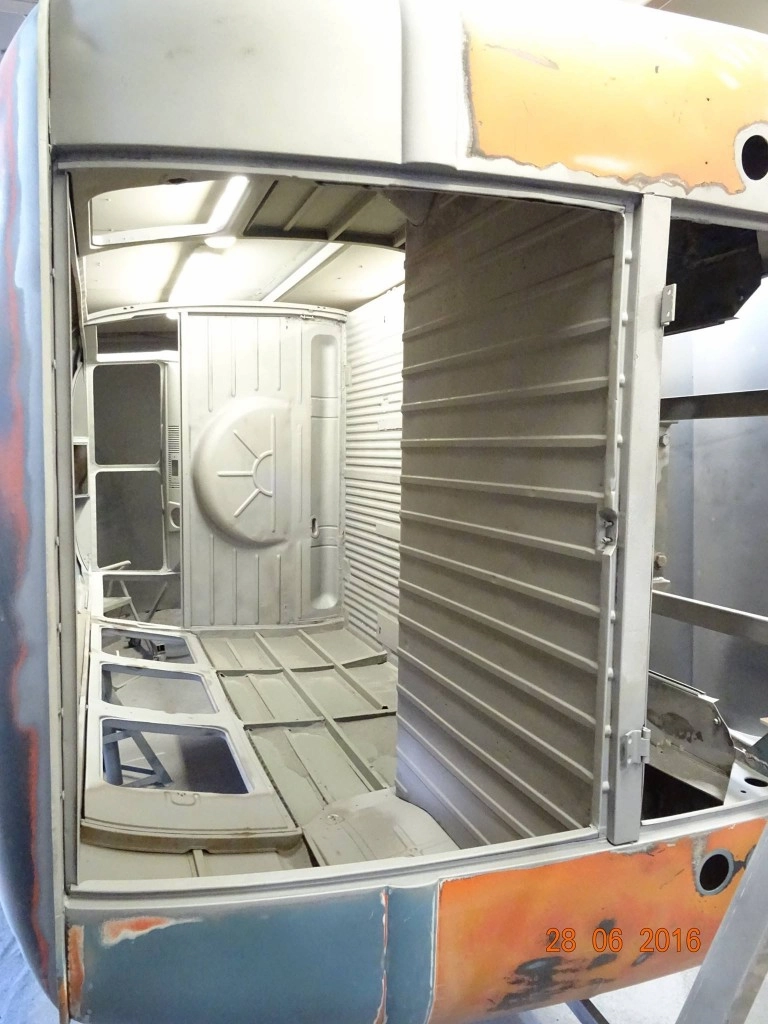
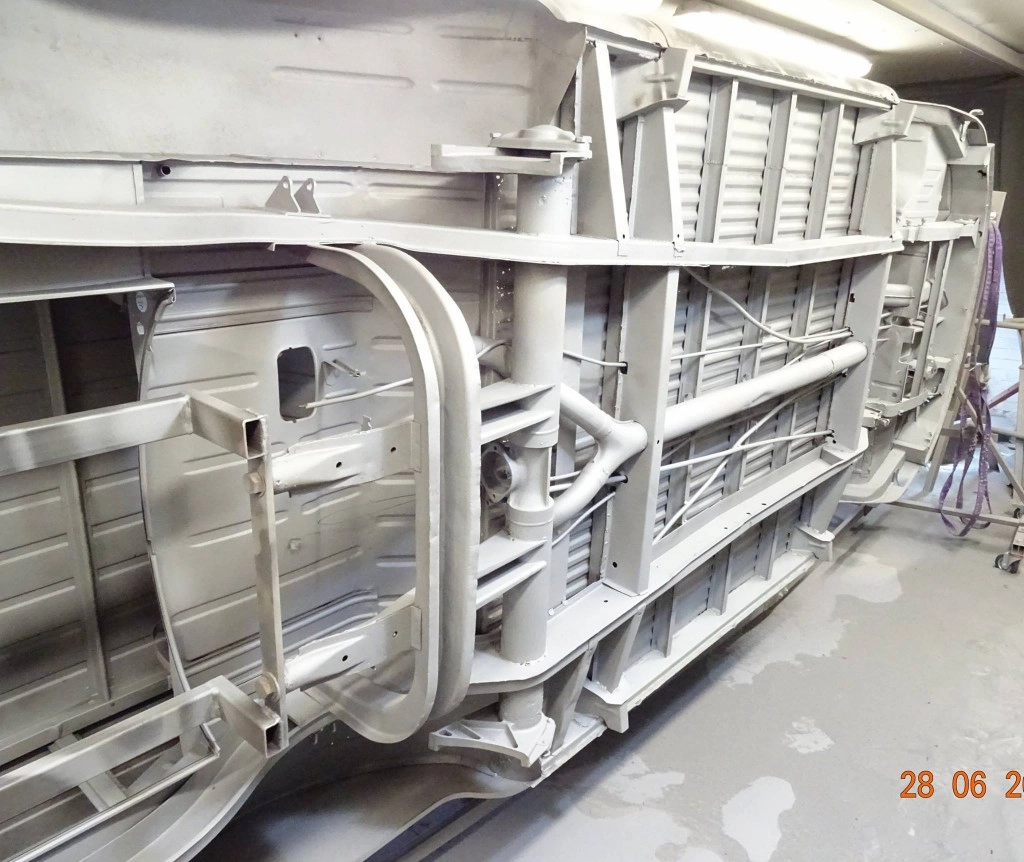
VW Camper in for some restoration… Before & After shots of some gentle blast cleaning…

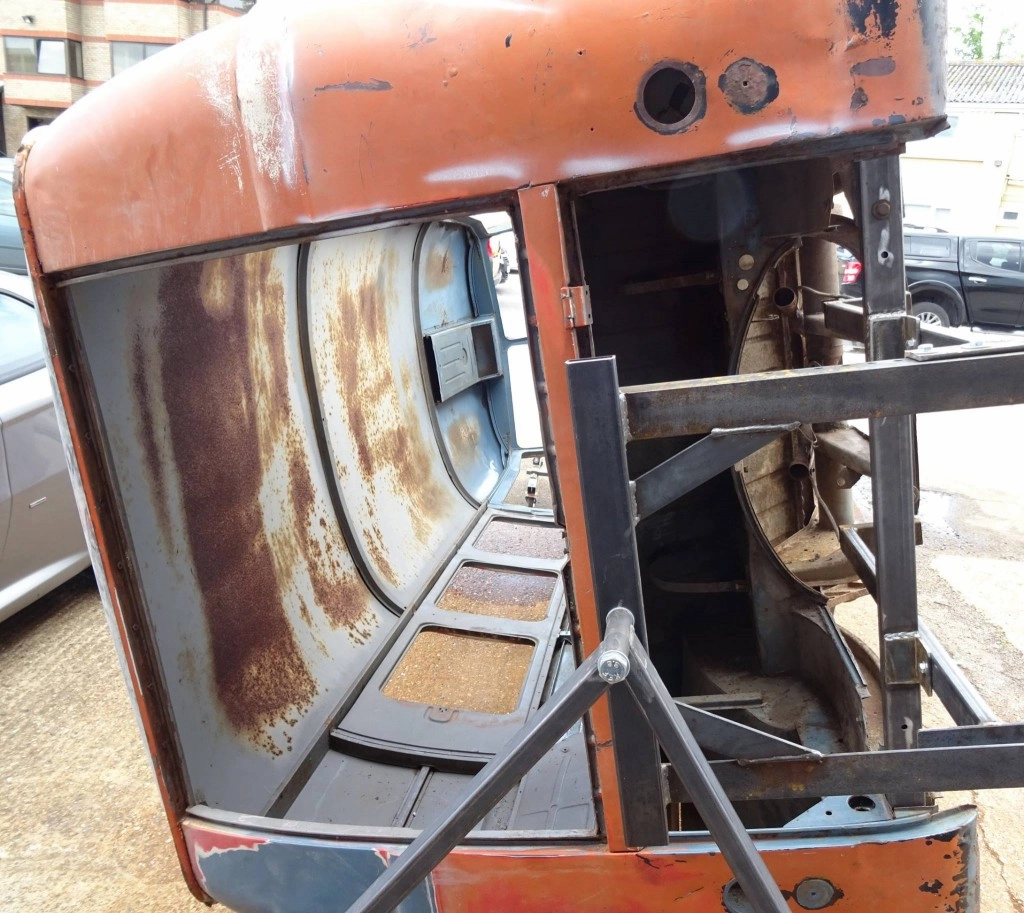
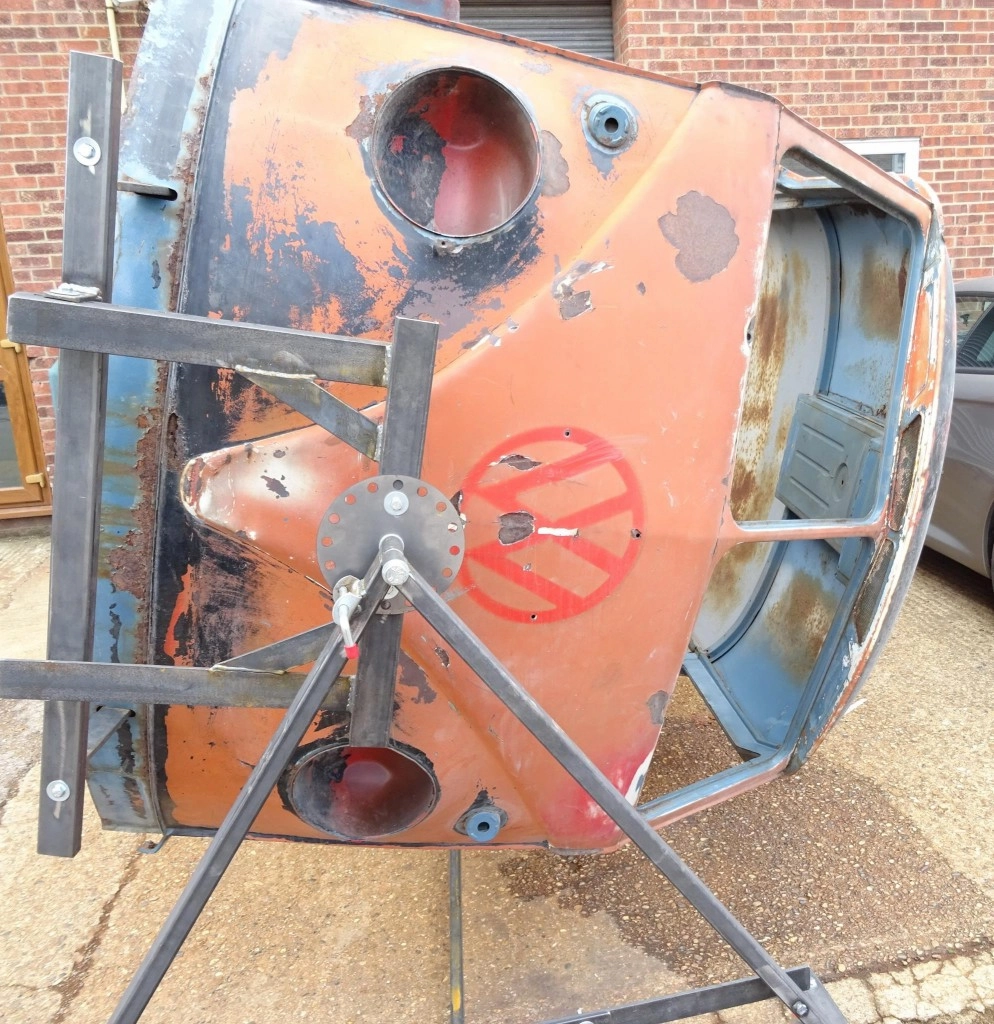
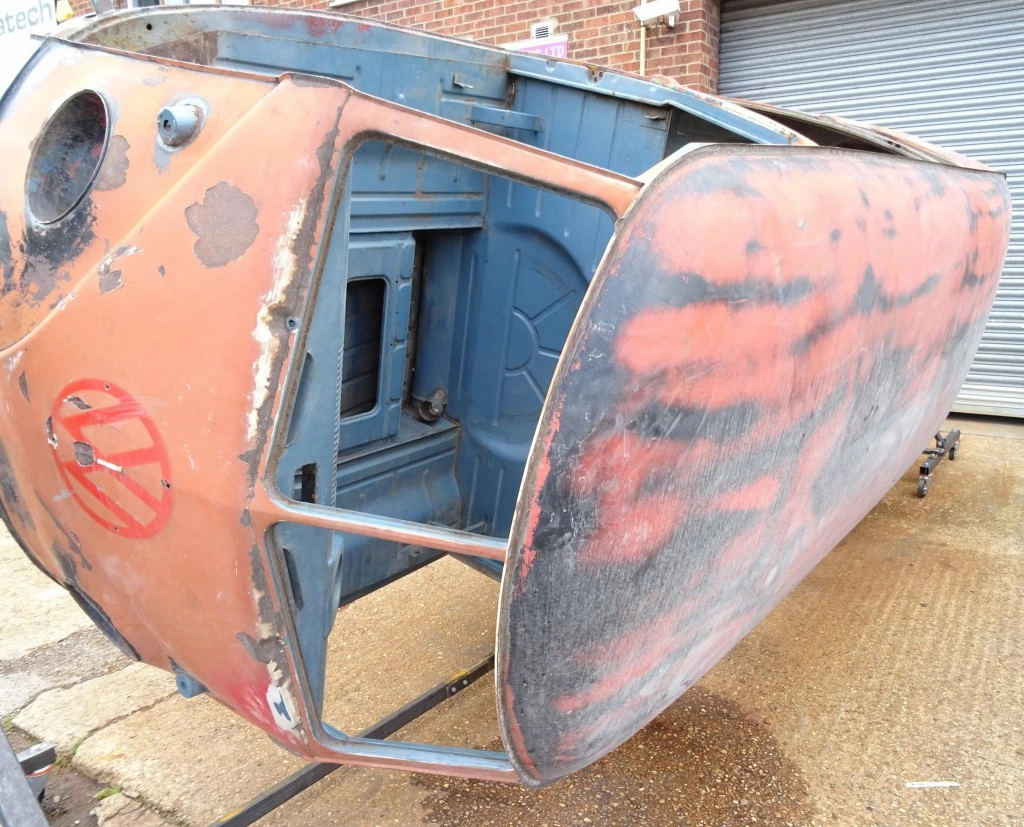
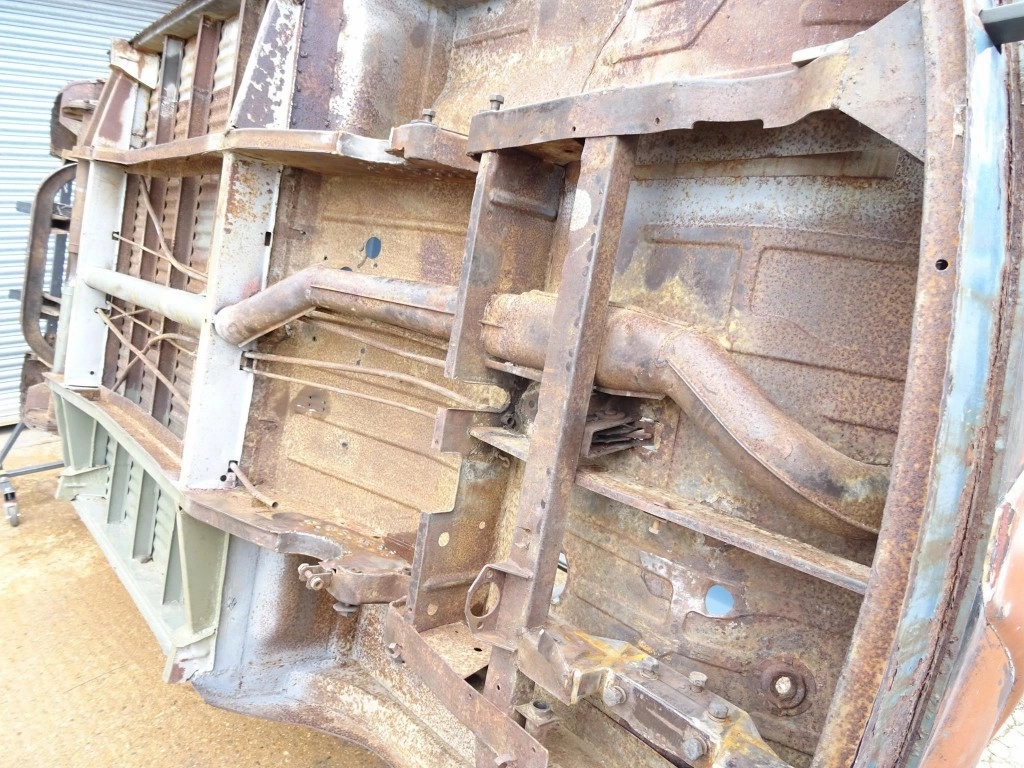
Coming along nicely… Now almost rust free!…
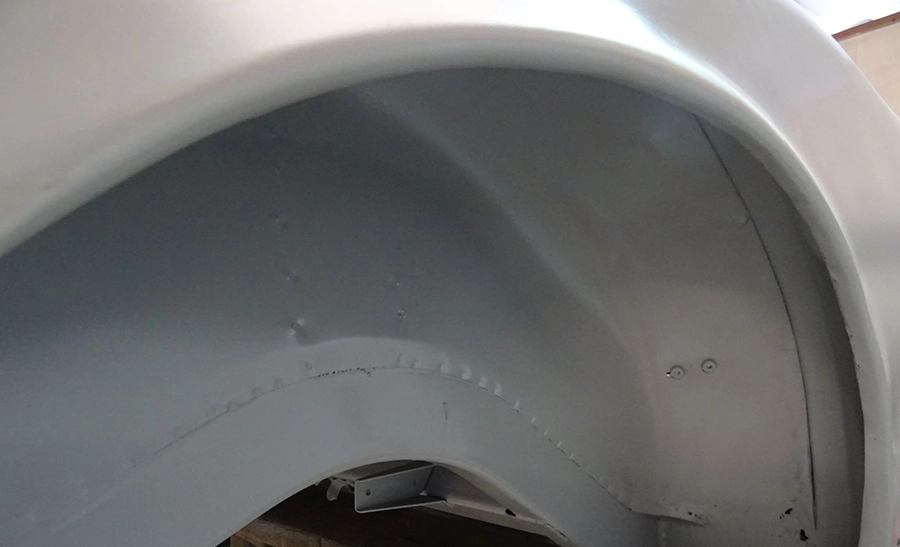
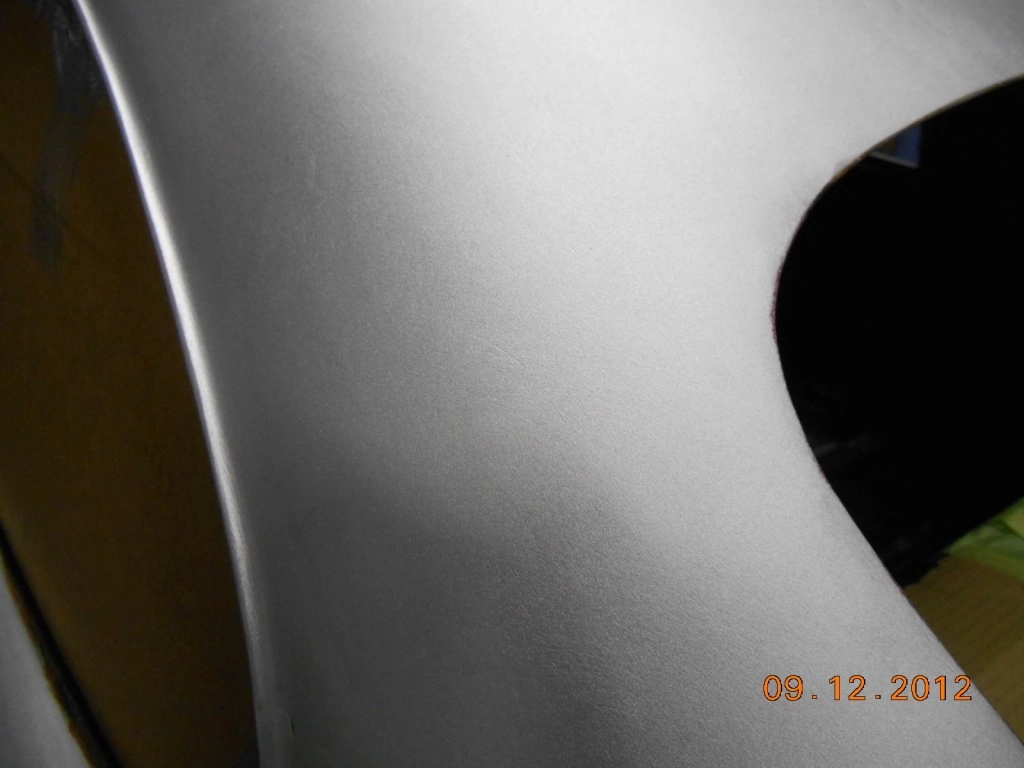
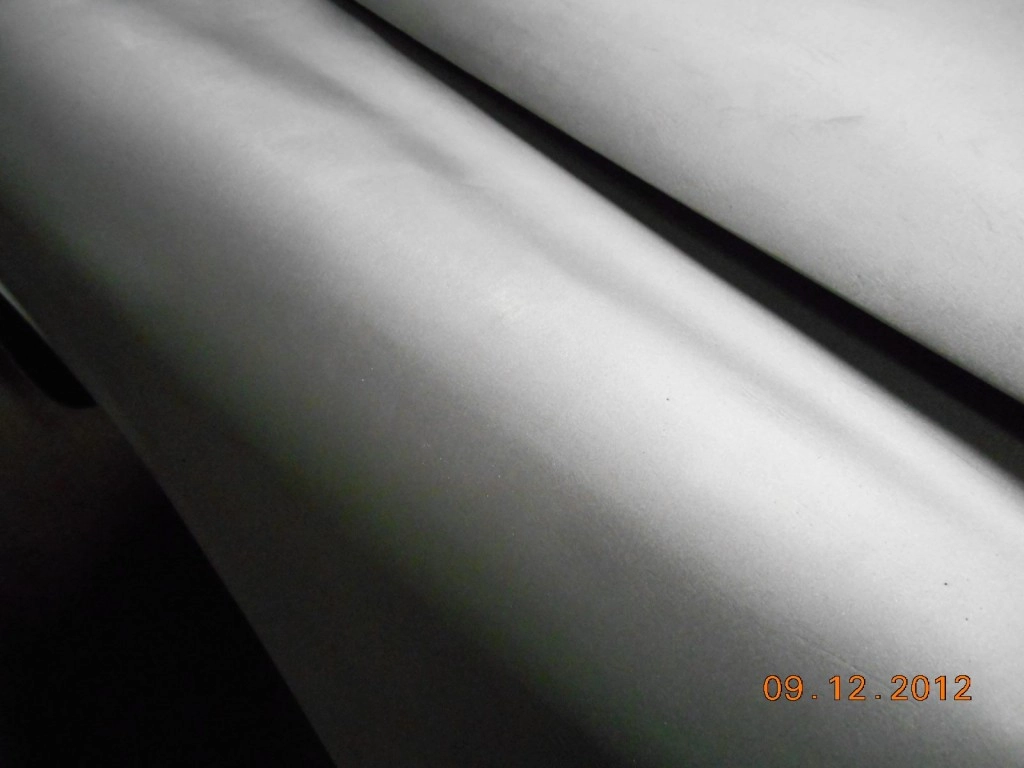
Aluminium Alpha body shell carefully bead blasted
No distortion. Total control over blasting pressure and material delivery.


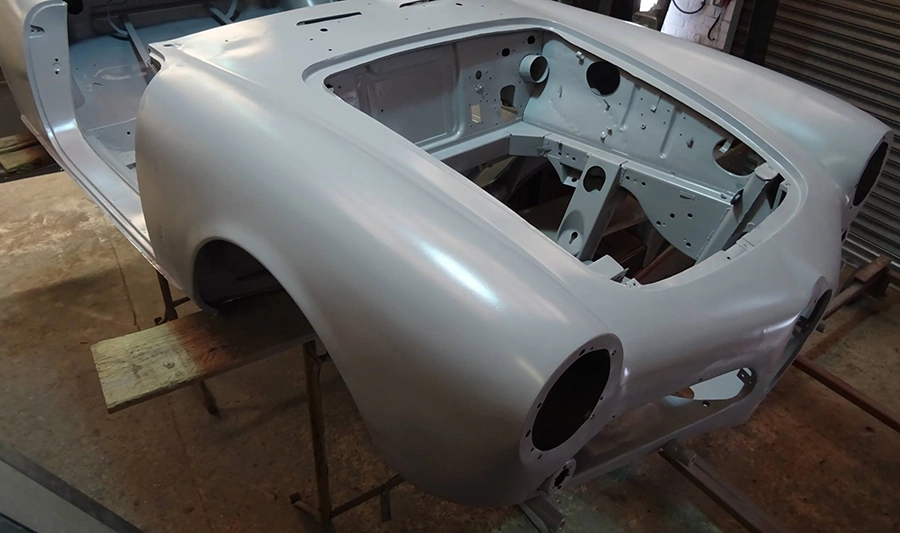
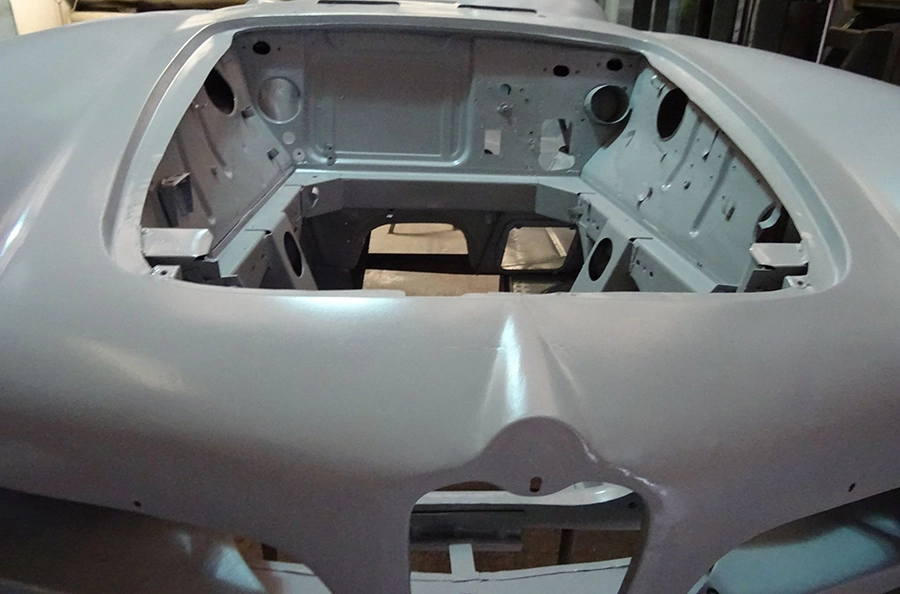
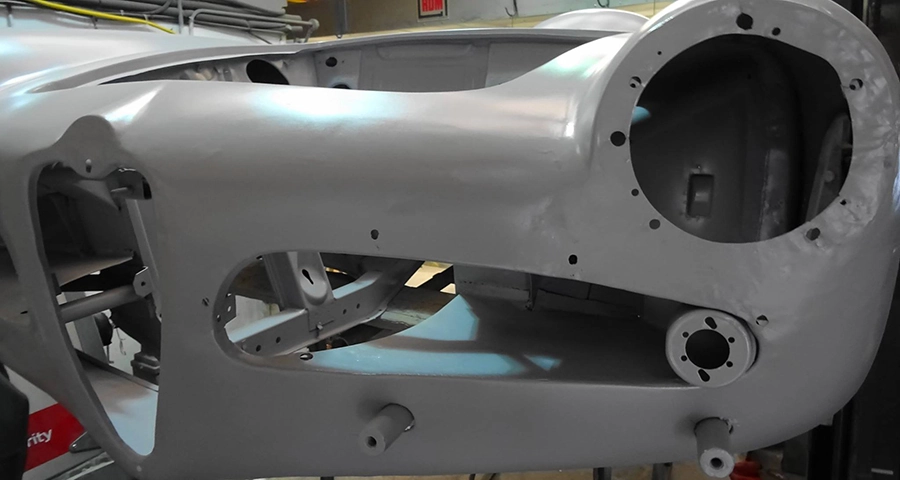
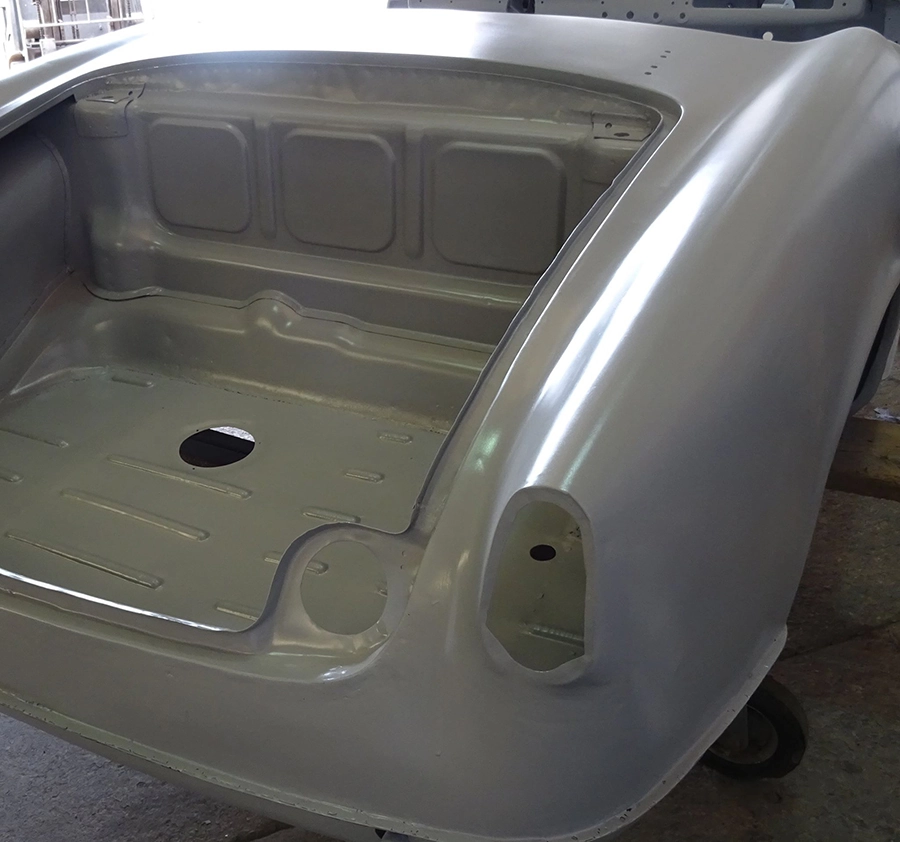
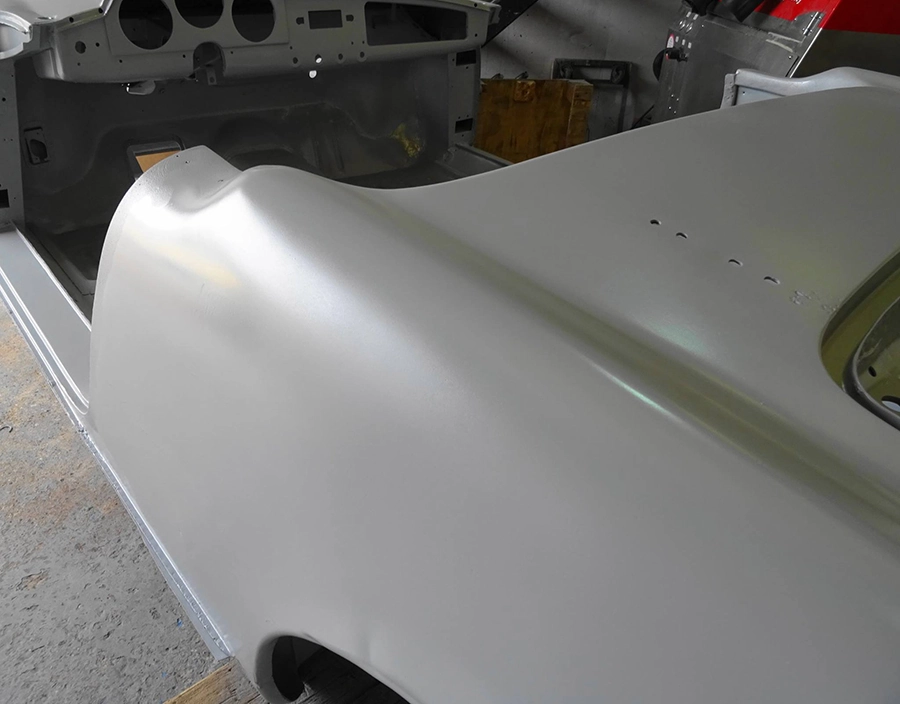
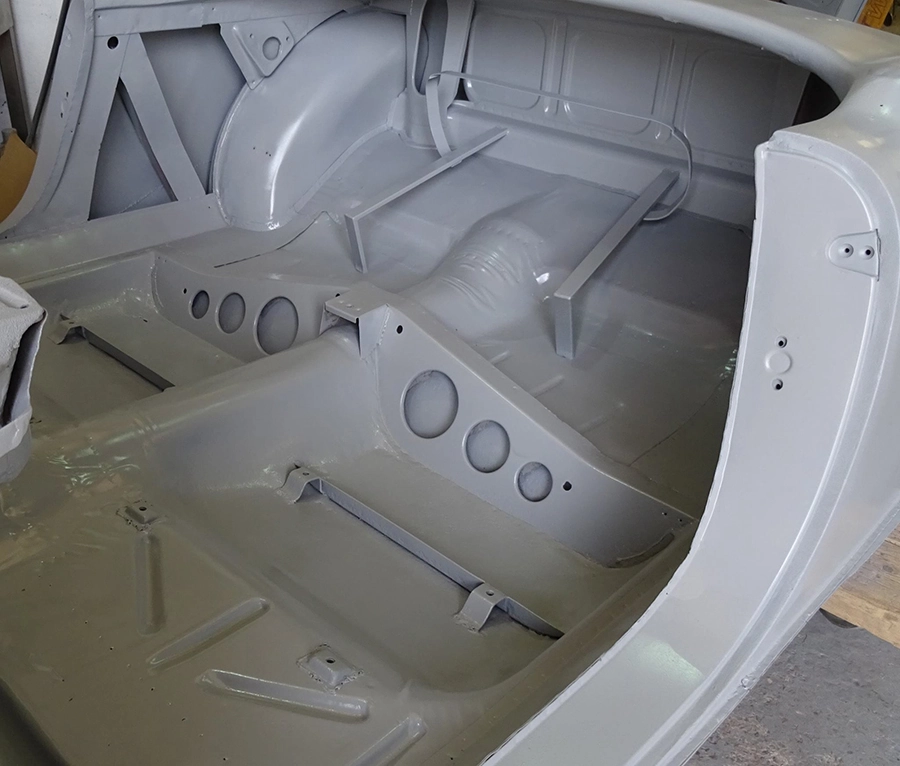
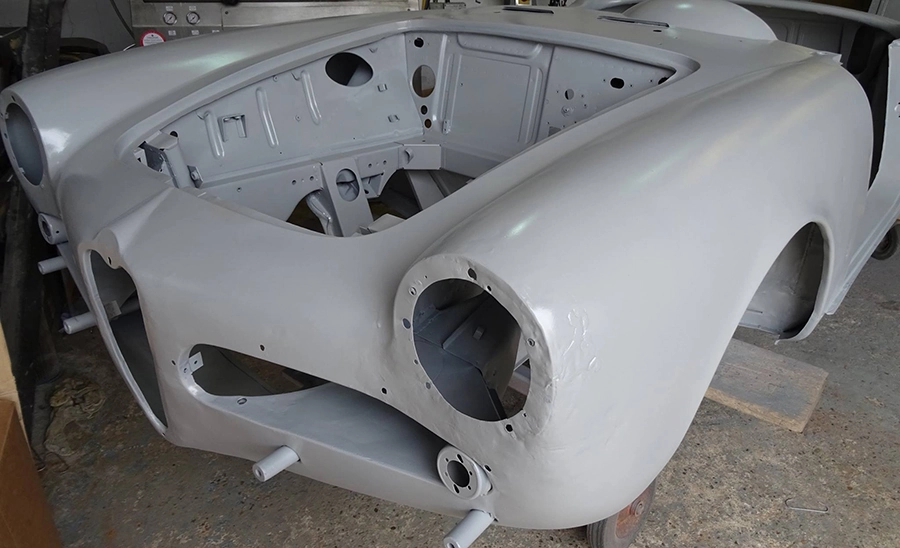
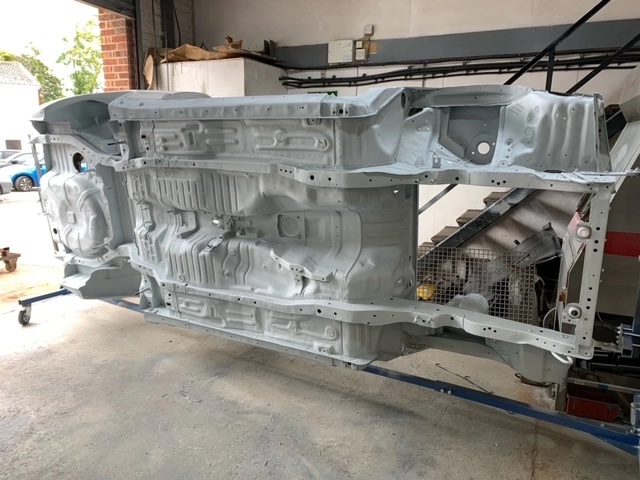
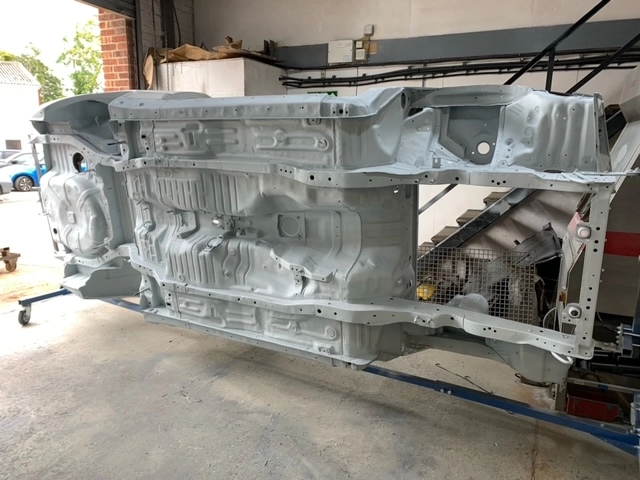
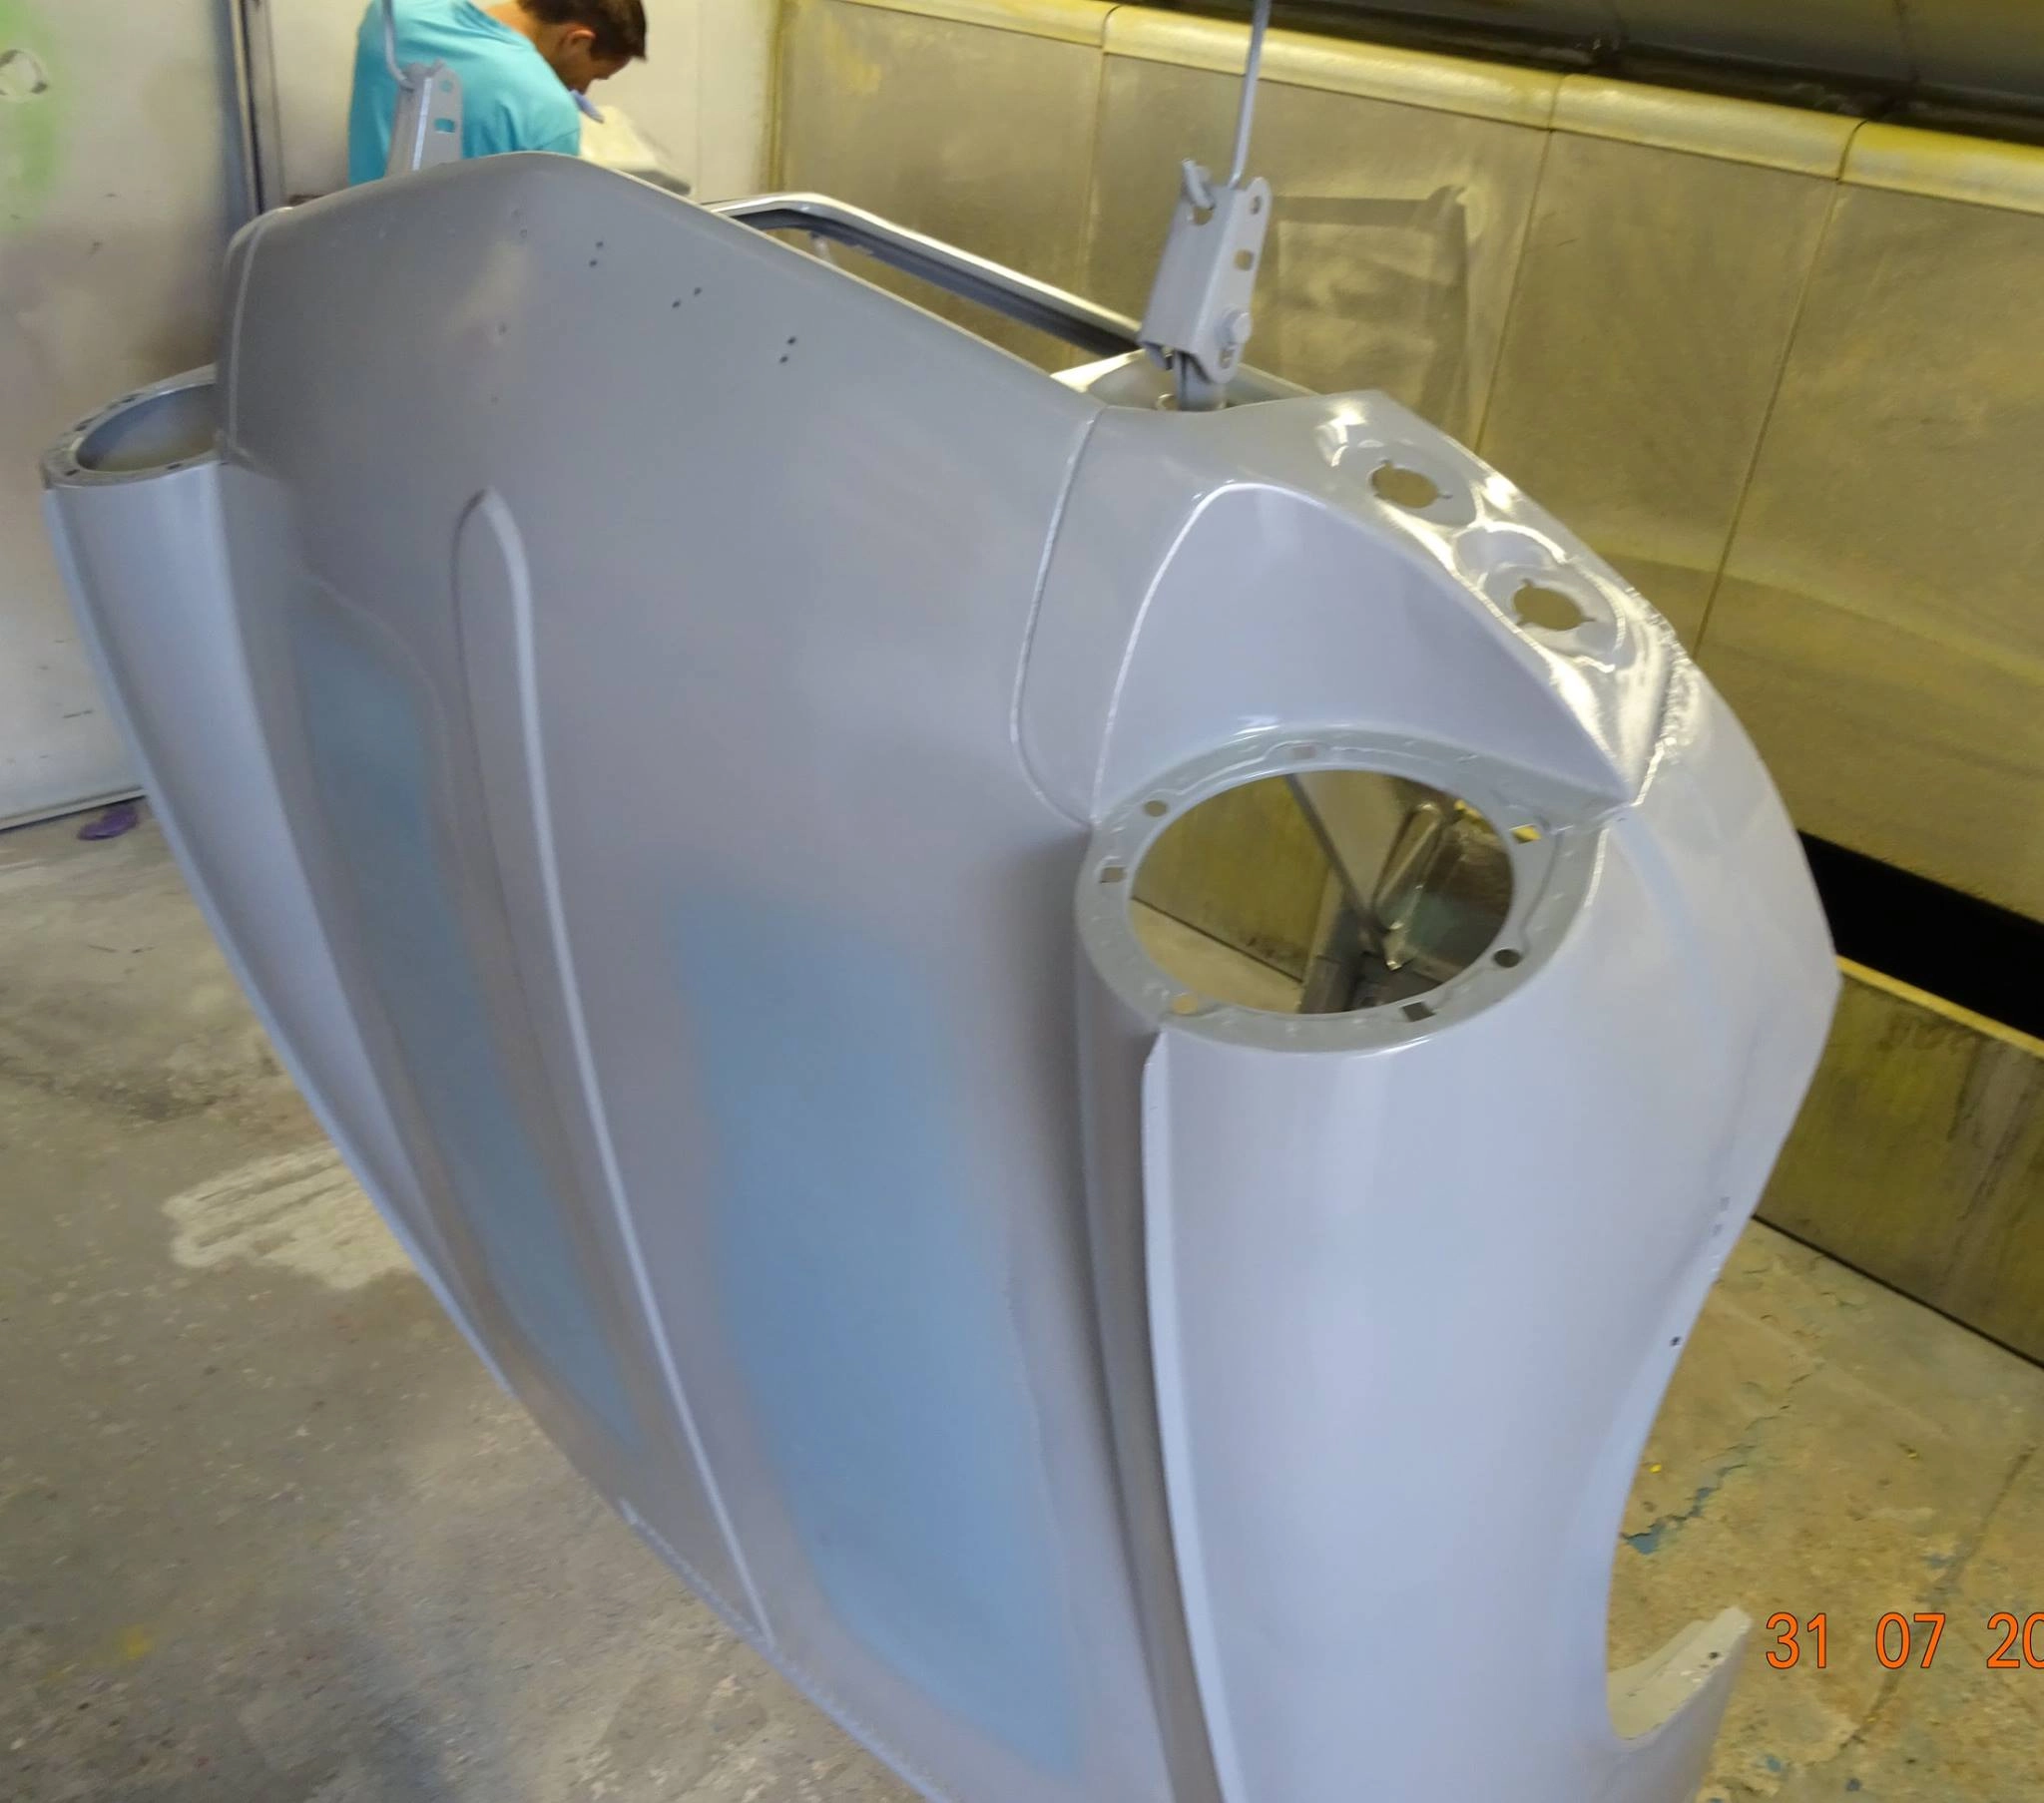
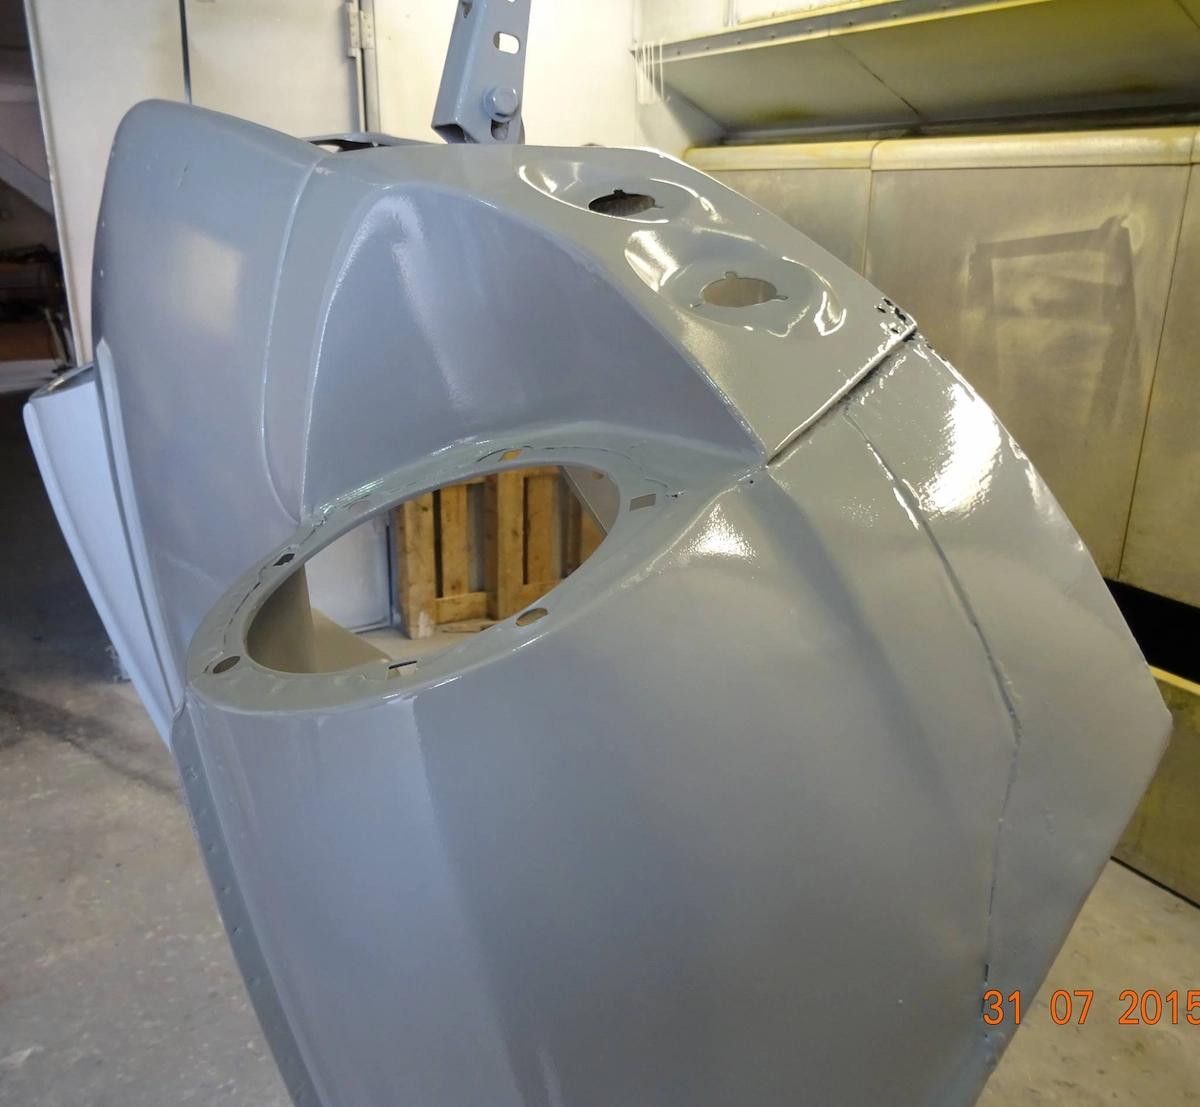
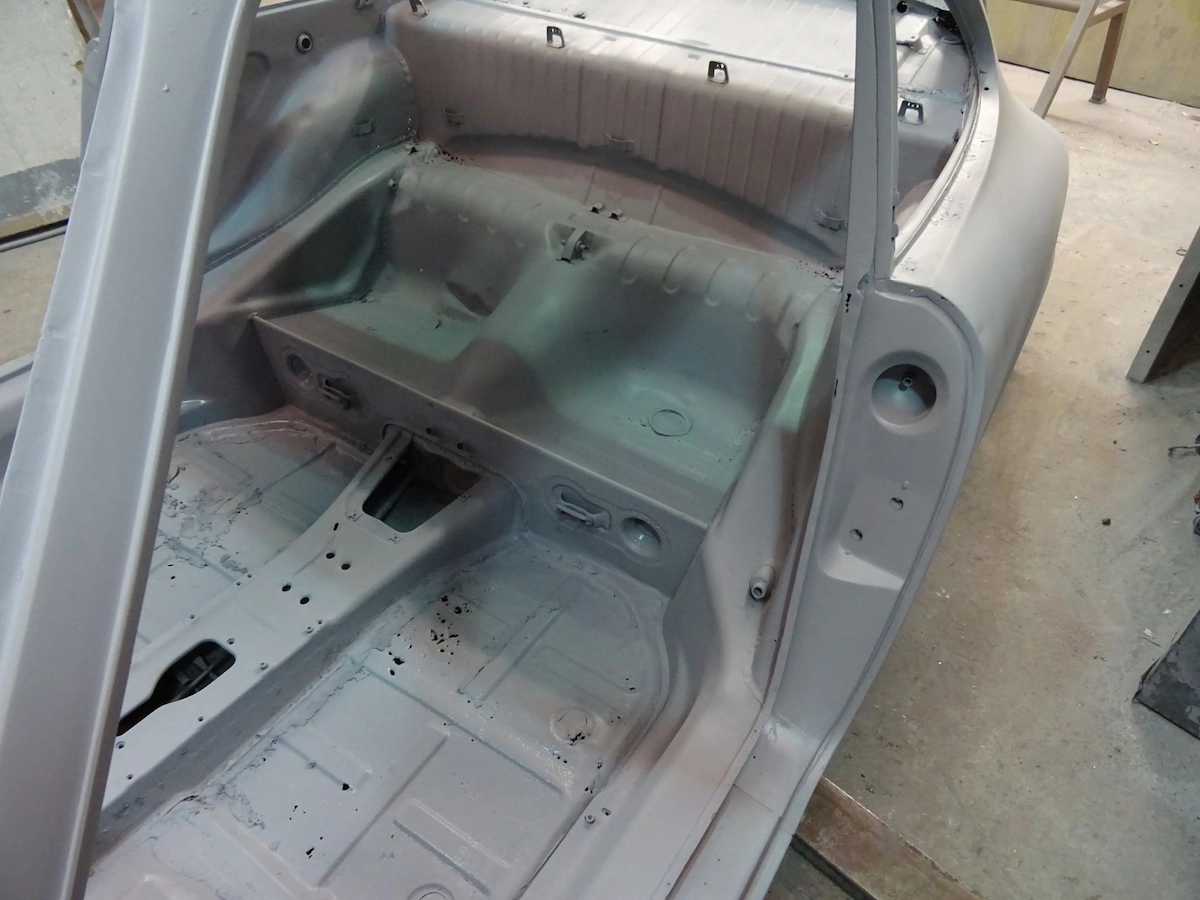
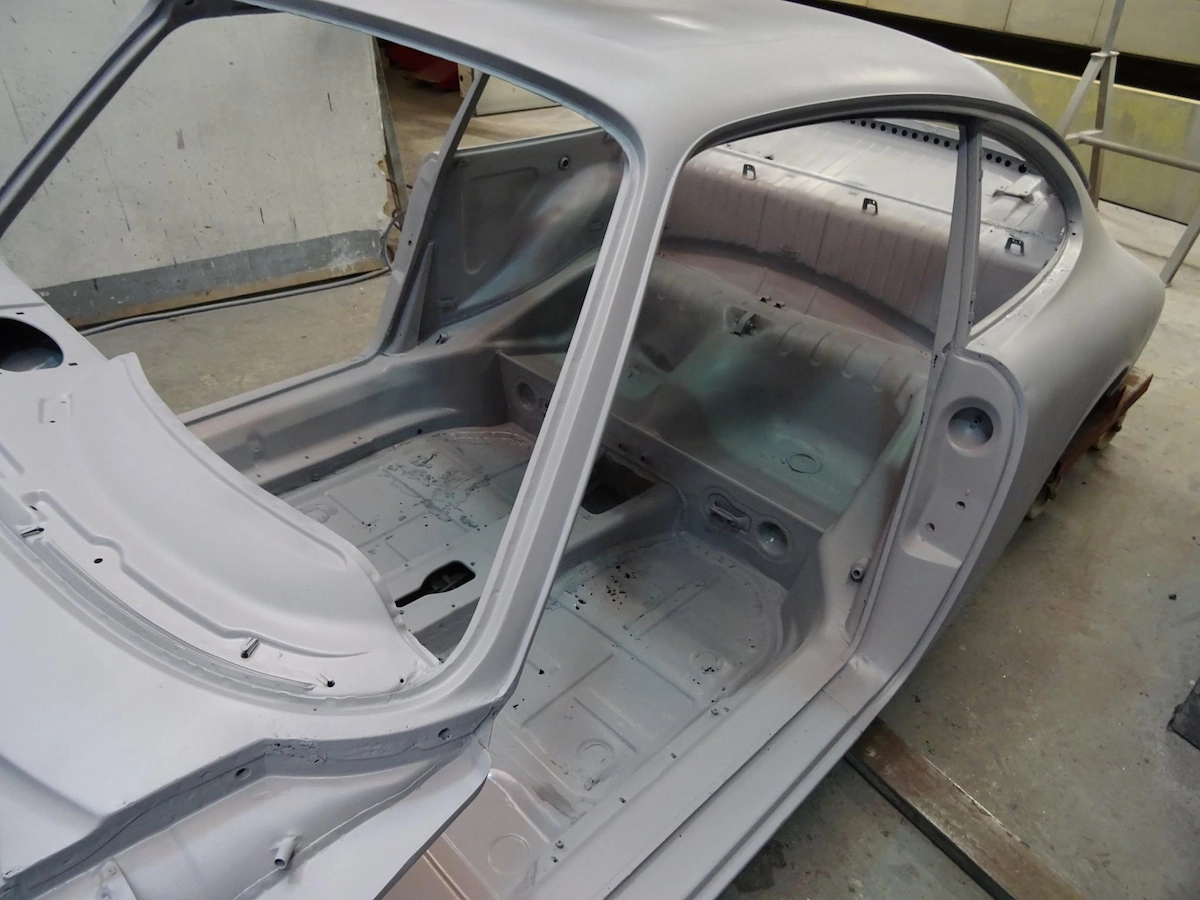
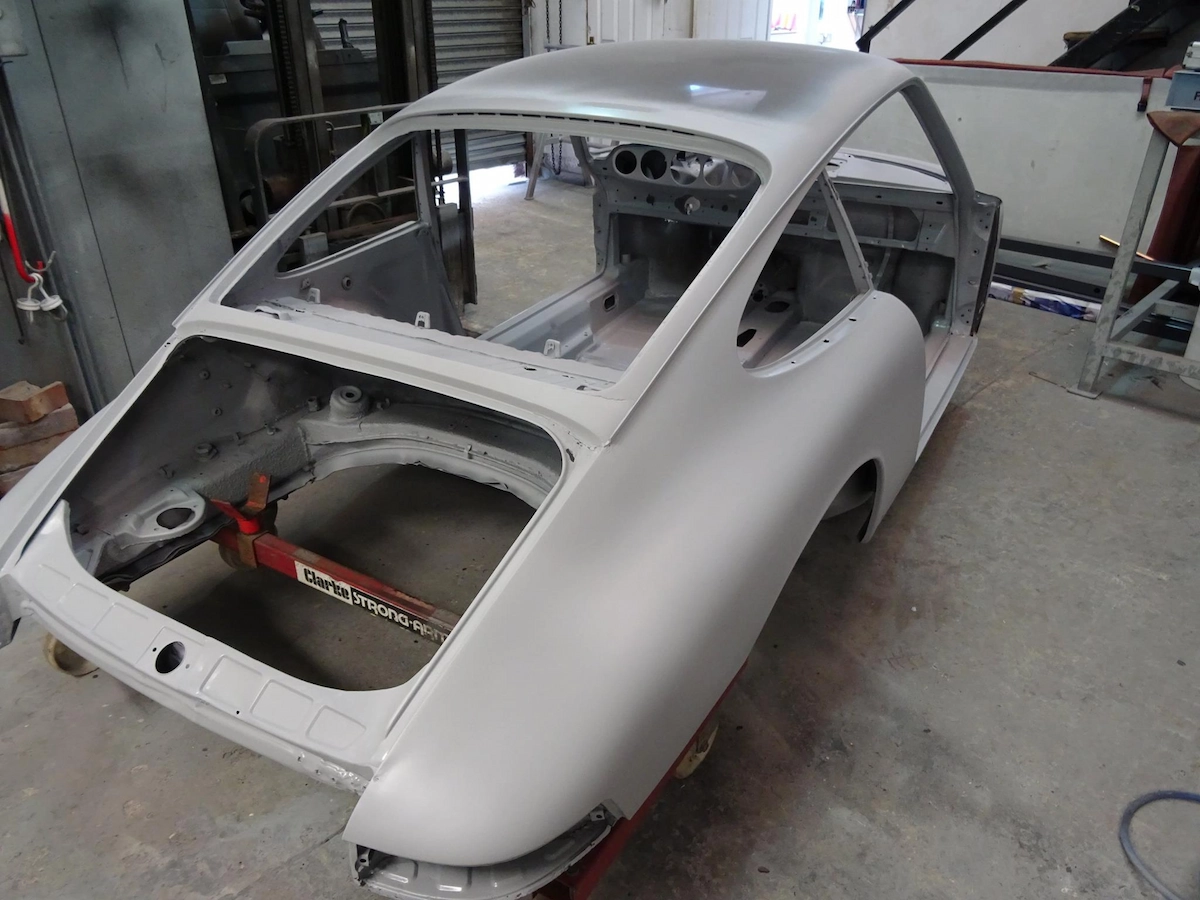
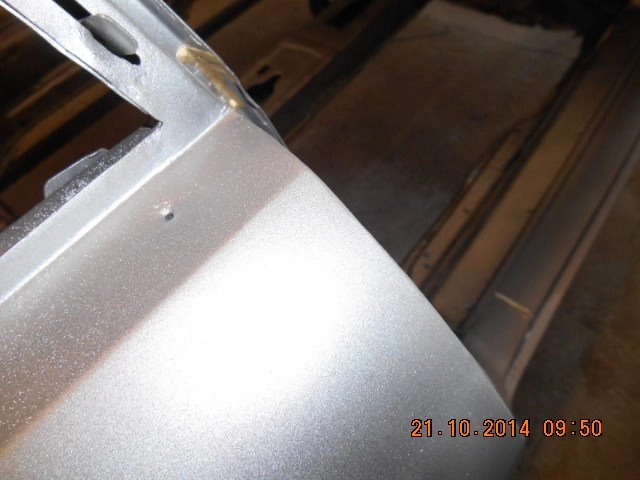
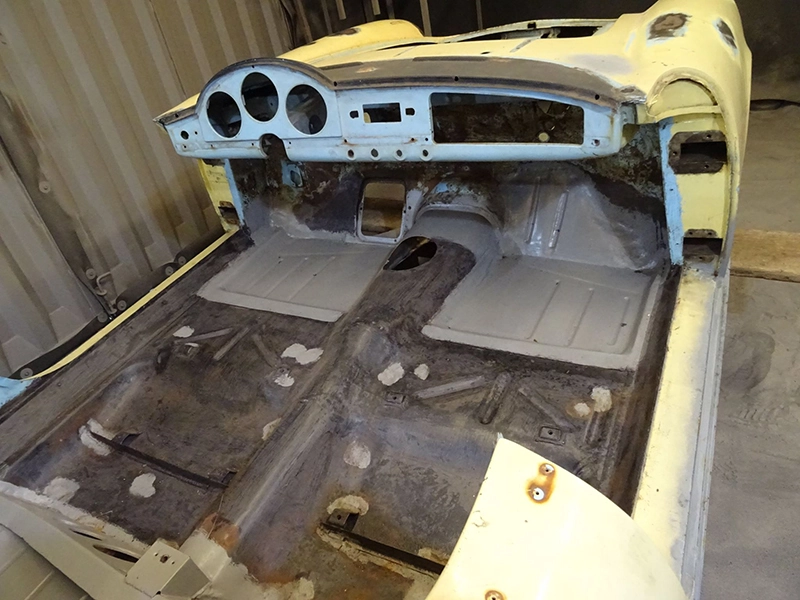
Porsche body shell bead blasted
Taking out all the old body filler and rust, leaving a clean and smooth surface with no distortion.

Nice little Alpha in for blasting in amazing condition…

Here’s the finished Alpha after blast cleaning & prime coated ready for the body shop. Amazing condition!….